Why a Project Plan Matters for the AP CSP Create Task
Tackling the AP Computer Science Principles Create performance task can feel like standing at the base of a big mountain with nothing but a backpack and a vague map. You know you’ll get to the top if you pace yourself, but where do you begin? That’s where a clear project plan and a tight timeline transform anxiety into action. With a good plan, the 9 in-class hours, the code, the video, and the Personalized Project Reference become a series of manageable steps instead of a last-minute scramble.

What the Create Task Asks You to Do (Short Version)
The Create task asks you to design and build a computer program, document your development process, and submit a video demonstrating the program in action along with a Personalized Project Reference. The goal is to show computational thinking, creativity, and effective problem solving. Planning is as important as coding — judges look for intent, clarity, and evidence of a thoughtful process.
Principles of an Effective CSP Project Plan
Before you jump into templates and timelines, anchor your approach in these fundamentals. They’ll make your plan resilient and your work more defensible if you need to explain it on the end-of-course exam.
- Start with a clear goal: Define what your program will do in one or two sentences. This is the project thesis you’ll return to when scope creeps.
- Break down deliverables: Separate Program Code, Video, and Personalized Project Reference into smaller subtasks (design, build, test, record, edit, document).
- Time-box your work: Assign realistic time blocks to each subtask and include buffer time for debugging and re-recording the video.
- Track evidence: Save versioned screenshots, commit logs, and brief reflections — these make your Personalized Project Reference clearer and your written responses easier.
- Own your integrity: Note where you used external libraries, peer ideas, or AI assistance and how you credit or adapt them. Academic honesty is a must.
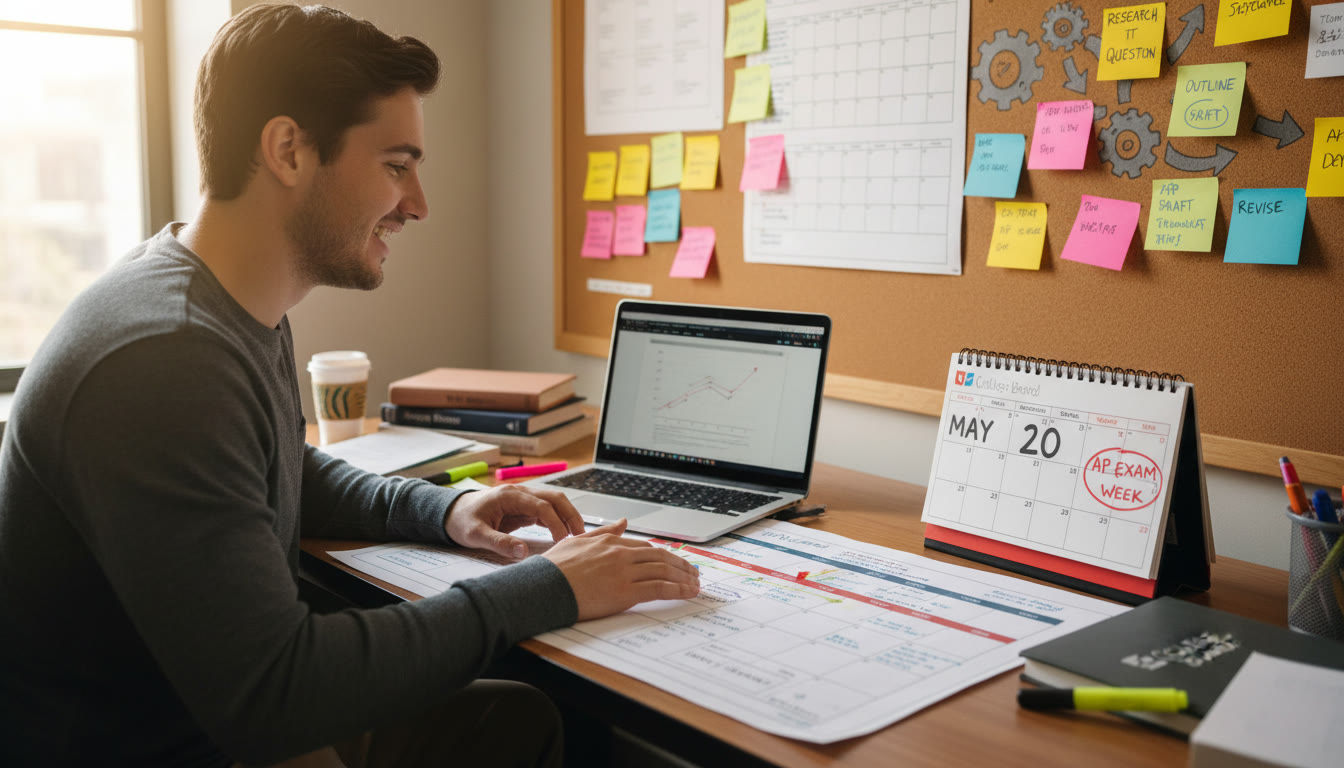
Sample Timeline Templates — Choose the One That Fits You
Templates aren’t one-size-fits-all. Below are three templates tuned for different pacing styles: steady, sprint, and hybrid. Each assumes you have up to 9 in-class hours and additional homework time across weeks. Pick a template that matches your course schedule, your energy rhythms, and your instructor’s timelines.
1. The Steady Planner (Best for consistent weekly work)
Ideal if you prefer to chip away a little each week. Spread the work over several weeks to reduce stress and increase iteration time.
- Week 1: Project idea, scope, and design sketches. Write 1-sentence project goal and outline main features.
- Week 2: Pseudocode and algorithm design. Start building core functions offline.
- Week 3: Implement core features; begin test cases.
- Week 4: Expand features; integrate UI and refine behavior.
- Week 5: Testing, debugging, and polishing. Draft video script and storyboard.
- Week 6: Record video; finalize code and create Personalized Project Reference screenshots.
- Week 7: Final review, academic integrity check, and submit in AP Digital Portfolio.
2. The Sprint Planner (Best for short windows of intense focus)
Use this when your class concentrates the 9 in-class hours into a short period or when deadlines land close together.
- Day 1 (2–3 hours): Define project, write pseudocode, and begin coding.
- Day 2 (2–3 hours): Build main functionality and test major flows.
- Day 3 (2–3 hours): Polish, create demo scenarios, and prepare video script.
- Day 4 (1–2 hours): Record video, capture Personalized Project Reference screenshots, and finalize submission.
3. The Hybrid Planner (Most flexible — mixes steady progress with focused sprints)
Combines the predictability of weekly work with targeted sprints for recording and final debugging.
- Weeks 1–3: Ideation, design, and build core features across homework and short in-class blocks.
- Week 4: Sprint week — intensive debugging and feature completion in in-class time.
- Week 5: Recording and personalized reference preparation in a focused sprint with buffer days.
One-Page Master Timeline Template (Use This to Stay on Track)
Below is a compact timeline you can print and pin above your workspace. It balances feature development, testing, and the non-code deliverables that too many students forget: video and Personalized Project Reference creation.
| Phase | Tasks | Time Estimate | Evidence to Save |
|---|---|---|---|
| Define | Project goal, target users, required features | 2–3 hours | One-paragraph project statement, design sketches |
| Design | Pseudocode, data structures, UI flow | 2–4 hours | Pseudocode file, diagrams, annotated screenshots |
| Build | Implement core features, basic tests | 3–6 hours | Code commits, sample inputs and outputs |
| Polish | Edge cases, usability, comments, remove debugging prints | 2–3 hours | Final code file, changelog |
| Record | Storyboard, record video, re-record as needed | 1–3 hours | Final video file, script version |
| Document & Submit | Capture screenshots, assemble Personalized Project Reference, submit | 1–2 hours | PPR file ready for upload |
How to Build Your Personal Template (Step-by-Step)
Use this guide to create a slightly customized template you can reuse for future projects.
- Step 1 — Project One-Liner: Write “My program will…” and finish the sentence. Keep it to one crisp line.
- Step 2 — Must-Have vs Nice-to-Have: List three must-have features and three nice-to-haves. If time runs out, ditch the nice-to-haves first.
- Step 3 — Minimum Viable Product (MVP): Define the smallest version of your program that still meets the project goal.
- Step 4 — Evidence Checklist: Decide what screenshots, outputs, and code snippets you’ll need for the Personalized Project Reference.
- Step 5 — Recording Plan: Create a 30–60 second script for your video demo showing the program’s core behavior. Keep it simple and repeatable.
- Step 6 — Integrity and Attribution: Note any third-party assets or AI help and how you’ll acknowledge them in your PPR.
Practical Tips for Each Deliverable
Program Code
Organize and comment your code so a reader (or scorer) can follow your logic without running it. Use meaningful variable names, modular functions, and include a short header comment that states what the program does and how to run it.
Video
Think like a director: plan a short script, show the program solving real tasks, and highlight edge cases. If something breaks during recording, narrate what happened and why — scorers appreciate clarity. Keep the video focused; 60–90 seconds is often more than enough to demonstrate the core functionality.
Personalized Project Reference (PPR)
The PPR needs clear, labeled screenshots showing step-by-step interactions and your list and procedure. Name your images logically (e.g., step1_login.png) and ensure the screenshots directly correspond to the behaviors you demonstrate in the video.
Tools and Habits That Make Planning Easier
- Use version control (even simple timestamped folders) to track progress and roll back if needed.
- Keep a short daily log: what you did, what failed, what you’ll try next. A log makes your written responses richer and more honest.
- Make simple automated tests or sample inputs you can run quickly to verify behavior.
- Record your video in a quiet place and use screen-recording tools that capture audio and resolution clearly.
Common Pitfalls and How to Avoid Them
Many students lose marks for avoidable reasons. Here are typical mistakes and practical fixes.
- Pitfall: Overambitious scope. Fix: Nail an MVP first, then add extras if time allows.
- Pitfall: Poorly labeled evidence. Fix: Use descriptive filenames and short captions for each screenshot.
- Pitfall: Last-minute video panic. Fix: Draft a script early and do a practice run two days before recording.
- Pitfall: Not saving versions. Fix: Commit frequently or save dated copies so you can show progress if asked.
How Sparkl’s Personalized Tutoring Can Fit Naturally into Your Plan
Sometimes you need an extra set of eyes on your plan or help translating a concept into code. A short 1-on-1 session can clarify design decisions, help you build a test suite, or rehearse your video script. Sparkl’s personalized tutoring offers tailored study plans and expert tutors who can provide AI-driven insights and targeted feedback — especially useful when you’re stuck on scope or debugging under time pressure. Use tutoring sessions strategically: review your project one week before recording and again for a quick polish day.
Example Project Timeline — A Completed Case Study
Here’s a realistic example timeline for a student building a schedule organizer program. It shows how to allocate time across weeks and where to save evidence.
| Week | Goals | In-Class Time | Artifacts to Save |
|---|---|---|---|
| Week 1 | Idea, 1-line goal, must-have features | 1 hour | Project one-liner, features list |
| Week 2 | Pseudocode, data structures, sample input/output | 1.5 hours | Pseudocode file, diagrams |
| Week 3 | Implement core algorithm and save working build | 2 hours | Code v1, sample runs |
| Week 4 | Expand features, add UI and error handling | 2 hours | Code v2, screenshots of UI |
| Week 5 | Polish and prepare video script | 1 hour | Script draft, test cases |
| Week 6 | Record video, finalize PPR, submit | 1.5 hours | Video file, PPR screenshots |
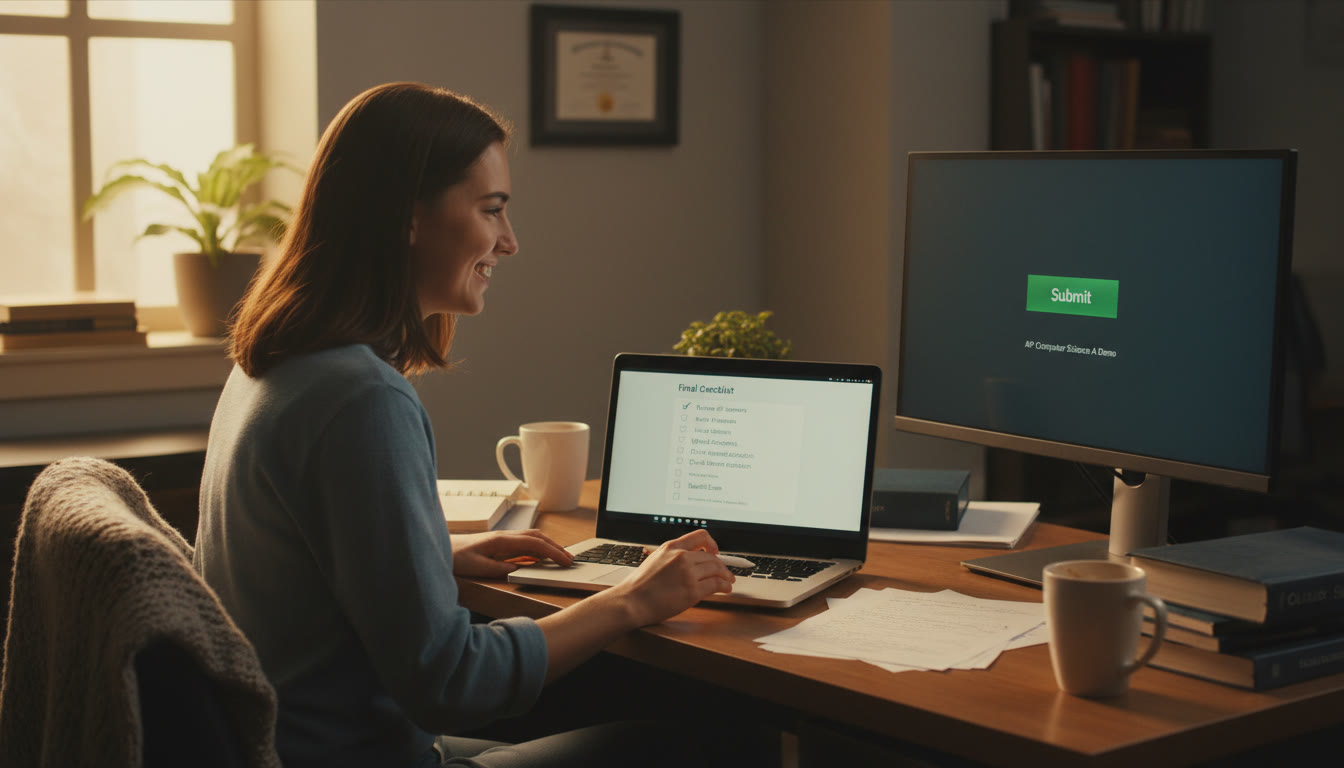
Checklist to Run Through Before You Submit
- Does your one-line goal match what the program actually does?
- Have you labeled all screenshots and matched them to your video demo?
- Are your code comments minimal but explanatory, and is the code clean of leftover debug statements?
- Did you keep records of where you used outside help or generative AI and note them in your PPR?
- Did you do a final practice run of your video and confirm timing and clarity?
- Is everything saved, backed up, and ready to upload to the AP Digital Portfolio?
Final Thoughts: Planning Is Your Secret Weapon
Students who treat the Create task like a project — not an exam — consistently perform better. A disciplined timeline, simple templates, clear evidence, and a couple of targeted tutoring sessions (when it makes sense) will reduce stress and boost effectiveness. Remember: the Create task rewards thoughtful design and documentation as much as it rewards polished code.
If you’re stuck on narrowing scope, drafting a precise video script, or preparing evidence for the Personalized Project Reference, a short personalized tutoring session can be a smart investment. Sparkl’s 1-on-1 guidance, expert tutors, and AI-driven insights can help you convert confusion into clarity — just enough to keep the project tidy, honest, and demonstrative of your best work.
Quick Resources You Should Have on Hand
- AP Computer Science Principles Student Handouts (save a copy)
- AP Digital Portfolio login details and submission deadlines
- A simple version control plan (timestamps, folders, or commits)
- Checklist for PPR screenshots and naming conventions
Go Build Something You’re Proud Of
The Create performance task is an invitation to show what you can do: use it to practice disciplined planning, clear communication, and ethical use of tools. With a workable timeline, a neat set of artifacts, and a few rehearsals, your project won’t just meet the requirements — it could stand out for how well you explain and justify the choices you made. Keep the plan simple, iterate quickly, save evidence as you go, and remember that demonstration beats complexity every time.
Good luck — and if you want a quick walkthrough of your timeline or a practice session to rehearse your video script, consider a short personalized session with a tutor who understands the AP Create task and can help you polish the final mile.


No Comments
Leave a comment Cancel