
Introduction: Why Clean Audio and Video Matter
For students preparing AP language speaking tasks, clear audio and steady video are more than technical niceties — they can be the difference between a distracted reader and an examiner who understands your ability to communicate. Whether you’re submitting a recorded assessment, creating practice recordings to send to a tutor, or capturing a performance for self-review, clean recordings let your pronunciation, intonation, and rhetorical choices shine. In this guide I’ll walk you through practical, low-stress ways to improve the quality of your speaking-task recordings using realistic equipment, smart room setup, confident delivery, and simple editing. Parents will find concrete steps to support their learners, and students will get tips that actually work in rushed schedules.
First Things First: Think Like a Listener
Before you touch a microphone or open a camera app, imagine the person on the other end of the recording. What makes speech easy to follow? Clear volume, minimal background noise, natural pacing, and visual focus if there’s video. Treat your recording session like a short performance: you want the listener’s attention on your language skills, not on a noisy heater, echo, or a shaky frame.
Key Listener Criteria
- Clarity — Are individual words easy to hear?
- Consistent volume — Does the recording avoid loud spikes or soft drops?
- Low noise — Is room or traffic noise subdued?
- Visual focus — Is the speaker framed well with natural lighting?
Equipment: What You Need (and What You Don’t)
Good recordings don’t require expensive gear. Start with what you have and upgrade strategically.
Essential Tools
- Smartphone or laptop with a decent built-in microphone — perfectly acceptable as a starting point.
- Headphones with a built-in mic (like those that come with many phones) — better than the laptop’s distant mic because they reduce room noise.
- Optional upgrade: A USB lavalier or small condenser microphone — gives a big audible boost for a relatively small cost.
Why Not Always Buy the Best?
High-end microphones and cameras help, but the marginal gains matter less than environment and technique. A cheap lavalier with good placement in a quiet room often beats a perfect mic in a noisy hallway.
Room and Environment: Small Changes, Big Results
Your recording environment affects sound and video more than nearly any piece of gear. Spend time here — it pays off quickly.
Choose the Right Room
- Small, furnished rooms with soft surfaces (carpets, curtains, couches) reduce echo.
- Avoid rooms with lots of hard, reflective surfaces (empty kitchens, bathrooms).
- Turn off noisy devices: fans, air conditioning, refrigerators, and notifications on nearby phones.
Control Outside Noise
- Record when the house is quiet — early evening, midday when siblings are at school, or after others have left the house.
- Close windows and add a towel at the door gap to block hallway noise if needed.
- Use a “Do Not Disturb” sign to avoid interruptions during a timed practice run.
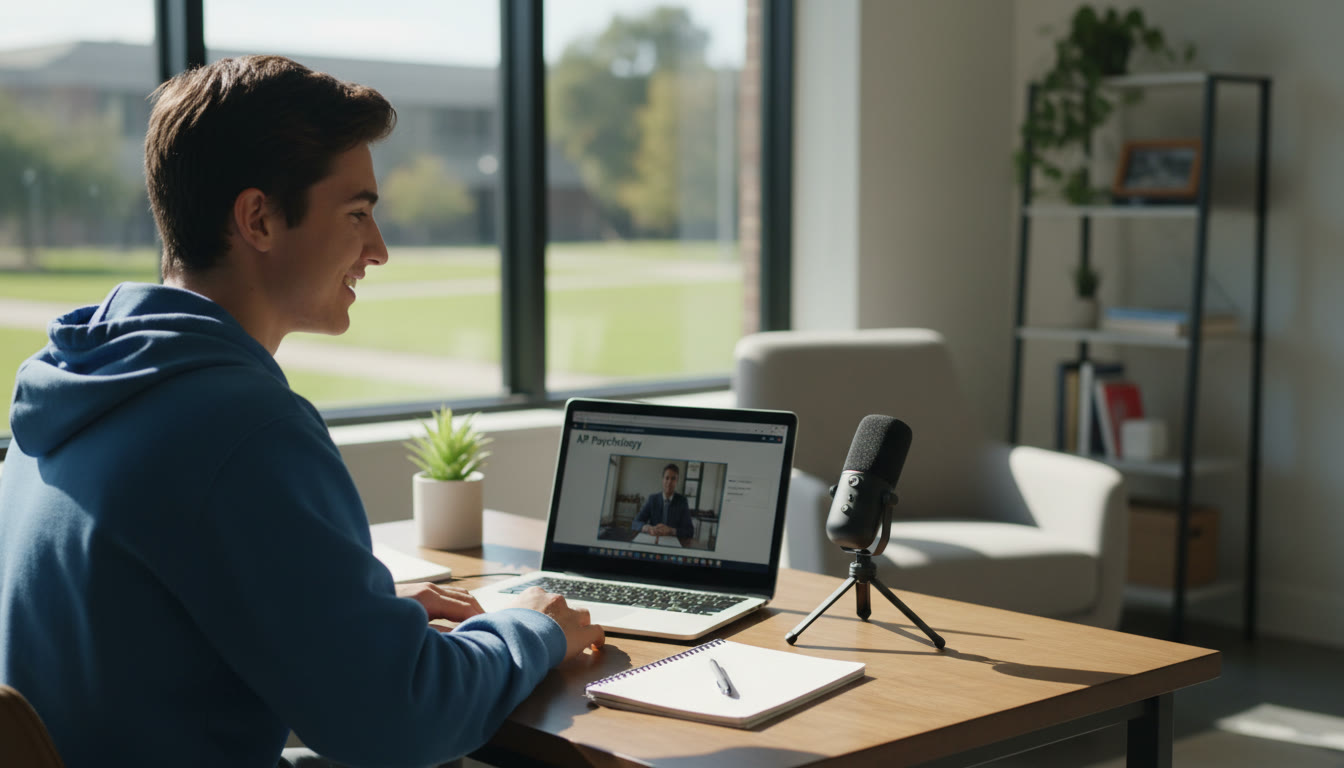
Lighting and Visuals
- Natural light from a window facing you gives a flattering, clear look; avoid backlighting that turns you into a silhouette.
- Sit a comfortable arm’s length from the camera so your face is framed from mid-chest up — this looks natural and helps with nonverbal cues.
- Keep the background tidy and not overly distracting; a simple bookshelf or neutral wall works well.
Mic Technique: How to Speak to Be Heard
Microphone placement and your vocal habits are where many students see immediate improvements without new gear.
Distance and Angle
- If using a built-in mic on a laptop or phone, keep that device roughly 8–12 inches from your mouth and project naturally.
- If using a headset or lavalier, clip it near the collarbone or slightly below the chin; avoid clipping directly under the jaw where clothing rustle can register.
- Angle the microphone slightly off-axis from your mouth to reduce plosive sounds (hard P and B sounds).
Voice and Pacing
- Speak slightly slower than conversational speed so pronunciation is clear under recording compression.
- Use natural breathing pauses — they help the listener follow and reduce the need for heavy editing.
- Pronounce sentence endings fully; trailing off can be misread as uncertainty on recordings.
Recording Apps and Settings
Choose simple apps that let you record lossless or high-quality audio and save video at 720p or 1080p for clarity. Many students find the built-in voice memo on phones or the camera app sufficient, but consider these tips.
Audio Settings
- Record in the highest quality available — for phones, choose PCM/WAV if offered, otherwise the highest bitrate AAC.
- Disable automatic gain control (AGC) if your app allows; AGC can cause noticeable volume pumping when you move closer or farther.
Video Settings
- Set the camera to 1080p at 30fps for a balance of quality and manageable file size.
- Lock exposure and focus so the image doesn’t shift during the speaking task.
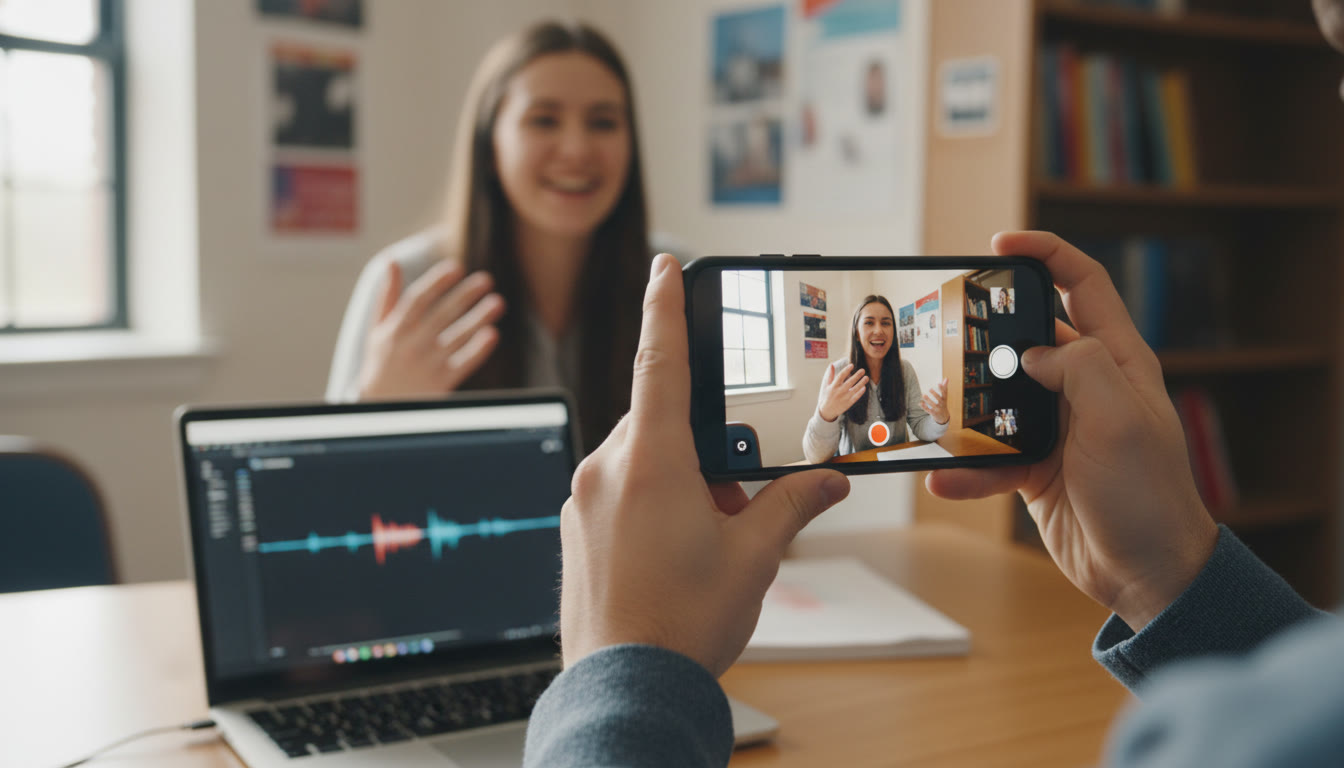
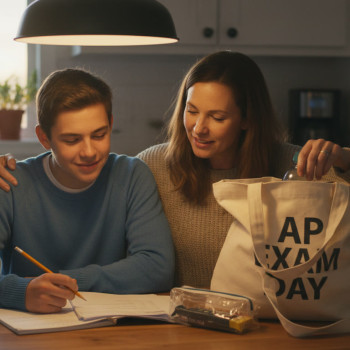
Practice Like It’s the Real Thing
Timed, focused practice helps reduce nerves and errors in the real recording. Treat every practice like a mini-exam.
Practice Routine
- Warm up with 2–3 minutes of reading aloud or speaking on a familiar topic to relax your voice.
- Record one timed task, then immediately listen back and note three specific improvements.
- Repeat the same task after adjustments — iterative practice creates measurable gains.
Quick Editing: Keep It Clean and Honest
Minor edits are fine for practice and sometimes for submitted recordings, depending on rules. The goal is to remove distracting issues without altering the content of what you said.
Simple Fixes You Can Do
- Trim leading and trailing silence to make the recording concise.
- Use a noise-reduction pass sparingly to reduce consistent background hiss.
- Normalize volume so loudness is even throughout the clip.
Editing Tools
Free tools like basic phone audio editors or free desktop apps let you make these fixes quickly. Parents and students should confirm any school or exam rules about permitted edits before submitting recordings.
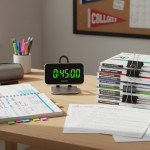
Checklist: A Simple Pre-Recording Routine
Before each take, run through this short checklist to avoid common mistakes.
| Item | Yes / No | Why It Matters |
|---|---|---|
| Room Quiet? | Yes/No | Reduces background noise that masks speech. |
| Microphone Position | Yes/No | Ensures even volume and reduces plosives. |
| Battery/Storage OK | Yes/No | Prevents mid-take interruptions and corrupted files. |
| Light Facing You | Yes/No | Improves visual clarity for video submissions. |
| Do Not Disturb Enabled | Yes/No | Avoids notification sounds and screen pop-ups. |
Common Problems and Fixes
Problem: Harsh Plosives (P/B Sounds)
Solution: Move the mic slightly off to the side or use an inexpensive pop filter (a piece of foam or even a thin cloth between mouth and mic helps). Speak slightly softer on plosive-heavy words but maintain clarity.
Problem: Room Echo
Solution: Record in a smaller, softer room; hang a blanket behind you or record inside a closet surrounded by clothes for an inexpensive sound dampener.
Problem: Volume Drops When Turning Head
Solution: Keep your head relatively steady and orient your face toward the mic. If you naturally gesture or turn while speaking, use a headset mic to maintain consistent distance.
How to Use Recordings for Real Improvement
Recordings are not just deliverables — they’re training tools. Listening critically (or getting feedback) builds awareness in ways that reading or in-the-moment practice can’t.
Self-Review Strategy
- Listen to your recording once without judgment; then again with specific goals (pronunciation, grammar, pacing).
- Take short notes: 3 strengths, 3 areas to improve. The next recording should target one or two of those areas.
Using Feedback Effectively
Ask a tutor or teacher to timestamp the recording where errors or brilliance appear. Small, time-focused corrections (e.g., “3:12–3:22: vowel clarity”) are easier to practice and fix than vague comments.
How Sparkl’s Personalized Tutoring Fits In
One-on-one guidance accelerates progress. Tutors can help with targeted microphone technique, real-time feedback on pronunciation captured in recordings, and tailored study plans that integrate recorded practice into a broader preparation schedule. Sparkl’s personalized tutoring combines expert human tutors with AI-driven insights to pinpoint recurring errors, suggest custom exercises, and monitor progress across multiple recording sessions.
What Sparkl Can Do for Recorded Speaking Practice
- Provide bite-sized assignments that include recording prompts and exact success criteria.
- Offer expert feedback on both content and delivery — not just what to fix but how to fix it.
- Use AI insights to track pronunciation trends and suggest targeted drills over time.
When to Upgrade Your Setup
If you’re recording often (weekly or more) and want consistently higher quality, small upgrades are smart investments. But prioritize the basics — environment, technique, and practice — before buying gear.
Suggested Upgrade Roadmap
| Budget | Recommended Upgrade | Impact |
|---|---|---|
| Low ($10–$30) | Wired lavalier mic or pop filter | Clearer speech, fewer plosives. |
| Moderate ($50–$150) | USB condenser mic + simple stand | Warm, professional audio that’s forgiving with room imperfections. |
| Higher ($150+) | Audio interface + quality mic or external webcam | Studio-quality sound and video for frequent high-stakes submissions. |
Practical Scenarios: Examples That Work
Scenario 1: Quick Practice Between Classes
Use your phone’s voice memo app in a quiet corner. Record one 90-second response, listen once, and note one improvement to work on next time. This habit builds muscle memory and reduces performance anxiety.
Scenario 2: Submitting a Polished Speaking Task
Use a small lavalier clipped under the collar, sit near a window for natural light, and record two takes. Choose the best take after listening on headphones and apply light trimming. Save files with clear names and timestamps to avoid confusion when uploading.
Scenario 3: Mock Assessment with a Tutor
Use a laptop webcam with built-in mic in a controlled room. Send the raw recording to your tutor (Sparkl’s tutors can take these and return annotated feedback). Work through their suggested drills and re-record the same prompt a week later to track improvement.
Final Tips and a Short Plan to Get Started This Week
Consistency beats perfection. A modest, deliberate routine will do more to improve your recorded speaking performance than a single expensive purchase.
Three-Day Starter Plan
- Day 1 — Setup: Choose a room, test mic placement, and make a short 60-second test recording. Listen and note two changes.
- Day 2 — Practice: Record two timed prompts. Implement one change from Day 1. Share one take with a tutor or parent for feedback.
- Day 3 — Review and Refine: Apply feedback, re-record one prompt focusing on a single technical issue (e.g., reduce plosives or steady pacing).
Parting Thought
Recording speaking tasks is a skill on its own — one that rewards patience, experimentation, and small improvements. Clean audio and steady video help your language ability take center stage, and they make feedback more actionable. Use the checklist and routines above to build confidence, and consider pairing recorded practice with targeted tutoring like Sparkl’s personalized sessions for quicker, measurable gains. Above all, remember that clarity is a habit: the more you practice well, the more naturally clear you’ll become on exam day.
Good luck — and happy recording!


No Comments
Leave a comment Cancel