
Why a Personal Rubric Heatmap Is a Game-Changer for AP Students
If you’ve ever opened a free-response question, stared at the rubric, and thought, “Where do I even start?” — you are not alone. The College Board’s rubrics reward specific skills and modes of thinking. A Personal Rubric Heatmap is a visual, living map that turns those often-intimidating criteria into an actionable study plan. It helps you see, at a glance, what to practice, what to prioritize, and how to convert raw practice into predictable score improvements.
This isn’t about memorizing phrases to match a rubric; it’s about breaking down the skills that rubrics reward (analysis, evidence, organization, technique, reasoning) and turning them into daily habits. Treat this as your academic GPS: it shows where you are strong, where you’re exposed, and the most efficient route to a higher AP score.
Who benefits most from a Rubric Heatmap?
- Students preparing for AP free-response sections (essays, short answers, performance tasks).
- Learners who want to stop guessing and start studying with surgical precision.
- Teachers and tutors who need a clear baseline to build targeted lessons.
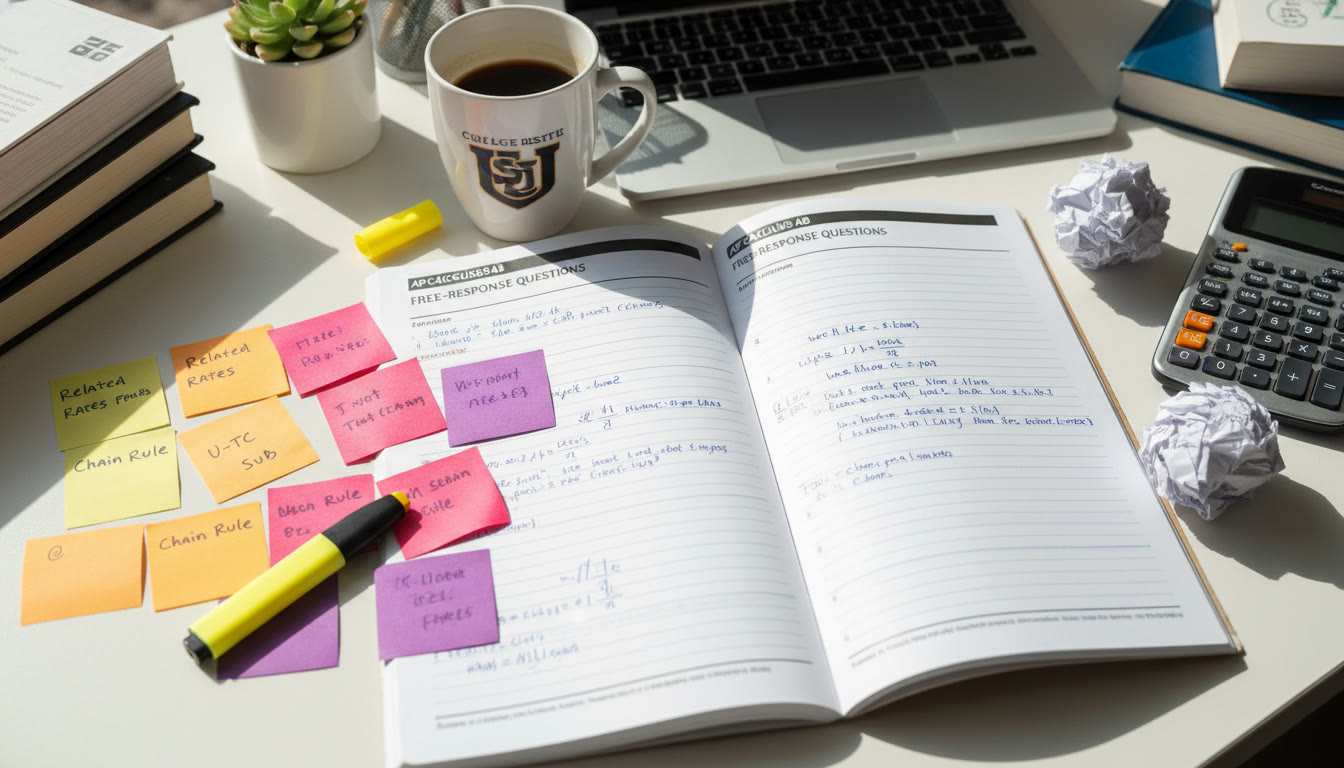
Step 1 — Parse the Rubric into Skills
Start by taking the rubric for the AP exam you’re preparing for and translating each scoring descriptor into a skill. For example, an English Literature rubric might reward: thesis clarity, textual evidence selection, analysis depth, organization, and command of prose. A Biology rubric might reward: concept accuracy, use of data, experimental reasoning, quantitative skills, and scientific explanation.
Write each skill on your master sheet. Aim for 6–10 core skills — enough to be comprehensive, not so many that the system becomes unwieldy.
Sample skill breakdown (AP English Literature)
- Thesis/Claim (clear, defensible central idea)
- Textual Evidence (selection and integration)
- Close Analysis (insight into how language/structure creates meaning)
- Organization/Coherence (logical paragraphing and transitions)
- Style and Control (sentence-level craft and registers)
- Task Completion (addresses prompt fully)
Step 2 — Build a Scoring Scale (so heat = meaning)
For each skill, create a simple scale — for example 1–5 where 1 = novice and 5 = advanced. Define what each point means in student language so your map is objective and repeatable. Keep descriptions short and concrete.
| Score | Descriptor | What to Look For |
|---|---|---|
| 1 | Novice | Little to no evidence of the skill; frequent errors; missed task elements |
| 2 | Developing | Some correct usage but inconsistent; partial responses; surface-level work |
| 3 | Proficient | Generally correct and complete; makes the expected moves but lacks refinement |
| 4 | Advanced | Clear, precise, well-supported performance; small spaces for improvement |
| 5 | Mastery | Consistently excellent with nuance and sophistication |
Step 3 — Create Your Heatmap (visualize strengths and gaps)
Turn your 6–10 skills into a horizontal or vertical grid. Each cell is a skill scored 1–5. Color code scores: cool tones for low scores (blue) and warm tones for high scores (red or orange). The heatmap should immediately highlight your weak clusters — the “cold” zones where practice yields the most return.
Use a spreadsheet, a printable template, or an app that supports conditional formatting. The visual contrast helps your brain prioritize: red zones feel like wins to protect; blue zones shout for attention.
Quick visual rules
- Update the map after each practice session or timed exam — make it a ritual.
- Track both accuracy (how often you meet rubric expectations) and speed (how quickly you can do it under time pressure).
- Tag each cell with a short note: the date, the prompt practiced, and the key error types.
Step 4 — Translate the Heatmap into a Prioritized Study Plan
Once you can see your weaknesses visually, convert color into tasks. Focus 60–70% of deliberate practice on the coldest two-to-three skills. Reserve 20% on maintaining warm skills and 10–20% for timed full-practice tests to integrate everything.
Sample 4-week plan drawn from a heatmap
- Week 1: Intensive drills on Textual Evidence selection — focused close reading exercises and evidence-matching drills.
- Week 2: Analysis depth — practice layered commentary (claim, evidence, explanation, significance), annotated models.
- Week 3: Organization and cadence — writing templates, paragraph transitions, pacing exercises.
- Week 4: Full timed essays with self-scoring using the rubric; calibration with teacher/tutor feedback.
Step 5 — Use Smart Practice Cycles
Not all practice is equal. Use cycles of micro-practice (10–30 minutes) followed by focused reflection (5–10 minutes). A cycle might be:
- 10 minutes: annotate a passage and identify two pieces of evidence.
- 20 minutes: write a focused paragraph that analyzes one piece of evidence.
- 5 minutes: score the paragraph against your rubric and note one specific revision to make next time.
Repeat these micro-cycles across the weak skills in your heatmap. This method keeps momentum high, reduces burnout, and creates measurable micro-wins.
Examples of micro-practice by subject
- AP History: Create a one-paragraph causation analysis using three primary-source excerpts.
- AP Chemistry: Interpret a short data table and write a 5-sentence explanation that links evidence to chemical principles.
- AP English Language: Craft three different thesis sentences for the same prompt and pick which would earn the highest rubric score.
Step 6 — Calibrate with Real Rubrics and Feedback
Calibration is the secret ingredient. A student who self-scores an essay as a 4 but consistently receives a 2 from teachers will never get reliable progress from a heatmap. Periodically calibrate using official scoring guidelines and past free-response questions from the College Board. Score blind — don’t look at your previous rating before scoring a new response.
Here’s how to calibrate once a month:
- Collect three scored sample responses (yours or released answers).
- Score them yourself using the rubric and record your scores on the heatmap.
- Compare your scores with the official scoring notes or your teacher’s scores to measure bias.
- Adjust your internal descriptors (the 1–5 definitions) if you’re consistently lenient or harsh.
Step 7 — Make It Personal: Weight the Skills by Exam Impact
Not all skills are equal. In many AP free-response rubrics, some items carry more weight for top scores. For example, synthesis and sustained argument might be what separates a 4 from a 5 in AP English; accurate quantitative reasoning might distinguish a high score in AP Physics. Use a weighted heatmap to make those high-impact skills peek louder.
Assign a weight to each skill (for example 1–3) and compute a weighted average. The weighted heatmap lets you prioritize the cold skills that matter most to the composite score you want.
Step 8 — Use Two Lanes: Content vs. Skill
Separate “content knowledge” (dates, definitions, formulas, authors) from “rubric skills” (analysis, evidence, synthesis). Build two parallel heatmaps or a two-lane grid so you can see whether a low score is due to shaky content or poor performance of a skill. If your content lane is cold, spend focused time on knowledge-building; if your skill lane is cold, practice the mechanics of the rubric directly.
Why the two-lane system helps
- It prevents wasted time drilling skills without the necessary content background.
- It makes review sessions crisp: content review vs. skill drills.
- It clarifies when to ask for a tutor’s help — content gaps are often faster to close with targeted explanation, while rubric skills benefit from feedback and modeling.
Step 9 — Use Technology and Tutoring Wisely
Spreadsheets with conditional formatting are your friend. There are also simple heatmap templates you can print and update manually if you prefer pen and paper. Consider recording a short voice memo after each practice explaining why you scored a skill the way you did; revisiting these memos helps you see progress over time.
If you work with a tutor, bring the heatmap to every session. It makes tutoring far more efficient because your tutor can immediately see where you’re stuck. Personalized tutoring can accelerate this process: one-on-one guidance, tailored study plans, and targeted feedback speed the path from cold to hot. For students using Sparkl’s personalized tutoring, those AI-driven insights and expert tutors can help quickly identify the smallest changes that yield the biggest rubric improvement.
Step 10 — Measure Progress and Iterate
Every two weeks, snapshot your heatmap. Look for two things:
- Movement in the coldest skills: Are they warming?
- Transfer to timed performance: Does your full-practice test score improve?
If progress stalls, examine the practice quality. Are you repeating the same mistakes? Are you practicing without feedback? If so, add corrective loops: micro-lessons, targeted drills, or a tutoring check-in.
Progress log template (use weekly rows)
| Week | Skill 1 | Skill 2 | Skill 3 | Weighted Avg | Notes |
|---|---|---|---|---|---|
| 1 | 2 | 3 | 1 | 1.9 | Need evidence practice; timed essay shaky |
| 4 | 3 | 3 | 2 | 2.6 | Better evidence selection; analysis still shallow |
Practical Examples: Two Student Stories
Story 1 — Maya, AP United States History: Maya’s heatmap showed a consistent 2 in Argument Construction and a 4 in Factual Content. Her weighted map prioritized argument drills. Over six weeks, targeted practice (thesis drills, counterargument mini-exercises, timed paragraph construction) moved her argument score to a 4 and bumped her free-response points enough to move her projected composite from a 3 to a likely 4.
Story 2 — Jamal, AP Chemistry: Jamal’s content lane was strong, but his skill lane for Data Reasoning was low. He used micro-practice cycles to interpret graphs and explain anomalies in 10–15 minute bursts. Working with a tutor twice a month to check calibration, he warmed that skill from 2 to 4, and his lab-based question scores improved markedly.
Tips to Keep Your Heatmap Honest and Useful
- Score blind when possible. Don’t peek at prior notes before scoring a new response.
- Be consistent in scoring language. If a “3” for you is a 4 for your teacher, recalibrate.
- Use color and notes — the visuals matter psychologically.
- Limit the number of skills to keep the system manageable.
- Schedule regular calibration sessions with a teacher, peer, or tutor.

Common Pitfalls and How to Avoid Them
Many students create a heatmap and then forget it. The tool only helps if you use it. Also, beware of overfitting: practicing one prompt type until you’re great at that prompt won’t necessarily generalize. Keep a variety of prompts and rotate practice types so skills transfer.
Finally, beware of chasing perfection. Heatmaps are about efficient improvement, not perfection. Two cold skills brought to competent levels can outscore a single mastered skill with all others neglected.
Templates and Quick-Start Checklist
Use this checklist to launch your first heatmap in an hour:
- Grab the rubric for your AP exam and list 6–10 rubric skills.
- Define a 1–5 scoring scale for each skill in student language.
- Create a spreadsheet grid and add conditional formatting for colors.
- Score one past free-response and populate the heatmap.
- Create a 4-week weighted plan that targets your coldest two skills.
- Schedule a monthly calibration with a teacher or tutor.
How a Tutor or Personalized Program Can Accelerate Results
Working alone, heatmaps are powerful. With targeted tutoring, they become transformative. A skilled tutor can help you: clarify rubric language, model top-scoring responses, provide focused drills, and give real-time calibration feedback. If you use tutoring services like Sparkl, the combination of one-on-one guidance, tailored study plans, and AI-driven insights can compress months of aimless practice into weeks of smart improvement. Use your heatmap to guide your tutor: it makes sessions precise, efficient, and outcome-driven.
Final Thoughts: Turn the Rubric from Obstacle to Roadmap
College Board rubrics are not adversaries — they are the map to the destination. A Personal Rubric Heatmap translates that map into daily practice. It makes the vague concrete, the overwhelming manageable, and the inevitable progress visible. Whether you’re an AP veteran or about to sit your first exam, a heatmap will save you time, sharpen your focus, and help you get the score you want by studying the right things the right way.
Start small, update often, calibrate regularly, and don’t be afraid to get help when you need it. With a clear heatmap, deliberate practice, and occasional expert feedback, your next practice test can become a stepping stone instead of a surprise. Good luck — you’ve got this.


No Comments
Leave a comment Cancel