
Why a “Last 14 Days” Plan Works (and Why You’re More Ready Than You Think)
Two weeks. It sounds small until you try to cram months of thinking, making, and documenting into a few evenings. The truth is: the last 14 days before your AP Art and Design submission are not for panic—they’re for polishing, prioritizing, and presenting. The bulk of your creative work (experimentation, practice, rough drafts) should already exist. These final days are about editing your story, making sure your images are crisp, your written evidence is clear and compelling, and your Selected Works show your strongest voice.
This plan is intentionally calm and tactical. It balances concrete daily tasks with a mindset that keeps you creative under pressure. Use it whether you’re submitting 2-D, 3-D, or Drawing—adapt details as needed.
Big Picture: What College Board Expects in Your Final Upload
Before we slice days into tasks, hold the whole frame in view. Your AP Art and Design portfolio consists of two primary sections:
- Sustained Investigation (Images + Written Evidence): Documented inquiry with practice, experimentation, revision—15 images and written responses for most portfolio types.
- Selected Works: Five final pieces (five images for 2-D/Drawing; ten images—two views each—for 3-D) that demonstrate synthesis of ideas, materials, and processes.
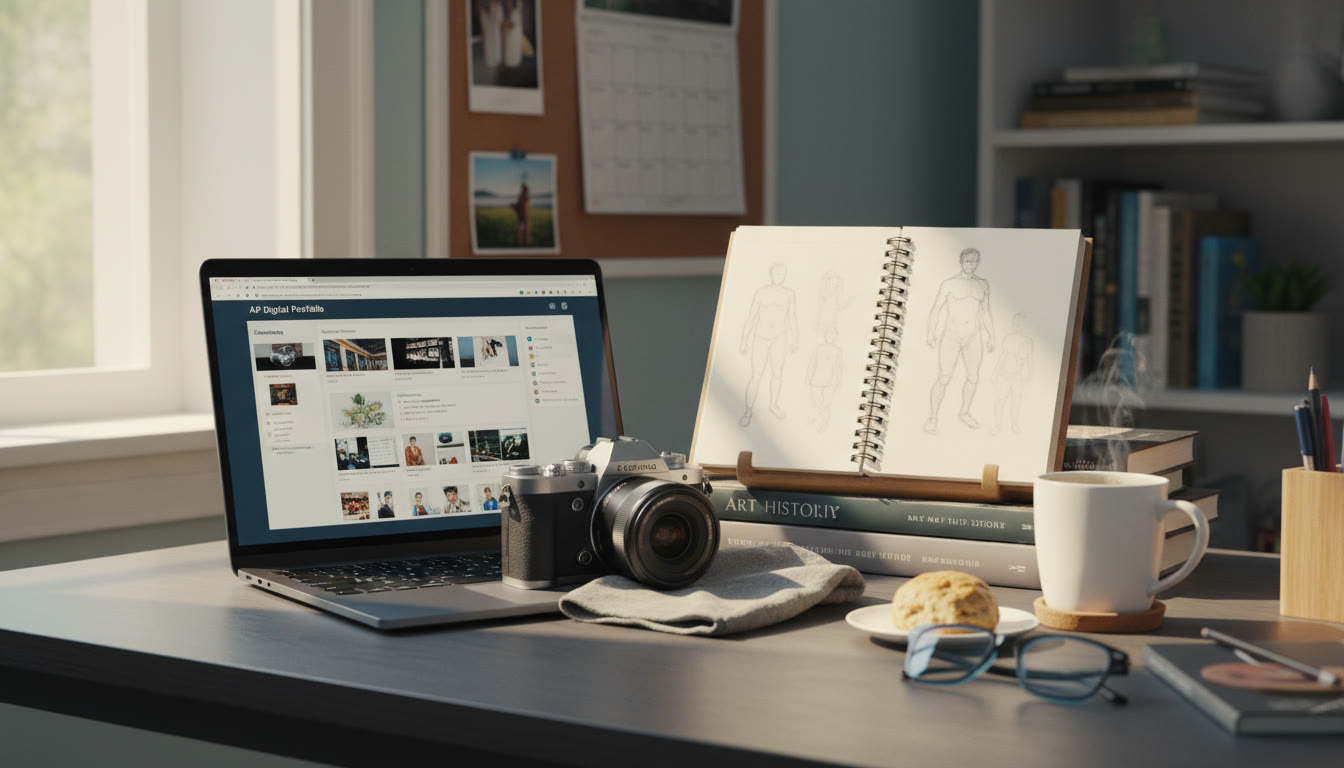
Everything you submit should be final in the AP Digital Portfolio by your school’s deadline and College Board’s submission deadline. In practice, your teacher or AP coordinator will set an earlier internal deadline—respect that. Treat the last 14 days as the time to convert great work into a great submission.
How to Use This Plan
Follow this plan day by day or use it as a checklist to batch similar tasks. The structure below gives each day a clear focus so you don’t waste energy switching between tasks. If you’re using tutoring or extra help, schedule sessions around the days where feedback is most useful: composition review, written evidence polishing, or final image critique. Sparkl’s personalized tutoring can be especially helpful for quick 1-on-1 feedback, tailored study plans to allocate your time, and AI-driven insights into common portfolio pitfalls—book short sessions where you need immediate, expert guidance.
The 14-Day Plan (Day-by-Day)
Each day includes an estimated time commitment; adjust based on your pace. If you fall behind, don’t abandon structure—compress thoughtfully: combine an image-check day with a writing-review day rather than skipping both.
Day 14: Inventory + Prioritize (2–3 hours)
- Gather all files, sketches, process photos, and notes in one folder.
- Create a simple spreadsheet listing potential Selected Works, candidate Sustained Investigation images, and written prompts needing completion.
- Prioritize pieces that tell a coherent investigative story—choose more than you need initially so you can swap later.
Day 13: Image Audit—Quality First (2–4 hours)
- Open every candidate image at 100% on your screen. Check focus, color accuracy, and cropping.
- Make a short notes column: re-photograph, crop, or accept.
- Plan re-shoots: what materials, lighting, or angles are missing (especially for 3-D work)?
Day 12: Re-Photograph and Technical Fixes (3–6 hours)
- Shoot under natural light or softbox; use neutral background for 2-D and 3-D documentation photos. Take multiple angles and close-ups for details and process shots.
- Back up originals before editing. Save edited copies separately with clear filenames (e.g., “Selected_01_FramedPrint_v2.jpg”).
Day 11: Final Image Edits and File Prep (2–4 hours)
- Crop to composition, adjust levels and color for accuracy, but avoid heavy manipulation that misrepresents the work.
- Resize and name files according to AP Digital Portfolio guidelines; ensure file sizes meet upload requirements.
Day 10: Draft Written Evidence—Big Ideas First (2–3 hours)
- Write a first pass of your Sustained Investigation statement(s): inquiry prompts, major experiments, key shifts in practice.
- For Selected Works, write short descriptors: ideas, materials, processes, and dimensions (keep character limits in mind).
Day 9: Tighten Language and Storyline (2 hours)
- Remove vague phrases. Replace generalities (“I experimented”) with specific instances (“I mixed acrylic with textile collage to explore texture and opacity”).
- Maintain your voice—clarity beats flowery words here.
Day 8: Peer or Tutor Review (1–2 hours + session time)
- Get a fresh pair of eyes on your images and writing. Focus critiques on clarity, narrative cohesion, and technical accuracy.
- Consider a short session with Sparkl’s tutors for targeted feedback—ask them to prioritize the three weakest images or one written response for detailed revision.
Day 7: Revise Based on Feedback (2–4 hours)
- Make concrete edits: re-word statements, swap images, re-crop or re-upload if necessary.
- Create a final list of Selected Works for submission; mark replacements as backups.
Day 6: Formatting and Metadata (1–2 hours)
- Enter the required metadata for each Selected Work: idea (concise), materials, processes, dimensions, and image citations where needed.
- Ensure any use of pre-existing images, references, or collaborative work is properly acknowledged to avoid plagiarism issues.
Day 5: Complete Written Evidence and Word Limits Check (2–3 hours)
- Finish all written prompts, keeping character limits and prompt intent in mind.
- Read responses aloud—does the writing reflect process and reflection, not just final outcomes?
Day 4: Full Mock Upload in the AP Digital Portfolio (2–3 hours)
- Create accounts/login and simulate the entire upload process without hitting “Submit as Final.” Practice ordering images, entering metadata, and navigating the gallery review.
- Note any user-interface hiccups; ask your coordinator how to resolve account or school-code issues.
Day 3: Final Revisions and Polishing (2–4 hours)
- Based on the mock upload, tidy any lingering issues. Confirm all images appear in the gallery as intended.
- Double-check concise statements for Selected Works and the Sustained Investigation reflective narrative.
Day 2: Rest and Final Read-Through with Fresh Eyes (1–2 hours)
- Sleep well. The next day, look at your submission with fresh eyes in the morning and again later; tiny errors are easier to spot when rested.
- Quietly confirm logistics: exam ordered, coordinator aware, school code correct.
Day 1: Final Upload and Submit as Final (1–2 hours)
- Upload each component and, when ready, click “Submit as Final.” Only do this when you are absolutely satisfied—this locks in your portfolio for scoring.
- Take screenshots of your confirmation and save them in multiple places. Notify your teacher and family so everything is documented.
Practical Checklists (Quick Reference)
Image Checklist
- Focus is sharp; no motion blur.
- Color and exposure are accurate to the work.
- Composition crops whole work appropriately; background is neutral or consistent.
- File names are clear and backed up.
Writing Checklist
- Inquiry statement clearly identifies question or focus.
- Evidence mentions practice, experimentation, and revision.
- Selected Works descriptors cover idea, materials, processes, and dimensions concisely.
- No AI-generated or plagiarized content—own the story.
Table: Simple Time Budget for the Last 14 Days
| Day | Main Focus | Estimated Time |
|---|---|---|
| 14 | Inventory + Prioritize | 2–3 hrs |
| 13 | Image Audit | 2–4 hrs |
| 12 | Re-Photograph | 3–6 hrs |
| 11 | Edit Images | 2–4 hrs |
| 10 | Draft Writing | 2–3 hrs |
| 9 | Tighten Language | 2 hrs |
| 8 | Peer/Tutor Review | 1–2 hrs + session |
| 7 | Revise | 2–4 hrs |
| 6 | Metadata | 1–2 hrs |
| 5 | Finish Written Evidence | 2–3 hrs |
| 4 | Mock Upload | 2–3 hrs |
| 3 | Polish | 2–4 hrs |
| 2 | Rest + Final Checks | 1–2 hrs |
| 1 | Submit | 1–2 hrs |
Common Pitfalls and How to Avoid Them
Students often trip up on a few recurring issues. Here’s how to dodge them gracefully:
- Over-editing images: Don’t change the work’s appearance; aim for faithful representation. Too much saturation or content-altering edits can mislead evaluators.
- Vague writing: Specifics sell your process—names of techniques, what you learned from a failed trial, and how the next step grew out of that failure.
- Waiting until the last hour: Upload glitches and forgotten metadata can kill calm. Finish at least a day early and keep backups.
- Ignoring file naming and backups: Simple filenames and duplicate backups (cloud + local) prevent panic when uploads fail.
How to Make Your Portfolio Tell a Cohesive Story
A strong portfolio feels intentional. Curate your Selected Works so each piece contributes to a narrative thread—an inquiry that evolves. The Sustained Investigation should read like a short story: introduction (question/interest), development (experiments and revisions), climax (a breakthrough or insight), and reflection (what you learned and where you might go next).
Concrete example: if your inquiry is “material memory” (how found fabrics contain personal histories), your 15 Sustained Investigation images might include initial swatches, experimental dye tests, process montages, and finished textile pieces. Your Selected Works would then show the five strongest, most resolved pieces that demonstrate technical skill and conceptual clarity.
When to Ask for Help—and What to Ask For
Ask for help early and precisely. Instead of a general “What do you think?”, try “Can you tell me which of these three images reads as the strongest composition?” or “Does my Sustained Investigation statement clearly show cause and effect in my process?”
Sparkl’s personalized tutoring is great for targeted asks: a 30-minute session to critique composition, a tutor-scheduled mock review of your written evidence, or a short plan that reallocates your remaining time. Their 1-on-1 guidance and tailored study plans are designed to help you pivot quickly during these last two weeks—use that advantage if you need an outside perspective that gets straight to the point.
Final Practical Tips for the Submission Moment
- Use a reliable network connection; prefer wired or a strong private Wi‑Fi.
- Have your school’s AP coordinator contact info handy—if the portfolio shows unsubmitted exam status, they can confirm ordering details.
- Take screenshots of every confirmation page and store them in two locations.
- Don’t submit under duress—if technical problems arise, your coordinator can often request an extension or technical help, but you need proof of when you attempted submission.
After Submission: What Really Matters
Once you hit “Submit as Final,” give yourself permission to celebrate and disconnect. The portfolio is a record of your thinking and making—not the total of your identity as an artist. Reflect on what you learned, what surprised you, and what you’ll carry forward into the next project.
Consider making a personal archive: high-quality images, process notes, and a reflective paragraph about what you’d do differently. This archive becomes a living resume for college applications, studio class interviews, or scholarship portfolios.
Closing Encouragement
The last 14 days can be intense, but they’re also a concentrated opportunity to make your work sing. Structure helps, but so does gentleness: rest, short breaks, and small celebrations after each completed task will keep you creative and resilient. Use feedback wisely, keep documentation airtight, and present your work with the clear voice it deserves.
And finally—if you want focused, friendly help in these last days, consider short, targeted sessions with Sparkl’s personalized tutors to tighten your images, sharpen written evidence, or build a submission checklist tailored just for you. A little expert input at the right moment can turn good into great.

One Last Checklist (The Night Before)
- All images named, sized, and backed up.
- All written prompts completed and saved in multiple places.
- AP Digital Portfolio mock upload completed—no missing fields.
- Exam ordered by your coordinator—confirmed.
- Sleep early and prepare for submission with a calm mind.
You’ve Got This
Trust the work you’ve made. The portfolio is an invitation to look closely at how you think and make, not a final verdict on your potential. Follow the plan, ask for focused help where you need it, and let your authentic voice lead. Two weeks of steady, thoughtful effort will take you across the finish line—beautifully.


No Comments
Leave a comment Cancel