
Why Diagrams Matter More Than You Think
If you’ve ever stared at a geometry question on an AP exam and felt the numbers jostle for attention, you’re not alone. A clear diagram is more than a pretty sketch — it’s a thinking tool. The right visual can turn an abstract sentence into an obvious calculation, reveal hidden relationships, and save minutes (or panic) on test day. But not every situation calls for a carefully measured drawing. Sometimes a loose schematic captures exactly what you need, and sometimes a drawing to scale makes a hidden angle leap into focus. This article will help you decide which to use, when to use it, and how to get the most out of every figure you create under exam conditions.
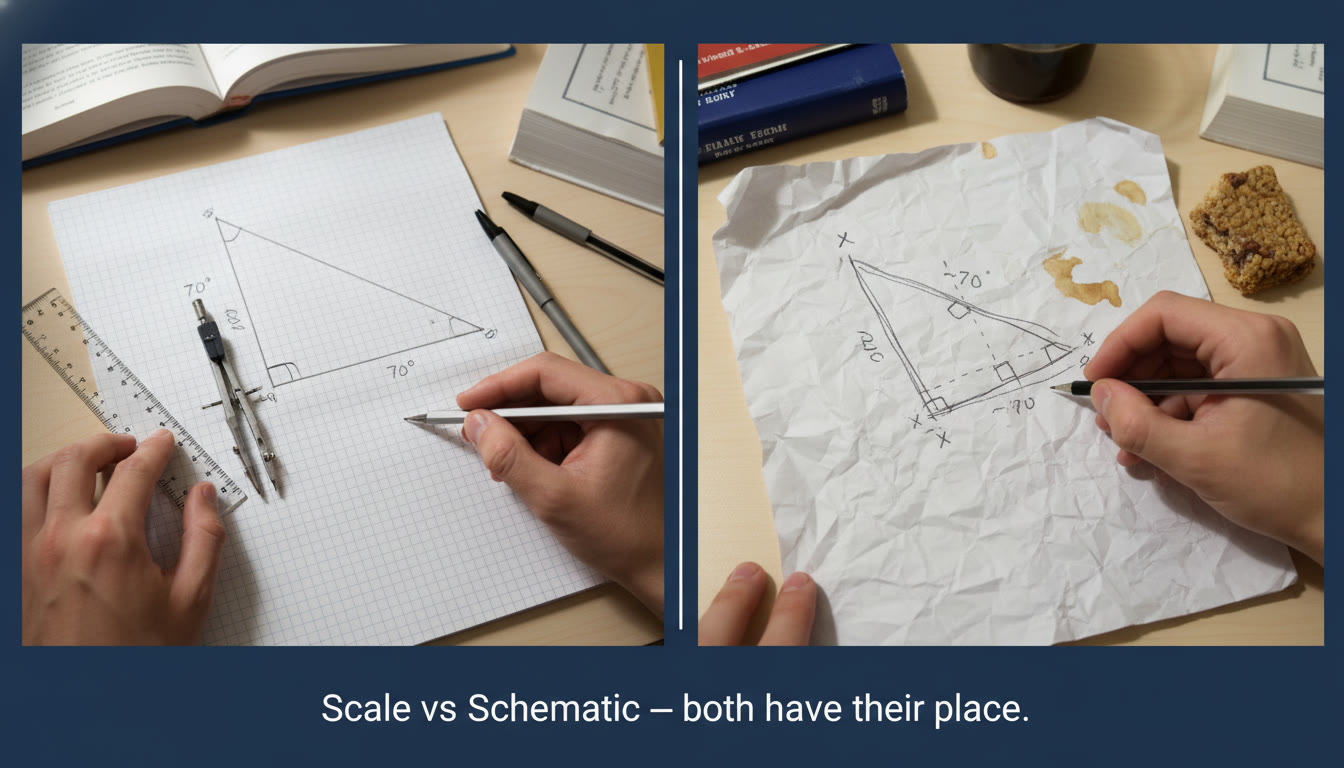
Two Ways to Draw a Geometry Diagram
1) To-Scale Drawings
Drawing to scale means you try to reflect relative lengths and angles accurately. Use a ruler, protractor or a reliable grid if you have time and the problem needs precision.
- Best when lengths, angles, or area comparisons depend on accurate proportions.
- Helps you spot collinearity, midpoints, and similar triangles when ratios are nearly obvious.
- Reduces algebraic work in some cases — a correct to-scale diagram can suggest a quick geometric approach.
2) Schematic (Not-to-Scale) Drawings
A schematic is a simplified sketch that represents relationships without accurate measures. Think of it as the idea map of the configuration.
- Best when structure matters (e.g., order of points, which angles are equal, where perpendiculars lie) but precise measures are either given or unnecessary.
- Faster to produce and often less misleading when the problem’s given figure might itself be not to scale.
- Excellent for logic-first approaches where marking equal segments, parallel lines, and right angles is the priority.
How to Decide: A Quick Flowchart in Your Head
Before you put pencil to paper, run this 5-second checklist in your head. The answer will tell you whether to aim for scale or schematic.
- Is an exact length or angle given that you must use directly? If yes → consider a to-scale drawing.
- Does the problem ask about relationships (e.g., “which segments are congruent?” or “which angle is largest?”) rather than precise measures? If yes → schematic is usually fine.
- Are you asked to compare areas or perform coordinate geometry where ratios matter visually? If yes → to-scale helps.
- Is the given figure explicitly labeled “not to scale” or clearly deceptive? If yes → schematic and trust algebraic reasoning.
Exam-Time Strategies: Practical Rules of Thumb
AP exams reward clarity and correct reasoning. Your diagram is your thinking record for the grader and yourself. Use these practical tips to make that diagram work hard for you.
- Always redraw the figure. Even a quick redraw forces you to process the problem information and prevents you from copying misleading images.
- Label everything. Mark points, angles, side names, and given lengths clearly. Use tick marks to show congruent segments and little square symbols for right angles.
- Annotate intermediate observations. If you notice ‘‘angles A and B are supplementary’’ or ‘‘triangle ABC is isosceles’’, write it near the figure. It’s proof to the grader that you saw it.
- Use color or shading sparingly. If you have colored pencils in practice, use them to highlight key segments. On exam day, a single shaded area or circled angle can direct your attention quickly.
- Don’t overtrust a to-scale drawing. AP problems sometimes intentionally give misleading diagrams. Use scale as a guide, not a proof, unless the problem states it’s accurate.
When a To-Scale Diagram Is the Right Move
There are times when drawing to scale will save you time and reduce algebraic complexity. Here are common problem types where scale often helps:
- Similarity problems where visual ratios can suggest correspondence.
- Area or perimeter comparison problems when lengths are in proportion.
- Coordinate geometry tasks where plotting points and reading slopes visually helps.
- Problems asking you to estimate or confirm that a constructed line meets a specific condition (e.g., midpoint, bisector) where measured checks are valuable.
Example: Using Scale to Spot Similar Triangles
Imagine a problem that gives two triangles with side lengths labeled and asks whether they are similar. Drawing them to scale (even roughly) can quickly suggest angle correspondence. If your scaled triangles look identical in shape, you can then focus on proving similarity using ratios or angle-angle arguments. The diagram accelerates hypothesis testing: draw, compare, then prove.
When a Schematic Is Smarter
Schematics are your go-to when the relationships matter more than measurements. They’re especially useful in logic-driven problems and proofs.
- Angle-chasing or proof problems where you need to track equal angles or vertical angles.
- Problems that depend on the order of points along a line, or which lines are parallel — the exact lengths are irrelevant.
- When a problem explicitly warns that the diagram is not to scale (or is clearly misleading).
Example: Angle-Chasing with a Schematic
Suppose a problem describes multiple parallel lines and transversals and asks for a particular angle in terms of another. A neat schematic that emphasizes parallel markings, labeled alternate interior angles, and right-angle symbols will keep your angle-chase clean. You don’t need measurements — only careful notation.
How to Move Between Approaches During a Solution
One of the best skills you can develop is the ability to start with a quick schematic and then switch to a to-scale drawing if needed (or vice versa). Here’s a step-by-step habit that works in exam conditions:
- Read the problem once. Note givens and what’s being asked.
- Redraw a clear schematic emphasizing relationships and labels.
- Begin reasoning. If you find yourself stuck because you need a better sense of proportions, redraw a to-scale figure on the same scrap page and mark measurements you compute or infer.
- Use the to-scale drawing to test conjectures (e.g., which angles are equal) but always complete a formal justification or algebraic reasoning that doesn’t depend solely on the drawing.
Checklist: What to Include on Every Diagram
Think of this as your visual proofreading list before you submit an answer on the AP exam.
- Point labels (A, B, C…)
- Given lengths and angle measures clearly written
- Tick marks for congruent segments, arcs for equal angles
- Right-angle squares where applicable
- Notations for parallel lines (arrow marks)
- Small notes on the diagram for intermediate conclusions
- Clear scale indication if you drew to scale (e.g., “Not to scale” or actual units like 1 cm = 2 units)
Table: When to Use Scale vs Schematic (Quick Reference)
| Problem Feature | Prefer To Scale | Prefer Schematic |
|---|---|---|
| Exact length or angle needed | Yes | No |
| Angle-chasing/proof | Sometimes | Yes |
| Similarity or ratio-based area | Yes | No |
| Order of points and qualitative relations | No | Yes |
| Quick reasoning under time pressure | Not usually | Yes |
Common Mistakes Students Make (and How to Fix Them)
We all learn faster if we know what traps to avoid. Here are errors students repeatedly fall into and simple fixes.
- Copying misleading diagrams. Fix: Always redraw and annotate the givens; don’t trust the printed proportions.
- Over-measuring. Fix: Don’t treat your ruler measurements as proof — use them only to generate a hypothesis you then confirm algebraically.
- Messy labels. Fix: Use consistent notation and write clearly; graders need to see your logic even if the drawing isn’t perfect.
- Mixing up schematic and to-scale conventions. Fix: If you switch styles mid-solution, add a note like “Drawn to scale for checking only.”
Practice Exercises to Build Your Diagram Intuition
Make diagram practice a daily habit. Here are progressive exercises to sharpen both schematic and scale skills.
- Week 1: Redraw textbook diagrams and annotate givens. Practice labeling every element clearly.
- Week 2: For similarity problems, sketch two triangles and experiment with quick-to-scale copies to see correspondences.
- Week 3: Time-trial angle-chasing — set a 5-minute limit and solve proof-style geometry questions using only schematics.
- Week 4: Coordinate challenges — plot points on graph paper to practice making accurate visual slope and distance judgments.
How Tutoring Can Accelerate Your Diagram Skills
Learning to decide between scale and schematic is an intuitive skill that improves fastest with targeted feedback. That’s where personalized tutoring shines: an expert can spot the small habits that slow you down (ambiguous labels, over-reliance on measured guesses, or unclear justifications) and give you drills tailored to fix them. For example, Sparkl’s personalized tutoring offers 1-on-1 guidance and tailored study plans that can help you practice rapid schematic creation, refine your to-scale drawing techniques, and use AI-driven insights to track improvement over time. Small, consistent corrections from a tutor shorten the learning curve dramatically.
Real-World Context: Why Scale vs Schematic Matters Beyond the Exam
Engineers, architects, and designers make this same judgement every day. An architect might sketch a schematic to capture the flow between rooms; an engineer will create to-scale blueprints when precise measurements are critical. The skill you build now — switching cleanly between qualitative and quantitative visuals — is directly transferable to college coursework and careers that require spatial reasoning and clear communication.
Sample Problem Walkthrough (Step-by-Step)
Below is a representative AP-style problem and a streamlined walkthrough showing the choice between schematic and to-scale approaches.
Problem: Triangle ABC has AB = 6, AC = 8, and BC = 10. A point D lies on BC such that BD:DC = 3:2. Find the length of AD.
Step 1 — Read and choose an approach: This is a ratio/length problem with a specific partition on BC. Drawing to scale will help visualize relative positions and may suggest using Stewart’s Theorem, coordinate placement, or mass points.
Step 2 — Quick to-scale sketch: Draw triangle with side BC drawn to length scale (e.g., 10 units on your paper). Mark B and C, place D at 6 units from B (since BD:DC = 3:2 gives BD = 6, DC = 4). Label AB = 6, AC = 8 approximately. This helps you see AD’s position.
Step 3 — Choose a method: The visual suggests mass points or Stewart’s Theorem. Either works; mass points can be faster here because of the ratio on BC.
Step 4 — Compute and verify: Apply mass points or Stewart to find AD, then check against your scaled diagram to confirm reasonableness.
This example shows how starting with a sketch to scale can guide method selection and prevent wasted algebra.
Time Management: How Much Time to Spend on a Diagram
AP exam timing is tight. Here’s a practical allocation rule for multiple-choice and free-response sections:
- Multiple Choice: Spend no more than 30–60 seconds producing a schematic. If a to-scale drawing is clearly necessary, limit it to 90 seconds.
- Short Free-Response: Use a schematic unless the problem explicitly involves measures or coordinate plotting. A clear schematic with labels is often enough and faster.
- Long Free-Response / Proof: Invest the time to redraw more carefully. Up to 3–4 minutes on a to-scale diagram is often worthwhile if it directly reduces algebra or clarifies the proof structure.
Closing Thoughts: Train Your Eye Like an Athlete Trains a Skill
Becoming fluent at choosing between to-scale and schematic diagrams is like developing game sense. It comes from repeated, mindful practice and feedback. Start every study session by redrawing, labeling, and defending your diagram choices. Use quick checklists, time yourself, and ask for targeted critiques — whether from teachers, study groups, or tutors. Personalized tutoring, for instance Sparkl’s 1-on-1 sessions, can speed up this progress by focusing on your specific pain points, tailoring practice problems, and using data-driven feedback so your improvements are visible week to week.

Practical Takeaway: A Simple Habit to Start Today
For the next two weeks, use this micro-habit during every practice problem:
- First 10 seconds — Decide schematic or scale.
- Next 30–90 seconds — Draw and label accordingly.
- Finish — Solve and annotate one intermediate observation on the diagram.
That small routine trains both speed and clarity. Over time you’ll build intuition about which problems benefit from measurement and which reward logical structure — exactly the edge you want on AP day.
Final Tip: Use Every Diagram Twice
Once for thinking and once for communicating. The first pass is your scratchpad; the second pass is the version the grader will read. Before you hand in an answer, quickly clean up the diagram near the end of your solution: darken labels, add any missing tick marks, and write one short sentence linking the diagram to your final step. It’s the simplest way to ensure your visual reasoning becomes a visible part of your score.


No Comments
Leave a comment Cancel