From IB Visual Arts to AP Art & Design: Why Your Portfolio Is More Than Finished Pieces
If you’ve spent time in IB Visual Arts, you already know that art is a journey — a braided story of ideas, experiments, failures and breakthroughs. AP Art & Design (formerly AP Studio Art) is similar: it wants to see your thinking, your hand, and your development across a body of work. The portfolio is not just a gallery; it’s an argument. It says, “This is who I am as an artist, and here’s how I got here.”
Whether you’re a student transitioning from IB to AP, a parent helping plan timelines, or both, this guide will walk you through making a compelling AP Art & Design portfolio and strong process documentation. It’s practical, warm, and full of examples and checklists — the kind of roadmap that turns anxiety into action.
Understanding What AP Art & Design Looks For
AP Art & Design evaluates portfolios in three possible sections depending on the submission type (2-D Design, 3-D Design, or Drawing):
- Investigation: How you research and develop ideas.
- Quality: Skillful execution of media, materials, and techniques.
- Concentration: A coherent, sustained exploration of a visual idea.
In short: they want to see both process and product. Your IB practice of development work, comparative studies, and exhibition-style reflection translates really well to the AP expectations — you just need to package it differently and be strategic about documentation and sequencing.
Start with a Narrative: Define Your Central Idea
A powerful AP portfolio usually springs from a tight, engaging central idea. This is not a strict rule, but having a clear anchor helps you make consistent choices that will be visible to reviewers. Your central idea might be:
- A formal exploration (e.g., color systems, texture, negative space)
- A theme (e.g., identity, migration, memory, technology and the body)
- A method (e.g., printmaking processes, site-based sculpture, digital collage)
Think in terms of a sentence: “I want to explore how [technique/subject] reveals [theme/insight].” That sentence will guide your concentration and help you choose process docs that prove development.
Example
“I will explore how fragmented urban signage and personal memory collide to form visual narratives of belonging, using collage and mixed-media layering to mimic memory’s piecemeal nature.”
How to Translate IB Materials Into AP-Friendly Process Documentation
IB tends to emphasize comparative visual studies, reflections, and the curatorial side of practice. AP wants development evidence — research, experiments, iterations, and refined works. Here’s how to use what you already have:
- Comparative studies → Use these as early research pages that show influences and formal choices.
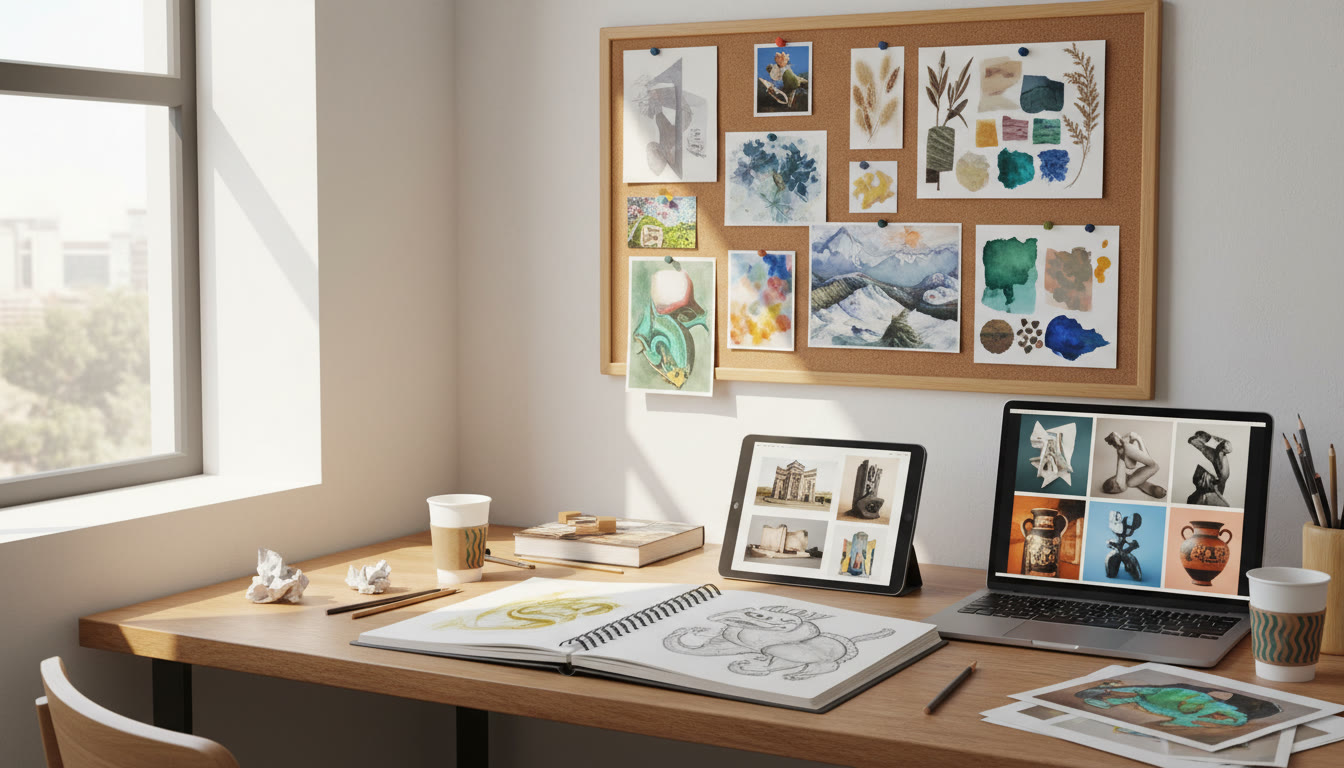
- Sketchbook experiments → Photograph or scan your strongest progress steps and annotate briefly to explain decisions.
- Exhibition reflections → Rework into concise captions that link outcomes back to your investigation.
Make sure to keep your process documents visually rich and organized: reviewers should be able to follow your decisions at a glance.
Practical Tip:
When photographing process work, keep consistent lighting and neutral backgrounds. A clear sequence of 3–6 images for a single project — from early thumbnails to a near-final piece — tells a stronger story than a dozen random snapshots.
Portfolio Structure: What to Include and Why
A successful portfolio balances finished works and process evidence. Here’s a typical structure you can adapt:
| Section | Purpose | Suggested Number of Pieces/Pages |
|---|---|---|
| Concentration Series | Show sustained exploration and depth. | 8–12 refined works or paired process+final pages |
| Quality Pieces | Show technical skill and successful resolved works. | 4–8 finished pieces |
| Investigation/Process | Show research, experiments, and idea development. | 6–12 pages of annotated studies, thumbnails, and photos |
Many students find success by weaving process and finished work together so the examiner sees one continuous story. For instance, place a process spread next to the polished work it led to.
Documenting Process: What Examiners Want to See
Not all process is equal. Here are high-impact items that strengthen investigation marks:
- Thumbnail sketches that show exploration of composition.
- Material tests with short notes about what you learned (e.g., “gesso adhesion issues” or “color shift when layered with glaze”).
- Sequential photos of a construct or mixed-media build at key steps.
- Comparative visual research with annotations that tie the source to your choices.
- Written reflections (concise) that explain hurdles and how you overcame them.
How Much Writing?
Keep it short and focused — a sentence or two per process page, or a short paragraph for a bigger experimental phase. The writing should clarify; it should not narrate every brushstroke.
Design and Presentation: Make Your Submission Easy to Read
Good presentation is almost like good breathing in a performance — it helps the work land. Consider these presentation rules:
- Neutral backgrounds for photographed works.
- Consistent image sizes and margins in digital uploads.
- Clear captions that include title, medium, and date (and a one-line context sentence when useful).
- A logical visual flow: research → exploration → development → resolution.
AP readers often review many portfolios in a session. Make their job easy: clarity and coherence boost your chance of recognition.
Timeline and Planning: A Realistic Schedule
Start early. Use a project timeline that spaces research, experiments, development, and final presentation over months rather than weeks. Here’s a sample 16-week timeline that balances schoolwork and art production:
| Weeks | Focus | Outcomes |
|---|---|---|
| 1–2 | Idea generation and research | Central idea sentence, 10 research sources, thumbnails |
| 3–6 | Material experiments and small studies | 6–10 process pages, tests, early mockups |
| 7–11 | Develop concentration series | 6–10 major works in progress; iterative documentation |
| 12–14 | Finalize works and quality checks | Refined final pieces and photographic documentation |
| 15–16 | Assemble portfolio and proofread captions | Final upload-ready files and backup copies |
Buffer Time
Always add at least one week of buffer for re-shooting photos, re-scanning, or handling upload tech issues. Rushed documentation looks rushed — give yourself time to make it sing.
Practical Examples: Small Project Walkthrough
Here’s a condensed example that demonstrates how a small investigation can become the spine of a portfolio:
- Central Idea: Explore how discarded packaging becomes personal narrative.
- Investigation: Photograph urban trash, collect packaging, study textures and typography.
- Experiments: Layered collages with translucent paper, ink transfers, and stitched elements.
- Development: Create a series where each piece blends a found label with a memory vignette; process pages show the ink-transfer failures and why stitching became the solution.
- Resolution: 8 works that vary scale and technique but are clearly related; process pages paired next to final pieces.
The documentation that describes the failed ink-transfer experiments and subsequent shift to stitching is gold — it shows problem-solving and an adaptive investigation.
Digital Submissions: Image Quality and File Management
When you move from studio to screen, image quality matters. Tips for digital readiness:
- Shoot at high resolution; crop tightly but leave margins for context.
- Use natural, even light (north-facing window) or a softbox setup to avoid harsh shadows.
- Save master files (TIFF or high-res JPEG) and export compressed copies for upload.
- Name files clearly: YYYY_Title_Medium_Version.
- Keep an organized folder structure: Research / Experiments / In-Progress / Finals / Captions.
Feedback, Critique, and Iteration
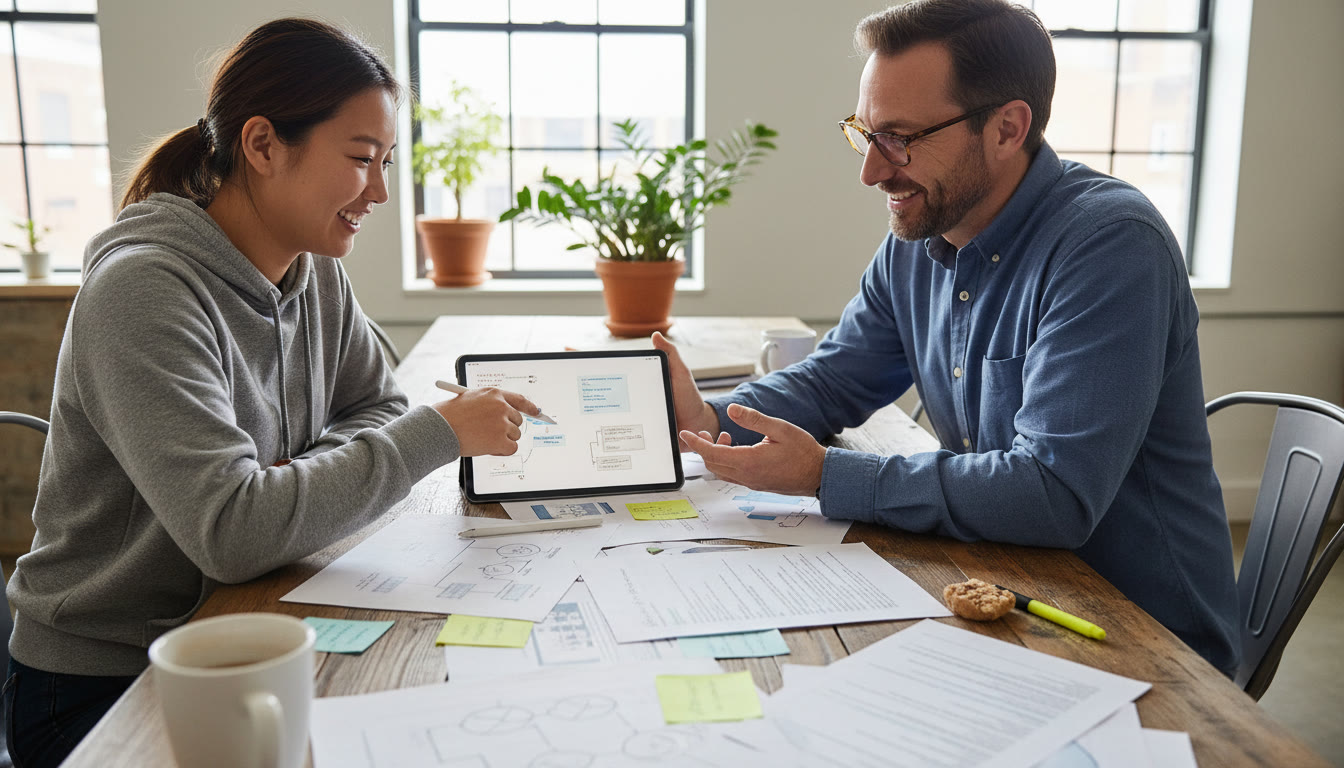
One of the most important parts of building a portfolio is receiving targeted feedback and iterating. Seek critique from teachers, peers, and mentors who will ask the tough questions: Is the concentration cohesive? Does each piece move the investigation forward?
Sparkl’s personalized tutoring can fit naturally into this step: one-on-one guidance helps you refine ideas, craft tighter process documentation, and create a tailored study and production plan so your time is efficient. Tutors can simulate reader responses and help you choose which studies to include or trim.
How to Use Critique Effectively
- Ask specific questions (e.g., “Does this piece clarify the series’ intent?”) rather than general praise-seeking.
- Document suggested changes and try at least one revision so you can show the critic that you acted on feedback.
- Keep an evidence file of before/after to add to process pages — this proves growth.
Common Pitfalls and How to Avoid Them
Students often stumble on similar things. Here’s how to avoid those traps:
- Scattered Focus — fix: return to your central idea sentence weekly and prune works that don’t serve it.
- Too Much Process, Too Little Resolution — fix: distill process into the most revealing moments and pair with finished pieces.
- Poor Photo Documentation — fix: practice photographing a few test pieces and compare results before shooting the whole portfolio.
- No Evidence of Risk-Taking — fix: include at least one bold experimental page showing problem-solving, even if the experiment failed.
Checklist: What to Upload or Print
Use this final checklist before submission. Each item should be confirmed, photographed, or saved in your master folder.
| Item | Yes/No | Notes |
|---|---|---|
| Central idea statement | Yes | Concise and visible within the portfolio |
| Annotated process pages | Yes | 3–8 key sequences with short explanations |
| 8–12 focused works for concentration | Yes | Consistent visual language |
| High-quality images | Yes | Uniform lighting and clear framing |
| Backup copies | Yes | Cloud and external drive |
How Sparkl’s Personalized Tutoring Can Help (Without Overpowering Your Voice)
Personalized tutoring isn’t about replacing your voice — it’s about sharpening it. A good tutor can:
- Help you articulate the central idea and write concise process captions.
- Create a tailored production timeline that fits your school load.
- Offer technical demonstrations and suggest targeted experiments to push your work.
- Use AI-driven insights to identify weak spots in your visual argument and propose alternatives.
If you choose this route, keep authenticity first: the portfolio must reflect your hand, your choices, and your perspective. Tutors are sounding boards and coaches — not authors.
Final Words: The Portfolio as a Conversation
Think of your AP Art & Design portfolio as a conversation between you and the reader. You’re inviting them to walk your path: to see where you hesitated, where you experimented, and where you completed something meaningful. Keep your voice clear. Make the process visible. Embrace risks and be ruthless with anything that distracts from your main investigation.
For students coming from IB Visual Arts, you already carry a tremendous advantage: you’ve been trained to research, reflect, and curate. AP wants that same intellectual curiosity — now packaged to emphasize development and sustained inquiry. With a clear idea, consistent documentation, quality execution, and a realistic timeline, your portfolio will not only meet expectations — it will communicate who you are as an emerging artist.
Quick Next Steps
- Write your one-sentence central idea this week.
- Collect 10 visual references and conduct quick comparative studies.
- Run three material experiments and document outcomes.
- Schedule weekly critique sessions — include at least one mentor or tutor for an outside perspective.
Good art takes time, curiosity, and revision. If you want help turning ideas into a clear, submission-ready portfolio, Sparkl’s personalized tutoring can provide one-on-one guidance, tailor-made study plans, and focused feedback — all in service of preserving and amplifying your voice. Now pick up that sketchbook, start documenting, and let your process become the evidence of the artist you’re becoming.
If you’d like a printable version of the checklist or a sample timeline you can edit, ask and we’ll create one tailored to your schedule and medium.


No Comments
Leave a comment Cancel