
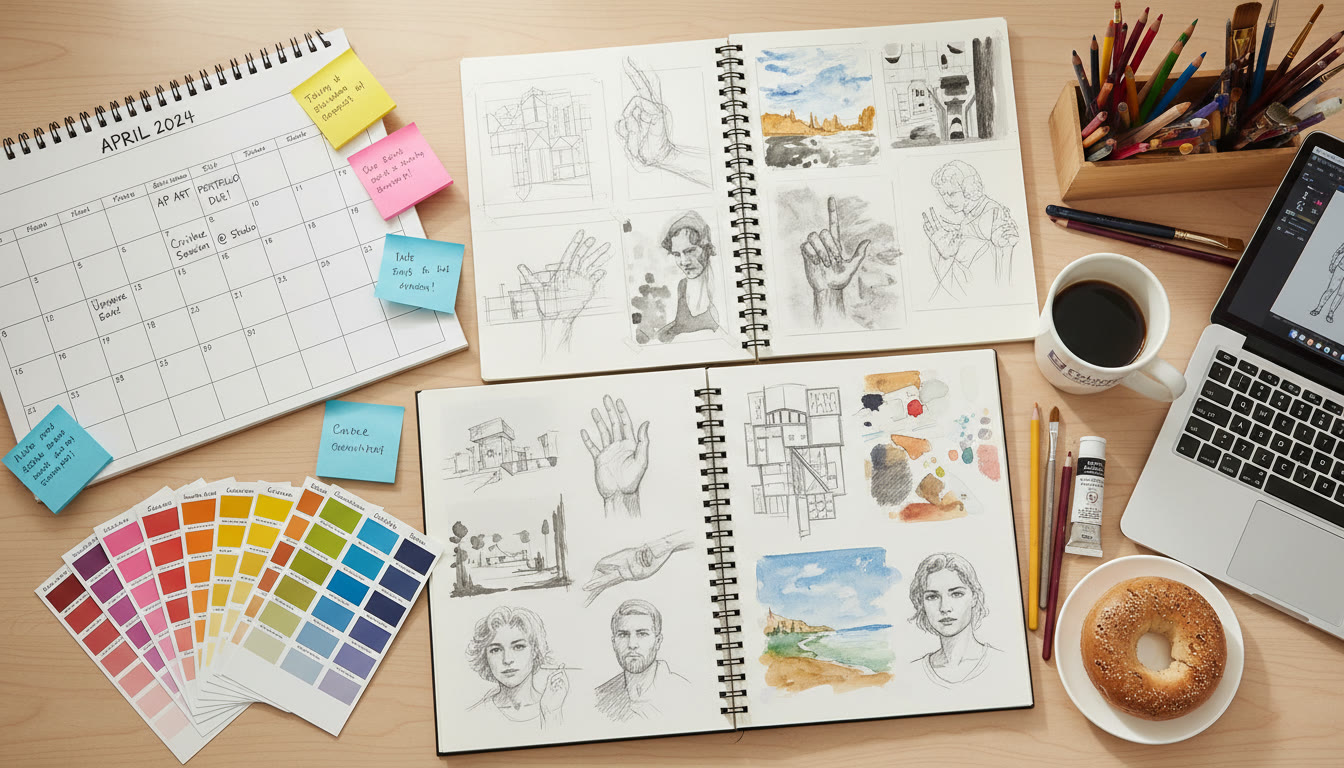
Why an Art Portfolio Calendar Is Your Secret Studio Ally
If you’re behind your table easel with a pile of ideas, a half-finished series, and the AP Studio Art deadline looming, you are not alone. Creating a strong portfolio is equal parts artistic exploration and logistical choreography. A thoughtfully designed calendar turns chaos into momentum — it helps you pace experimentation, schedule critiques, and hit submission dates with confidence and calm. This post shows you how to build that calendar, adapt it to your creative rhythm, and use it to showcase your best work.
Start With Purpose: Define Your Portfolio Goals
Before you pencil in deadlines, ask three foundational questions that make your calendar meaningful:
- What AP portfolio are you submitting? (2-D Design, 3-D Design, or Drawing).
- What’s the scope? How many pieces and images will you need for Sustained Investigation or Selected Works?
- What story do you want to tell? Is your portfolio showing thematic depth, technical growth, or conceptual experimentation?
Knowing the answers shapes time allocation: a conceptual Sustained Investigation needs longer research and iteration blocks, while selected works might demand focused technical refinements.
Design a Calendar That Honors Art Practice
Most students find a hybrid calendar best — a fixed macro-schedule for deadlines and flexible micro-sprints for making. Use three layers:
- Macro Layer (Big Milestones): project start dates, midterm critiques, portfolio review, and final submission. These are immovable anchors.
- Meso Layer (Biweekly Sprints): two-week goals such as sketch sets, material tests, first complete draft of a piece, and reworking based on feedback.
- Micro Layer (Daily/Session Plans): what you’ll do each studio session — studies, color experiments, photo shoots, or digital edits.
Visually layer them on your calendar: color-code the macro, meso, and micro tasks so you can read your week at a glance.
Sample 12-Week Calendar for an AP Portfolio
Below is an adaptable 12-week scaffold. Tailor each week to your course schedule and when the College Board deadline falls. Use this as a baseline and adjust according to your needs and creative pace.
| Week | Focus | Key Tasks | Deliverable |
|---|---|---|---|
| 1–2 | Research & Ideation | Theme brainstorming, reference gathering, thumbnail sketches, material tests | 10+ thumbnails, 3 successful material tests |
| 3–4 | Prototype & Experiment | Small studies, color comps, mock-ups, collect feedback | 3 study pieces, critique notes |
| 5–6 | Develop Major Works | Begin 2–3 full-scale pieces, document progress, test presentation options | 1–2 pieces at 50% completion |
| 7–8 | Refinement | Rework, integrate feedback, finalize compositions and technical details | 2 pieces at near-complete quality |
| 9 | Photography & Documentation | Photograph works, edit images, create process documentation | High-quality images and process notes |
| 10 | Portfolio Assembly | Select images, sequence portfolio, finalize artist statement | Complete draft portfolio |
| 11 | Peer Review & Tutor Feedback | External critique, make last adjustments, polish presentation | Revised portfolio |
| 12 | Final Checks & Submission | Proof metadata, upload, confirm submission logistics | Submitted portfolio |
How to Break Down a Week: A Practical Template
Use this model for any week in the calendar. Swap in your own tasks and time estimates.
- Monday: 30–60 minutes sketching and planning; set goals for the week.
- Tuesday–Thursday: 2–3 studio hours focused on making and problem solving (split tasks: one day for color, one for composition, one for technical fixes).
- Friday: 1 hour of photo documentation or staging; short critique with classmates or online peer group.
- Weekend: Longer block (3–5 hours) for uninterrupted making or a visit to reference sites (museum, park, photo session).
Study-Sized Sessions vs. Marathon Days
Not every session needs to be a marathon. Alternate concentrated study-sized sessions (60–90 minutes) with an occasional marathon when you need to complete a large assembly or photographic setup. This helps preserve creative energy and reduces burnout.
Tools and Techniques to Make the Calendar Work
Some students prefer paper planners; others live in digital calendars. The best choice is the one you’ll actually use.
- Calendar Apps: Use color-coding and recurring events. Create reminders for critique deadlines and image uploads.
- Kanban Boards: Great for visualizing progress (To Do — In Progress — Need Feedback — Complete).
- Timer Techniques: Pomodoro cycles (25–30 minute focused sprints with short breaks) are ideal for studio focus.
- Documentation Routine: Schedule a 20–40 minute block at the end of each workday to photograph, write process notes, and backup files.
Balancing Creativity and Assessment Requirements
AP portfolios are evaluated on both technical skill and conceptual depth. Your calendar should protect time for both expression and execution.
- Block specific sessions just for experimentation — these are where surprising ideas are born.
- Block other sessions for technical refinement — glazing, sanding, digital editing, or print tests that require patience and precision.
- Always include buffer time for revisions after critiques — plan to rework at least two times per major piece.
Real-World Example: The Iterative Window
Imagine you schedule an 8-week iterative window for a major piece: Week 1 for research, Week 2 sketches, Weeks 3–5 for building, Week 6 for drying/curing, Week 7 for surface finishes, and Week 8 for documentation. This structure gives material processes the slack they need and prevents last-minute panic when a painting or ceramic piece needs extra drying time.
Using Critiques to Drive Calendar Updates
Feedback is the engine of improvement. Schedule regular critiques and treat critique notes as calendar tasks. After every critique:
- Write 3–5 actionable revisions and assign each a date.
- Prioritize changes by impact: what will make the portfolio stronger in the eyes of a reviewer?
- Reserve time within 48–72 hours to act on at least one suggestion — quick wins keep momentum going.
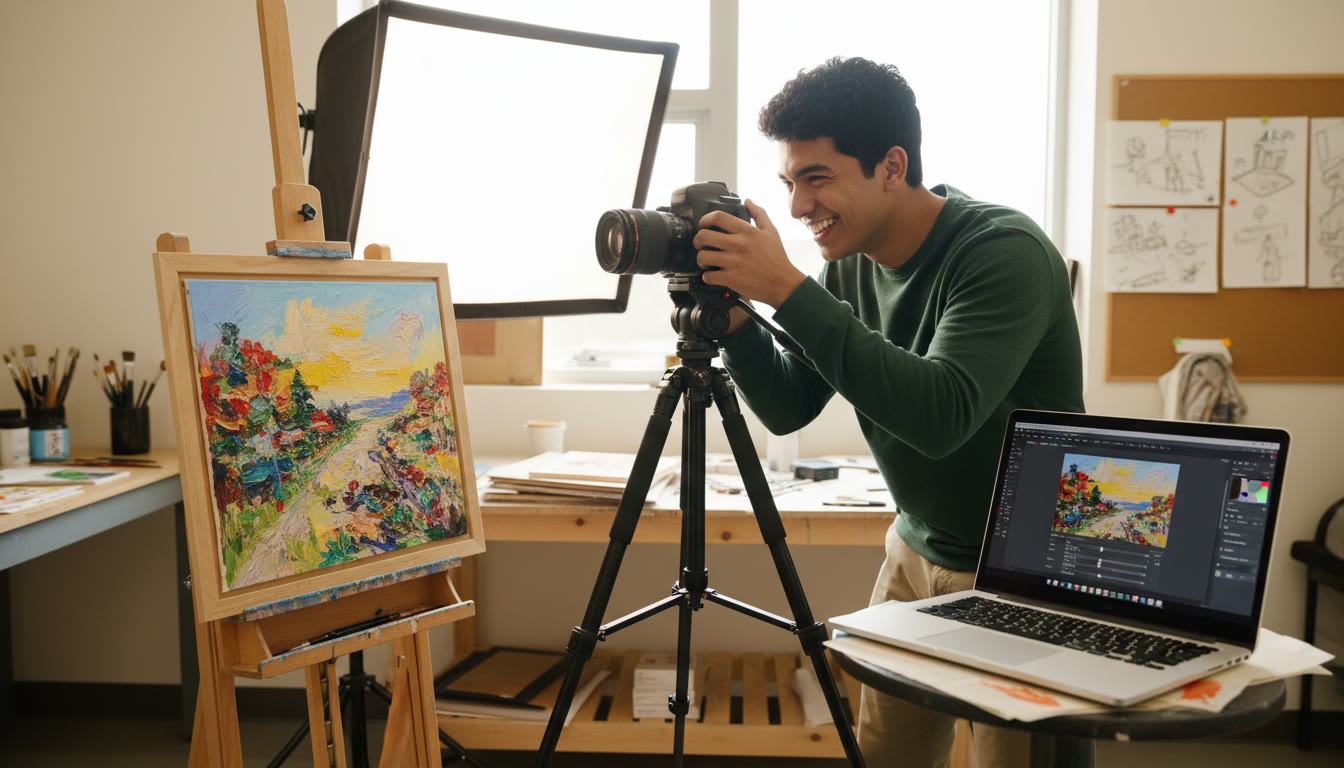
Photography and Documentation: Non-Negotiable Calendar Items
Many otherwise excellent portfolios falter because images are rushed or low-quality. Plan photography early and allow time for re-shoots:
- Schedule a lighting setup and test shots before finalizing pieces.
- Allocate editing sessions for color correction and cropping.
- Keep raw files and annotated process photos in a single folder labeled by date and project for easy retrieval.
Sample Task Breakdown: From Concept to Upload
Here’s a short checklist you can copy into your calendar tasks for each final piece:
- Finalize composition and materials (2 sessions)
- Complete full-scale execution (3–6 sessions depending on medium)
- Drying/curing/setting time (variable — schedule conservatively)
- Photograph with controlled lighting (1 session)
- Edit images and export required sizes (1 session)
- Write/update process statement and metadata (1 session)
- Peer review and last fixes (1 session)
Staying Flexible Without Losing Track
Creative projects are inherently unpredictable. Your calendar should therefore be both disciplined and forgiving.
- Reserve buffer days around major steps — unexpected delays and creative breakthroughs both need space.
- Conduct weekly check-ins with yourself (or a mentor) to re-prioritize tasks and move things around if needed.
- Use a rolling two-week plan for micro-management — if something shifts, only a couple of weeks need to be reworked, not the whole semester.
How Tutors and One-on-One Guidance Fit Into the Calendar
Targeted feedback accelerates progress. Schedule tutoring or mentor sessions strategically — after ideation and before final execution phases. Personalized tutoring, like Sparkl’s personalized tutoring, can give you tailored study plans, 1-on-1 guidance, and expert feedback that directly informs what you block off on your calendar. Book sessions for:
- Early portfolio concept development (to vet themes and feasibility)
- Mid-process check-ins (to refine technique and sequencing)
- Final reviews (to ensure alignment with AP criteria and presentation standards)
A tutor familiar with AP assessment expectations can help you prioritize revisions and suggest targeted improvements that save time and strengthen your submission.
Common Time-Sinking Pitfalls and How to Avoid Them
Students often lose hours to avoidable pitfalls. Watch for these and plan accordingly:
- Perfection Paralysis: set intentional stopping points for each revision and schedule review slots rather than letting a piece endlessly oscillate.
- Underestimating Drying/Processing Time: always overestimate by 25–50% for media like oils, clay, or mixed-media finishes.
- Poor Documentation: don’t wait until the last week to photograph — a rushed shoot usually produces weaker images.
- One-Person Echo Chamber: regular outside feedback prevents costly stylistic detours.
Checklist Before Final Submission
Use this checklist 7–10 days before your submission deadline to avoid last-minute stress:
- All images edited to required specifications and file names standardized.
- Process documentation completed (research images, thumbnails, studies).
- Artist statement and metadata proofread and finalized.
- Backup copies saved to cloud and external drive.
- At least one peer review and one tutor review completed.
- Submission logistics (login credentials, test upload) verified.
Personal Well-Being: The Often-Missed Calendar Item
The calendar should protect your creative stamina. Block non-negotiable times for sleep, eating well, and short breaks. Insert micro-rests into long studio days and plan full recovery days after marathons. A healthy routine yields sustained quality and better decision-making in your art.
Final Thoughts: Make the Calendar Yours
The best art portfolio calendar is one you actually use. Start simple, protect your essential creative hours, and iterate on the schedule based on what you learn about your process. Track the outcomes: which weeks produced your strongest work and why? Use that data to refine future calendars.
Remember, calendars are not cages — they’re scaffolds that support creative risk-taking. With a balanced mix of planning, feedback, and flexibility, you’ll craft a portfolio that’s both cohesive and compelling.
Quick Takeaways
- Create three calendar layers: Macro, Meso, Micro.
- Schedule documentation and photography early.
- Reserve buffer time for material processes and revisions.
- Use critiques to turn feedback into scheduled tasks.
- Include well-being and recovery in your calendar.
- Seek targeted 1-on-1 guidance — it can save time and sharpen results.
Now pick up your planner, sketch the next two weeks, and block your most creative hours. With a clear calendar, your ideas get the time they deserve and your portfolio gets the attention it needs to shine.


No Comments
Leave a comment Cancel