Recording Tech Tips: Clean Audio, No Panic
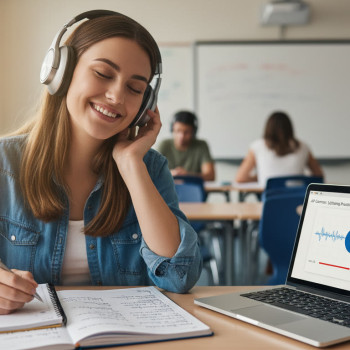
Whether you’re narrating an AP presentation, recording a lab reflection for AP Environmental Science, or putting together a spoken component for your AP Research project, good audio dramatically upgrades the impression your work makes. Clean sound doesn’t require a studio or a fat wallet — it needs a few smart choices, a calm setup routine, and a practice mindset. This guide walks you through practical, student-friendly steps to get reliable audio, troubleshoot on the fly, and craft recordings that let your ideas shine.
Why audio quality matters (especially for AP students)
Imagine a well-argued AP seminar response or a beautifully researched AP Research narration ruined by muffled voice, distracting room echo, or clipping. Grading rubrics and reviewers are human — clarity helps them focus on your content. Clean audio also shows professionalism and care: it tells your teacher or the AP reader that you took the assignment seriously. In multi-component AP work where presentations, reflections, or multimedia submissions count, audio can be the difference between an engaging submission and one that’s overlooked.
Real-world stakes and benefits
- Clarity helps communicate nuance: complex explanations in AP Physics or AP Calculus benefit from clean verbal delivery.
- Fewer distractions — less time lost to re-listening or confusion during grading.
- Reusable recordings — good source audio can be repurposed for study notes, portfolio showcases, or college applications.
Core gear that actually helps (without breaking the bank)
You don’t need pro-level microphones to sound good. Focus on a few high-impact items that reliably improve your recordings.
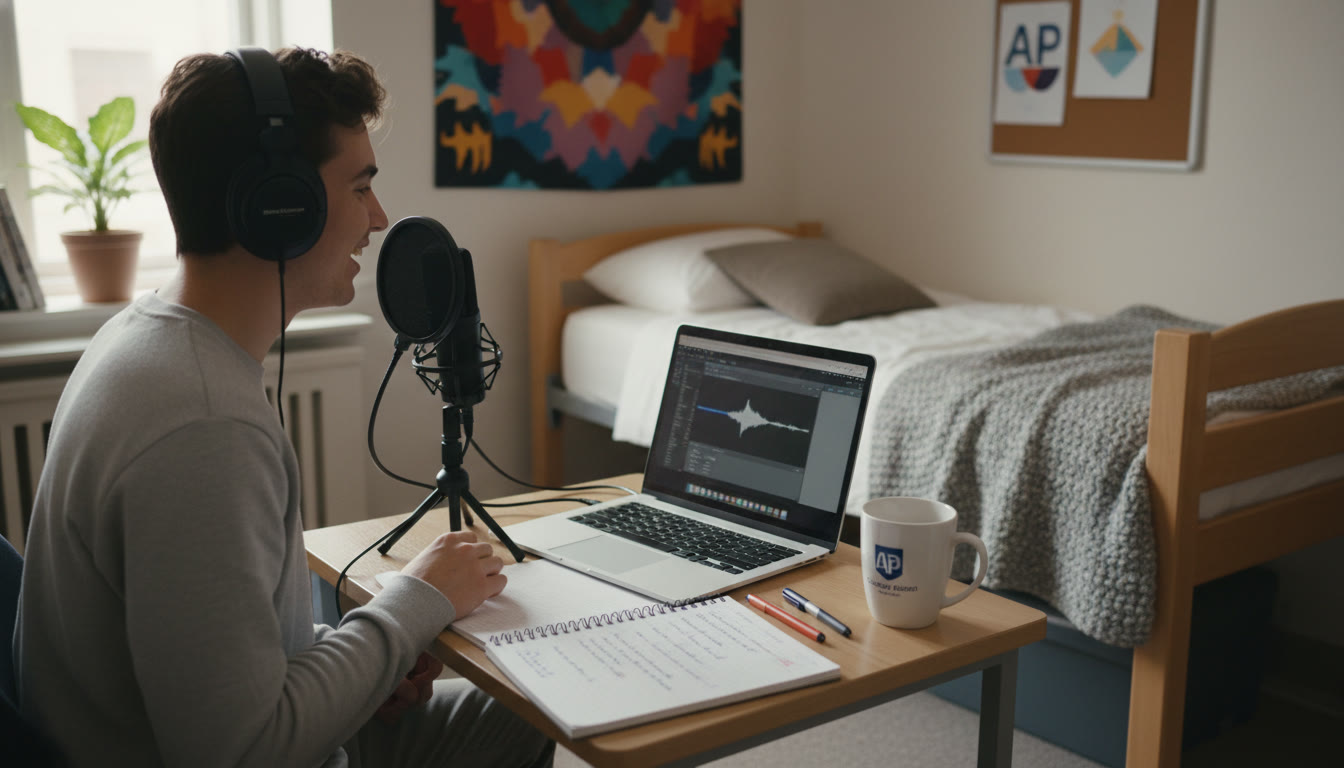
1. Microphone: prioritize clarity over price
For most students, two categories make sense:
- USB condenser or dynamic mic: Plug-and-play with a laptop. A USB condenser is sensitive and captures detail; a dynamic USB mic is typically less sensitive to room noise. Either is fine — choose based on your environment.
- Lavalier (lapel) mic: Great for mobile recordings or if you’ll be moving. Wired lavaliers plugged into your device usually outperform the built-in mic on a phone.
Pro tip: A $50–$120 USB microphone will usually sound miles better than a laptop mic. But if you’re recording in a noisy hallway, a headset or lavalier that sits close to your mouth can be preferable to a sensitive condenser that picks up everything.
2. Headphones: essential for monitoring
Use closed-back headphones to monitor while recording. They help you catch background noises, plosives (pops), and clipping. They also let you listen during editing without introducing feedback loops.
3. Stand, pop filter, and positioning
- Microphone stand or desk arm keeps the mic steady and consistently positioned.
- Pop filter or foam windscreen reduces pops from strong P and B sounds.
- Position the mic 6–12 inches from your mouth at a slight angle to reduce plosives and breath noise.
4. Quiet room treatments (low cost, high impact)
Small changes to your recording environment can make huge differences:
- Soft furnishings (blankets, pillows, curtains) reduce echo.
- Record in a closet full of clothes if you can — the clothes act as natural sound absorbers.
- Turn off noisy appliances, close windows, and ask roommates for 10–15 minutes of quiet during takes.
Simple recording setup checklist
Before you hit record, run through this short checklist to reduce surprises.
| Item | What to check | Why it matters |
|---|---|---|
| Microphone connection | Is it securely plugged in? Correct input selected in software? | Prevents no-sound issues and last-minute panic. |
| Headphones | Working and comfortable; monitor sound live. | Helps detect noise and clipping while recording. |
| Recording levels | Peak around -6 dB to -3 dB; avoid hitting 0 dB. | Prevents clipping and preserves headroom for editing. |
| Room quiet | Appliances off, notifications silenced, door closed. | Reduces background distractions in the final file. |
| Script or notes | Clear bullet points or a short script in front of you. | Keeps your delivery smooth and reduces long awkward pauses. |
Recording technique: speak like you mean it
Good technique can sometimes outshine even expensive gear. Focus on a few reproducible habits.
Breath control and pacing
Take small, quiet breaths before sentences, and pause naturally between ideas. Rushing leads to clipped words and extra breaths in the recording. Practice reading your script aloud once before recording so you know where the natural pauses fall.
Articulation and tone
Project from the diaphragm more than from the throat — this gives a warmer, more even tone. Imagine speaking to a student who’s two rows behind you in class; that helps maintain clarity without shouting.
One thought at a time
Record sentence-length takes when possible. If you trip, pause, breathe, and repeat the sentence or phrase. These short, clean takes are easier to edit together later than long, tangled runs.
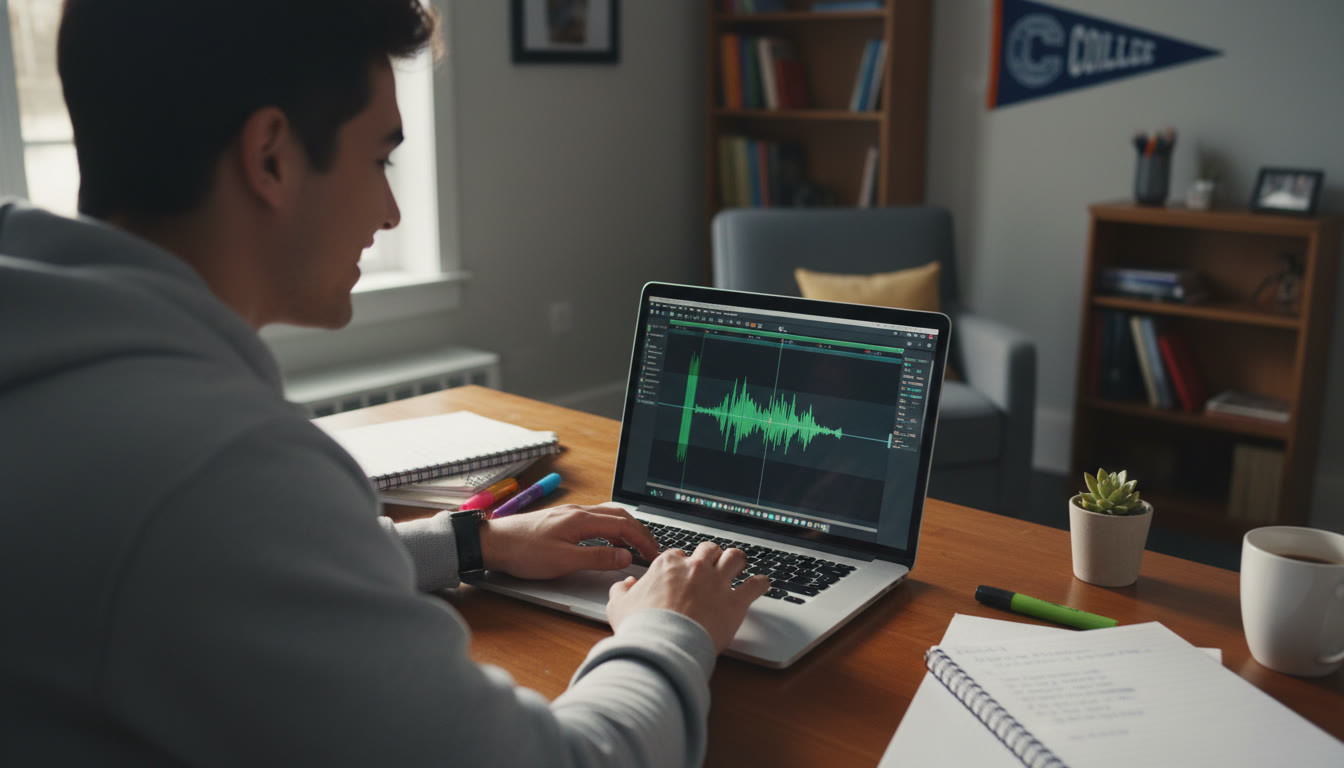
Software and workflow (fast and forgiving)
You don’t need to be an audio engineer. Use simple, reliable software and a repeatable workflow so you can focus on content.
Recording apps that make life easy
- Audacity (free): A straightforward editor for cleaning and exporting audio.
- GarageBand (free on Mac): Easy multitrack recording and basic editing.
- Voice Memos or simple recorder apps: Handy for quick takes on a phone; pair with a lavalier for better quality.
Recording format and levels
Record in WAV or high-quality MP3 (192–320 kbps) if WAV isn’t available. Aim for a peak level that stays under 0 dB to avoid clipping; a target peak between -6 dB and -3 dB gives editing room.
Basic editing steps
- Trim leading/trailing silence and obvious mouth noises.
- Apply a gentle high-pass filter (around 80–120 Hz) to remove low-frequency rumble.
- Use mild compression to even out dynamic range if needed — don’t over-compress.
- Normalize to a target loudness (e.g., -14 LUFS for spoken word) if your app supports it.
Troubleshooting: calm fixes for common problems
When things go wrong, a short troubleshooting checklist keeps panic at bay.
Problem: Recording is too quiet
- Check input levels in your software and system settings.
- Move the mic slightly closer (but watch for plosives).
- Use a gain boost in software rather than cranking preamp noise.
Problem: Distortion or clipping
- Lower the input/gain; re-record the section if possible.
- If clipping is minor, use software repair tools (but don’t rely on them).
Problem: Background hum, fan noise, or AC hum
- Temporarily turn off noisy electronics or relocate.
- Use a noise reduction tool sparingly; extreme filtering can make voices sound thin.
Problem: Echo or reverb from the room
- Move to a smaller, furnished room (closets are great).
- Add soft materials around the mic (blanket, pillow). If reverb persists, re-record in a different space.
Time-saving strategies for AP deadlines
AP deadlines, school schedules, and life collide. Use these strategies to stay on track and produce quality audio without crunch-time chaos.
Batch your work
Record multiple short segments in one session. This reduces setup time and helps maintain a consistent tone and sound across your project.
Use templates and checklists
Create a default recording template in your software with a preferred input setting, track names, and basic processing chain (high-pass and light compression). That way, each session starts with the same reliable settings.
Practice a dry run
Do a quick 60-second test recording to check levels and room noise before committing to the full take. It’s a tiny time investment that saves major rework later.
Editing tips that polish without overcomplicating
Editing should be about clarity and flow, not endless tinkering. Keep edits purpose-driven.
Cut for clarity
- Remove long pauses, repeated words, and obvious mistakes.
- Smooth transitions with very short crossfades (10–40 ms) if you’re joining takes.
Natural consistency
Balance loudness across segments so listeners don’t need to adjust volume mid-way. A light compression step followed by loudness normalization helps here.
When to bring in help — and how to do it efficiently
Some recordings benefit from outside help. If you’re stuck on editing, audio cleanup, or just want feedback on delivery, consider asking a teacher, peer, or a tutor for a quick review. A short 15–20 minute session to critique one recorded paragraph can accelerate improvement more than hours of solo rework.
Sparkl’s personalized tutoring can fit naturally here — a quick 1-on-1 session with an expert tutor can help you refine script delivery, choose the right recording approach for your AP rubric, or get targeted editing tips. Their tailored study plans and AI-driven insights can suggest efficient practice drills and simple audio workflows specific to your assignment needs.
Putting it all together: a sample workflow for an AP project
Follow this repeatable workflow to produce reliable recordings under AP deadlines.
- Prepare: Draft a script or bullet outline. Time the script to estimate final length.
- Set up: Microphone, headphones, pop filter, quiet room. Run the checklist table above.
- Test: Do a 60-second level and room test, adjust gain so peaks hit -6 dB.
- Record: Record in short takes (sentence or paragraph length). Label takes clearly.
- Edit: Trim, apply a high-pass filter, compress lightly, normalize to target loudness.
- Review: Listen on headphones and laptop speakers. Fix any glaring issues.
- Export: Save as WAV or high-quality MP3 and back up in two locations (cloud and local).
Accessible tips: inclusivity and exam conditions
AP assignments sometimes require accessible formats or need to match exam conditions. If you or your audience have hearing needs, consider adding a transcript, closed captions, or a clean text version of your narration. Keeping a transcript also helps with indexing, review, and allows graders to scan and check technical claims quickly.
Examples and quick comparisons
Here are short, practical comparisons to help you choose a setup quickly.
| Situation | Recommended Setup | Why |
|---|---|---|
| Dorm room with roommates | Lavalier mic into phone, record in closet; headphones to monitor. | Close mic reduces room noise; closet dampens echo. |
| Quiet home office | USB dynamic mic on a stand with pop filter; closed-back headphones. | Good balance of clarity and rejection of distant noise. |
| On-the-go field recording (AP Environmental Science) | Portable recorder or phone with lavalier; record multiple takes and ambient reference track. | Documents conditions; lavalier captures clear narration even outdoors. |
Practice drills that actually improve recordings
Spend 10–15 minutes a few times a week on these quick drills and you’ll notice measurable improvement in tone, pacing, and confidence.
- Read aloud practice: Read one paragraph from class notes, focusing on breath and clarity.
- Mic proximity drill: Record the same sentence at 6, 9, and 12 inches and listen for warmth and breath noise.
- One-sentence edits: Record a sentence, deliberately make a mistake, then re-record that sentence — practice clean edits and crossfades.
Submission checklist for AP-style multimedia assignments
Before final upload or submission, confirm everything so technical issues don’t cost you points.
- File format matches teacher or AP specification (WAV/MP3 as requested).
- Filename is clear and includes your name and assignment (e.g., LastName_APCourse_Project.wav).
- Transcript or captions included if required or encouraged.
- Backup copies exist in cloud storage and locally.
- Final listen-through on at least two playback systems (headphones and laptop speakers).
Learn faster with feedback
Feedback accelerates improvement. Pair recordings with a short rubric: clarity, pacing, noise level, and content accuracy. Rate each take and note one thing to improve on the next run. If you want targeted feedback, Sparkl’s personalized tutoring offers short 1-on-1 sessions where a tutor listens to a sample, gives concrete edits, and suggests practice tasks — combining expert human feedback with AI-driven study plans to make the next recording noticeably better.
Final words: prioritize progress over perfection
When deadlines loom, students often try to make one perfect take — but real improvement comes from iteration. Record, listen, tweak, and repeat. Use the checklist and simple gear recommendations above to remove guesswork. A calm workflow and a handful of good habits will produce clean audio that complements your ideas and helps your AP work stand out.
Remember: clarity helps your work speak for itself. With a bit of preparation, a modest investment in the right tools, and a repeatable routine, you can produce audio that’s clear, confident, and ready for any AP assignment. If you’d like guided, targeted help, short tutoring sessions — like those Sparkl offers — can speed up your learning curve and get you comfortable with both delivery and recording technique.
Now breathe, set your levels, and hit record — no panic, just progress.


No Comments
Leave a comment Cancel