Why Storage and Transport Matter for Sculpture Students
Moving a sculpture is not just about getting it from point A to point B. For students in AP Studio Art, college-bound makers, and emerging artists, the journey of a three-dimensional piece is a test of foresight, resourcefulness, and care. A dented corner, a cracked base, or a scuffed finish can change a grade, a portfolio impression, or the emotional resonance of the work. This guide breaks down practical logistics—storage, packing, transport, and documentation—into relatable steps you can use whether you’re taking a clay study to critique, sending a mixed-media piece to a juried show, or moving work home for the summer.
Plan First: The Pre-Move Checklist
Good moves start with good planning. Before you pick up a box or rent a van, pause and answer a few critical questions. Planning reduces panic (and broken toes).
- What is the sculpture made of? (Clay, plaster, metal, wood, mixed media, found objects)
- How fragile or heavy is it? Can it be disassembled?
- Is the surface sensitive to abrasion or humidity?
- How far and how long will it be in transit? (Across campus, across town, interstate)
- Who will handle it—students, family, professional art handlers?
- What is your budget for materials, vehicle, and potential insurance?
Write concise answers for each question. The rest of the process flows from these facts.
Quick Tip: Inventory and Photographs
Take clear photos from multiple angles and note dimensions and any pre-existing marks. These photos are crucial for insurance claims and grading records. Consider adding a short provenance note—when and where the piece was made, materials used, and any special handling needs.

Packing Materials: What You’ll Actually Need
Effective packing combines protection with support. Below is a practical list that balances cost and safety—great for students operating on limited budgets.
- Corrugated cardboard sheets and double-walled boxes (for heavier pieces)
- Rigid foam board or foam core (to create internal braces and partitions)
- Bubble wrap of different thicknesses (small-bubble for delicate surfaces)
- Acid-free tissue paper (wrap delicate finishes to prevent abrasion)
- Stretch wrap or plastic film (holds lightweight loose elements without adhesive touching the surface)
- Packing peanuts or recycled paper (cushioning that fills voids)
- Corner protectors, foam blocks, and wooden cleats for very heavy bases
- Banding straps and ratchet straps (for securing inside vehicles)
- Blankets and moving pads (soft protection for large pieces)
- Marker and fragile stickers for clear labeling
Make It Sustainable
Students can often source boxes and padding from campus mailrooms, local bookstores, or reuse packing from deliveries. Recycled paper and bubble alternatives (corrugated layers, shredded paper) are often cheaper and kinder to the planet.
Packing Techniques—Step by Step
Packing is where craft meets engineering. Below are standardized steps that work for most sculptures, plus variations for common materials.
- Clean and Stabilize: Ensure the sculpture is dry and clean. Remove detachable parts and label them clearly. Stabilize any loose joints with temporary ties or soft padding—avoid permanent adhesives.
- Create a Cradle: For irregular shapes, craft a cradle using foam board or rolled cardboard to support the base and align the center of mass. This prevents shifting.
- Wrap Strategically: Use acid-free tissue paper against delicate surfaces, then layer bubble wrap. Avoid tight wrapping that stresses fragile protrusions.
- Double-Box for Safety: Place the wrapped sculpture inside a box that fits snugly, then put that box inside a larger box with 3–4 inches of cushioning on all sides.
- Label and Document: Mark the box with orientation arrows, “Fragile,” and brief handling notes (e.g., “Do not stack—pedestal top heavy”).
Packing Variations by Material
Materials behave differently. Apply these tailored strategies:
- Clay and Plaster: Extremely sensitive to impact and vibration. Provide foam cradles, limit weight on top, and avoid long transit vibrations. If unfired, you may be unable to move it far—consider firing before long transport.
- Wood: Sensitive to humidity changes. Include a moisture-stable barrier (plastic sheeting) and avoid sealed airtight environments in very humid locations to prevent mold.
- Metal: Heavy and often point-loaded; use padded saddles and internal bracing. Protect finishes from abrasion with soft tissue under bubble wrap.
- Mixed Media: Disassemble where possible. Wrap each material individually to protect against chemical interactions (e.g., metal rubbing against painted wood).
Transport Options: Choosing the Right Mode
Once packed, select the method of transport that matches the risk level and budget. Below are common options with practical pros and cons for students.
| Method | Best For | Pros | Cons |
|---|---|---|---|
| Personal Car | Small to medium pieces, short distances | Cost-effective, full control, flexible timing | Limited space, risk of improper securing, possible interior damage |
| Rental Van or Truck | Larger pieces, multiple works | More space, can stand pieces upright, rent-by-the-hour | Requires driving skill, rental cost, liability for damage |
| Professional Art Handler | High-value works, gallery installs | Expert handling, insured, custom crates | Most expensive option |
| Courier Services | Small sculptures, juried submissions | Door-to-door, trackable, sometimes climate controlled | Size and weight limits, variable handling quality |
Student Budget Strategies
If funds are tight, coordinate group moves with classmates, use campus vans, or schedule rideshare with a protective plan (protective padding, clear instructions to drivers). When possible, transport the most important pieces personally.
Crating and Custom Supports
For larger or more fragile works, custom crates are often the safest route. A crate supports the piece, dissipates shock, and can be designed to lock the work in a precise orientation.
- Basic Crate Elements: Solid base, internal foam supports, outer sheathing of plywood or heavy cardboard, and breathable packing materials to avoid trapped moisture.
- DIY Crates: For students, a well-built plywood crate lined with foam blocks can often be made for a fraction of the cost of professional crating. Measure carefully and mount the base to prevent sliding.
- Reusable Crating: If you ship frequently between studio and display, invest in a modular crate system that can be reconfigured for different pieces.
Handling at Every Stage
Handling mistakes are the most common cause of damage. Adopt consistent handling policies whenever possible.
- Gloves On: Use nitrile or cotton gloves for delicate finishes to prevent oils and smudges.
- Clear Path: Map and clear the movement path before lifting. Remove obvious trip hazards.
- Lift with the Base: Always lift from load-bearing parts; never lift by thin protrusions or attached embellishments.
- Team Lifts: For heavier or awkward pieces, use at least two people and communicate counts when lifting and setting down.
A Simple Lift Protocol
Practice a short lift protocol with your handling team: “Ready? On three. One—two—three—lift. Move. Stop. Set.” It sounds simple, but rhythm prevents sudden swings and impact.
Transit Environment: Temperature, Humidity, and Vibration
Sculptures are sensitive not just to drops but to their environment. A thoughtful transit policy considers climate and movement.
- Temperature Extremes: Avoid exposing sensitive materials (wax, certain polymers, adhesives) to very high or low temperatures for long periods.
- Humidity: Wood and paper-based materials expand and contract. Use desiccant packets if you expect moisture and avoid airtight sealing in humid climates.
- Vibration: Cushion base and use internal braces. Consider route choice—smoother highways beat bumpy back roads.
Insurance, Documentation, and Risk Management
Even with careful planning, accidents can happen. Insurance and documentation reduce stress and financial risk.
- Student Considerations: Many campus insurance or department policies may cover student works in exhibitions—ask your instructor or department administrator.
- Short-Term Events: For gallery shows or juried exhibitions, event organizers often require proof of insurance. Explore short-term policies made for artwork.
- Valuation: Keep sharp photos and a written record of materials and condition. These details matter if you must file a claim.
Sample Documentation Table
| Field | Example Entry |
|---|---|
| Title | Study in Tension |
| Artist | Samantha R. |
| Materials | Ceramic, steel armature, acrylic finish |
| Dimensions | 24″ H x 14″ W x 12″ D |
| Condition Notes | Minor hairline crack at base (documented photo) |
| Insurance | Campus coverage on file, supplemental event policy purchased |
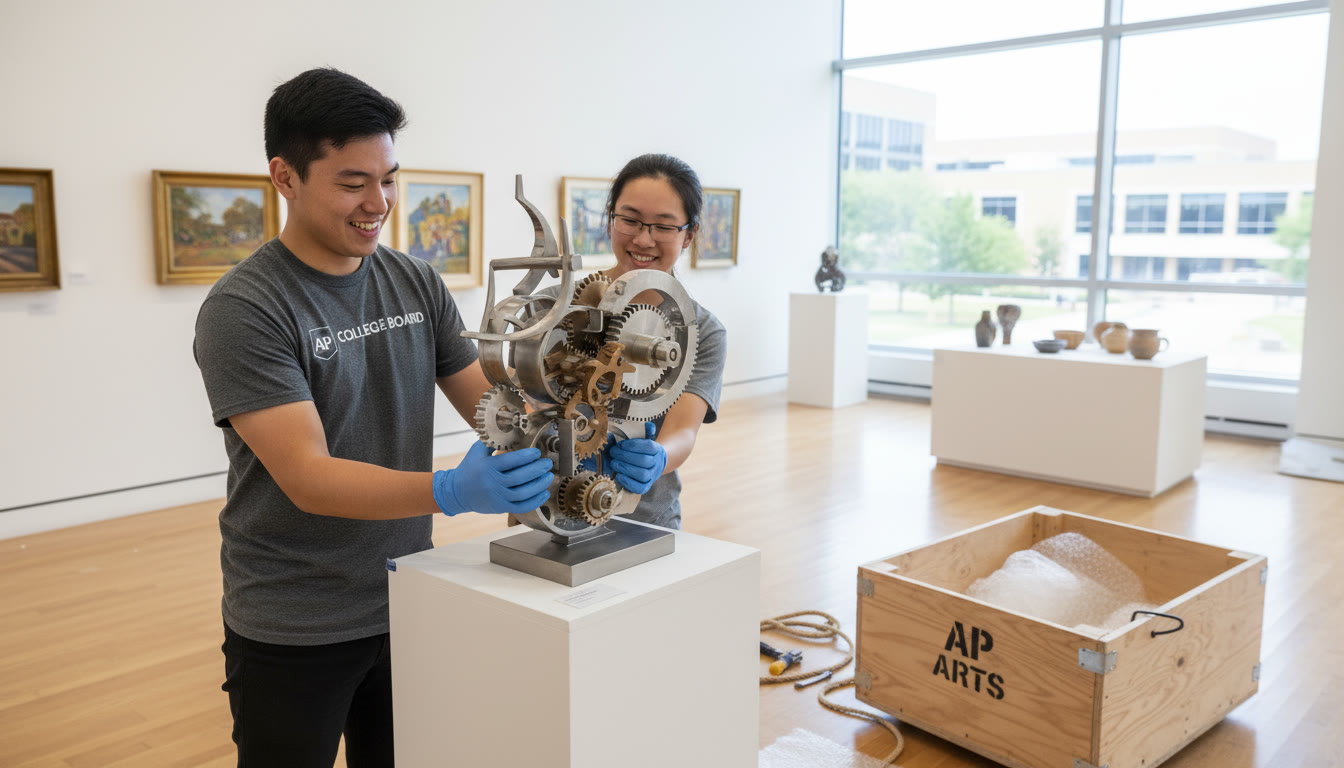
Exhibition Setup and Installation Tips
Arrival at the venue is not the final step; installation is when the work meets its audience. Treat this stage as part of the transport plan.
- Scout the Space: Know floor materials, door sizes, and available hoisting gear before arrival.
- Test Fit: Open crates and lay out parts before moving heavy bases into the gallery.
- Anchor and Secure: Use museum gel or discreet brackets for small tabletop pieces. For large freestanding works, consult staff about bolting or floor pads.
- Label and Lighting: Lighting can reveal or hide surface imperfections—tweak lighting only after the piece is fixed in place.
Special Considerations for Student Portfolios and AP Submissions
When sculpture becomes part of a portfolio for AP Studio Art or college applications, presentation matters as much as protection. High-quality documentation substitutes when physical transport is impossible.
- Photograph for Portfolio: Use consistent backgrounds, scale references, and multiple angles. Include detail shots and contextual images of the piece in the studio.
- Jury Shipping: Follow submission guidelines exactly. Many juried competitions require specific crate dimensions or packing notes—ignore them at your peril.
- Backup Plan: If a piece is too fragile to travel, prepare an alternate work or submit additional evidence of concept and technique in your portfolio.
Practical Examples and Case Studies (Student-Friendly)
Here are concise case studies you can use as templates for real situations.
Case Study A: Ceramic Figure to Regional Exhibit (Short Distance)
- Material: Glazed ceramic, 18″ tall
- Packing: Acid-free tissue against glaze, two layers of small-bubble wrap, custom foam cradle, double-boxed
- Transport: Personal car, passenger seat removed, secured with straps
- Result: Safe arrival, photographs used for portfolio, positive juror comments
Case Study B: Mixed-Media Installation to Out-of-State Show (Long Distance)
- Material: Wood, metal, fabric elements; partially disassemblable
- Packing: Disassembled components labeled, each wrapped; small components packed in labeled sub-boxes; larger components crated; desiccant packets added
- Transport: Rental truck with moving pads, banding straps, team lift
- Result: Minor scuffs on a wooden edge (touched up), successful installation on arrival
Skills to Practice: What Every Student Should Learn
Beyond materials and technique, certain soft skills make a huge difference in outcomes. They’re practical, portable, and marketable—exactly what you want to show in AP Studio Art critiques and college interviews.
- Documentation Discipline: Photograph, date, and record every major step in your process.
- Team Communication: Clear, concise commands during lifts reduce accidents.
- Basic Carpentry: Learning to build a simple crate expands your options for safe transport.
- Problem Solving Under Pressure: Learn to improvise padding, bracing, or temporary repairs with studio materials.
How Tutoring and Guidance Can Help
Logistics is a learned craft. For students building portfolios or preparing pieces for submission, targeted guidance speeds learning. Sparkl’s personalized tutoring can help you refine documentation, plan safe transit for juried shows, and develop a curated portfolio narrative. A brief set of one-on-one sessions can teach packing best practices, offer feedback on photos for AP submissions, and provide individualized prep for gallery setups—saving time and preventing costly mistakes.
Final Checklist Before You Move Anything
Use this quick checklist to confirm readiness.
- Photos taken and labeled for each work.
- Provenance and materials documented.
- Packing materials assembled and tested on a practice piece.
- Transportation method booked and route checked.
- Helpers briefed and a lift protocol rehearsed.
- Insurance or campus policies verified.
Wrapping Up: Confidence Through Preparation
Successful storage and transport are as much about mindset as mechanics. A calm, documented, and practiced approach turns a stressful move into a reliable process you can repeat. Your sculptures carry hours of thought and labor—protecting them is part of your artistic practice. Whether you’re moving a single study to critique, shipping a piece to a juried show, or packing up a whole semester’s work, the strategies above will help keep your art intact, your portfolio strong, and your creative momentum uninterrupted.
Parting Thought
Start small, practice the steps, and learn from each move. Over time you’ll develop a personal system—your signature logistics—that keeps your work safe and your ideas traveling smoothly into the world.


No Comments
Leave a comment Cancel