IB DP Interview Strategy: Mastering Online Interviews — Lighting, Setup, and Communication Tips
Online interviews are now an ordinary gate in the university-application journey, and for IB DP students they’re a chance to bring your curiosity, critical thinking, and personal voice to life. The technical setup — lighting, camera, sound, and environment — isn’t just cosmetic. It’s the frame that lets your ideas, evidence, and reflective voice read clearly. This guide walks you through practical choices, calming routines, and communication strategies so the technology becomes invisible and the conversation becomes the star.
Why the setup matters (and what interviewers actually notice)
Interviewers notice coherence: punctuality, clear audio, steady video, and an environment that supports focus. Those signals tell them how you prepare, how you manage details, and how you represent your learning. When your lighting, camera, and audio are considered, your answers can breathe — your tone, pauses, and facial cues become meaningful instead of being lost under technical noise.
Think of the setup as a professional frame for your intellectual identity. The content of your answers — the reflection on CAS activities, the insight from your Extended Essay, your approach to Theory of Knowledge questions — matters most. The technical choices simply make that content easier to read and respond to in real time.
Quick mindset for online interviews
- Prioritize clarity over flash: a calm, well-lit face beats dramatic backlighting.
- Practice presence: treat the camera like a conversation partner, not a performance stage.
- Use equipment to reduce friction, not to show off. Simplicity is often more reliable.
Technical Checklist: Before you log in
Run a checklist days ahead and again an hour before the interview. Test with a friend or record a five-minute practice to audit sight and sound. Here’s a compact technical checklist to embed into your interview routine.
- Camera: steady, at eye level; test framing so your head and shoulders are visible.
- Audio: test microphone clarity; reduce background noise and consider a headset if needed.
- Lighting: face the primary light source; avoid bright windows behind you.
- Background: tidy, neutral, and not distracting; a bookshelf or plain wall works well.
- Connectivity: plug into ethernet if possible or stay close to your router; close heavy apps.
- Power: plug your laptop in or ensure battery is charged and power settings won’t interrupt the session.
- Software & login: test the platform, sign in early, and have meeting codes or documents ready.
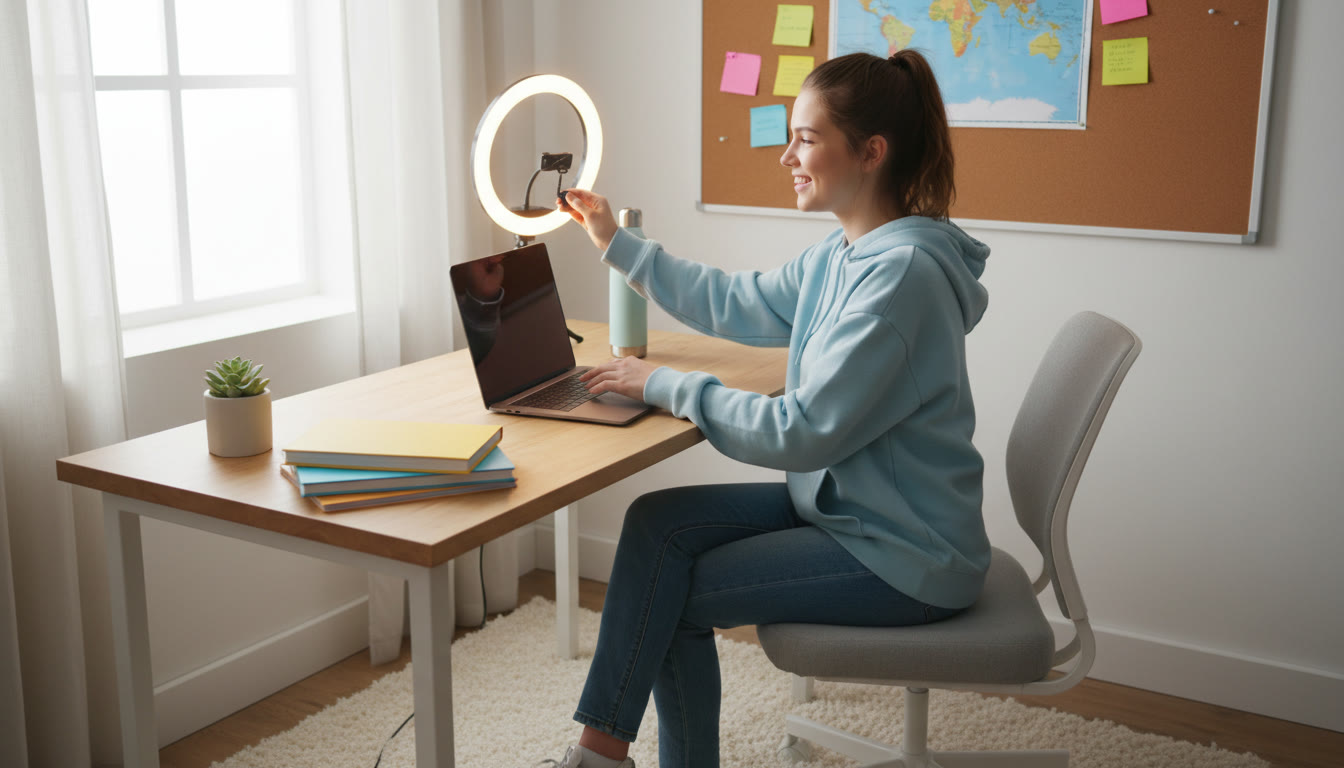
Lighting: Look like yourself — not a silhouette
Good lighting is the single most transformative change you can make. It improves perceived eye contact, shows facial expressions, and helps your voice feel more immediate. Below is a compact table of practical lighting options and how to use them.
| Setup | Position | Distance/Angle | Best for | Quick fix |
|---|---|---|---|---|
| Natural front light | Window in front, slightly off-center | 1–2 m; soft, indirect daylight | Soft, flattering, easy | Face the window and close thin curtains to diffuse |
| Soft three-point | Key light front, fill light at 45°, gentle backlight | Key: ~0.5–1 m; fill: farther for softness | Professional, even tone | Use desk lamps with diffusers or paper shades |
| Ring light | Centered around camera | 0.4–1 m | Even face lighting for webcams/phones | Lower brightness and warm filter to avoid flatness |
| Overhead/ceiling | Above the head | Not controlled | Avoid for interviews | Add front lamp or face window to soften shadows |
Lighting tips that make an immediate difference:
- Diffuse hard light with a thin white cloth, paper, or a purpose-made diffuser to avoid harsh shadows.
- Avoid strong backlight: if a window is behind you, close blinds or move your setup.
- Keep color temperature consistent — mixing warm incandescent and cool daylight can look disorienting on camera.
Small investments, big returns
A simple clip-on light or a basic ring light can produce more professional results than you’d expect. If buying isn’t an option, position yourself facing soft daylight or use multiple desk lamps with white paper to soften the glow.
Camera & Composition: Frame your ideas clearly
How you frame the shot affects perceived confidence and clarity. The goal is to be comfortably framed without excessive empty space or too-close cropping.
- Eye level: Raise your device so the camera is at or slightly above eye line. Stack books or use a laptop stand.
- Headroom: Leave a little space above your head but not so much that you appear lost in the frame.
- Rule of thirds: Position your eyes roughly one third down from the top of the frame for pleasing balance.
- Distance: A medium shot (head and upper torso) works well for expressive hand gestures and body language.

If you’re using a phone, use a tripod or stable mount. Turn the phone horizontally only if the platform asks for landscape; otherwise vertical can be acceptable for certain apps, but default to the platform’s preferred orientation.
Camera lens cleanliness and autofocus
Wipe the lens before the interview and disable aggressive autofocus if your camera constantly changes. A small bit of attention to these details reduces distracting shifts and keeps the viewer connected to your words.
Audio: Clarity over quantity
Audio is more forgiving than video for many applicants — your words carry your ideas — but muddled sound undermines credibility. A clean, consistent voice helps interviewers follow reasoning, nuance, and reflection.
- Built-in mic: Test it, and if it picks up too much room echo, try a headset or laptop close to you.
- Earbuds with mic: A reliable mid-range choice that reduces ambient noise.
- USB mic or lavalier: Best for consistent studio-quality sound, but only use them if you’ve tested them in advance.
- Pop protection: A simple foam windscreen reduces plosives on vocal consonants.
Before the interview, do a one-minute recording: listen for sibilance, room echo, and background hums (fridge, fans, traffic). If there’s low-level noise, close windows and mute unnecessary devices. Consistency beats volume — keep your microphone at a steady distance from your mouth.
Background & wardrobe: Quiet confidence
Your background should support your presence rather than pull attention away. Neutral walls, a tidy shelf with two or three meaningful items, or a simple poster are all fine choices. Avoid moving decorations, busy patterns, or rotating backgrounds.
- Choose clothing that contrasts with your background; mid-tones (blues, greens, burgundy) are forgiving on camera.
- Avoid tight stripes or small repeating patterns that create moiré on video.
- Keep logos and messaging off clothing — you want your ideas to be what the interviewer remembers.
Personal items as quiet narrative
A single book, an art piece, or a plant can be an elegant anchor for the room. These can even serve as conversational prompts if an interviewer asks about your environment — but they should never distract from your answers.
On-camera communication: Make the camera your conversation partner
Students often focus on what to say; online interviews add the question of how to be seen and heard while saying it. Practice small habits that create connection.
- Look at the camera to create eye contact; glance at the screen when you need to read a prompt but return to the camera for answers.
- Speak slightly slower than your normal pace — cameras compress silence and speed can flatten nuance.
- Use measured pauses to emphasize reflection (a habit IB students will recognize from TOK-style thinking).
- Allow for micro-confirmations: nod, smile, and use minimal vocal cues that the conversation is alive.
Structuring answers with clarity
Structure helps interviewers follow complex thought. Use frameworks that suit the question:
- Behavioral questions: Situation → Task → Action → Result (concise, example-led).
- Academic or reflective questions: Claim → Evidence → Reasoning → Link back to learning.
- Short questions: Begin with a one-sentence summary, then add a detail or example.
Example (short, structured response): “I led a collaborative lab project where we encountered conflicting data (Situation). I organized a data review and re-ran controls (Action), which clarified a measurement error and improved our results (Result). That taught me patience with uncertainty and precision in data recording (Reflection).”
Practice: mock interviews and focused rehearsal
Practice is where presence becomes reliable. Record yourself, ask a teacher or friend to run a mock, or use 1-on-1 coaching to get targeted feedback. Aim for deliberate practice: focus on one element per session (lighting, pacing, gesture control) rather than trying to fix everything at once.
Many students find guided help useful. For example, Sparkl provides 1-on-1 guidance, tailored study plans, and expert tutors who can run mock interviews and give focused feedback. Combining guided rehearsal with self-recording accelerates visible improvement.
How to make a mock interview feel real
- Set the timer and follow the actual interview duration.
- Use the same device and setup you’ll use on the day to avoid surprises.
- Record the session and review it with a checklist: eye contact, filler words, vocal variety, and concise structure.
Interview day timeline: practical minute-by-minute planning
On the day of the interview, rhythm and calm competence matter. Below is a timeline to help you move through the hours and minutes with composure.
| When | Task | Why it helps |
|---|---|---|
| 24–48 hours before | Run a full tech test; confirm meeting codes and prepare documents. | Reduces last-minute surprises and builds confidence. |
| 2–3 hours before | Check lighting, position camera, charge devices, and have water handy. | Ensures environment is stable and you’re comfortable. |
| 30–60 minutes before | Warm up voice with a few hums, review a short bullet list of key points (CAS highlights, EE insight), and do a five-minute mock answer. | Activates calm speech and memory retrieval. |
| 10 minutes before | Silence notifications, close tabs, set phone to Do Not Disturb, and turn on camera for final framing check. | Minimizes distractions and technical noise. |
| 1–3 minutes before | Smile, breathe slowly, relax shoulders, and remind yourself of one personal story you can use as an example. | Settles nerves and creates presence. |
| After the interview | Make short notes about questions, your answers, and one thing to improve. | Turn feedback into actionable practice for the next interaction. |
Common hiccups and quick fixes
- Audio echo: switch to headphones or move closer to a directional mic.
- Flickering lights: change to a different lamp or adjust refresh rate if using LED lights.
- Camera angle too low or high: raise or lower device with books or a stand.
- Unexpected interruption: mute, apologize briefly, and resume calmly; evaluators often appreciate composure.
Accessibility and special arrangements
If you need accommodations (extra time, breaks, sign-language interpreters, or alternative formats), contact the interview organizer early. Clear communication about needs is part of professional preparation, and interviewers generally provide support when they can. Keep records of communications and confirm details a few days before the interview so there are no surprises.
Putting it all together: a sample prep week
Here’s a simple, student-friendly rhythm to prepare in the week leading up to the interview:
- Day 7: Full tech run-through and a 10-minute recorded mock interview.
- Day 5: Focused practice on two common questions; refine your concise story for each.
- Day 3: Practice in full setup (lighting, mic, background) and review recordings with notes.
- Day 1: Rehearse calming breathing exercises, finalize your environment, and rest early.
If you wish to accelerate progress, targeted 1-on-1 coaching can help. Many IB students use guided sessions to refine delivery, structure answers, and build personalized timelines; for some, Sparkl is a resource for tailored study plans and mock-interview practice that complements self-led rehearsal.
Checklist: printable essentials
Paste this checklist somewhere visible before the interview:
- Camera at eye level — checked
- Lighting soft and even — checked
- Microphone tested — checked
- Background tidy — checked
- Documents ready and organized — checked
- Device charged and power connected — checked
- Do Not Disturb on devices — checked
- Five-minute breathing warm-up done — checked
Final notes on communication and presence
Online interviews reward preparation, presence, and reflective clarity. When you align lighting, camera, audio, and environment, your answers become the center of attention. Practice structured responses, test your equipment, rehearse with real-time feedback, and treat the setup as an act of respect for your ideas and the people listening to them.
Thoughtful preparation — technical and rhetorical — allows you to translate IB habits of inquiry and reflection into confident, memorable online conversation.


No Comments
Leave a comment Cancel