Why Process Documentation Matters for AP Art
Telling the story of an idea is as important as the final image. For students preparing an AP Art & Design portfolio, the AP Process Photos (also known as process documentation) are the bridge between initial curiosity and resolved work. They show growth, experimentation, risk-taking, and critical thinking — the things AP readers are trained to look for when assessing a student’s artistic practice.
This guide walks you through a thoughtful, practical workflow: how to capture, curate, and present your process photos from the first sketch to the final image. It’s written for students and parents who want a clear, confidence-boosting roadmap — with examples, templates, and even a gentle note about how personalized tutoring, like Sparkl’s 1-on-1 guidance and tailored study plans, can make the journey smoother when you need targeted feedback.
What the AP Readers Are Looking For
Before you start snapping photos, it’s helpful to know what the portfolio reviewers value. They want evidence of:
- Exploration — different ideas, materials, and approaches.
- Iteration — revisions, failures, and adjustments that lead to improvement.
- Decision-making — why a particular direction was chosen.
- Technical growth — increasing control, experimentation with media, problem solving.
- Intentionality — a coherent voice or theme throughout the sequence of works.
Process photos should communicate those points clearly and honestly. A sequence of crisp, thoughtful images can show how a student moved from a raw idea in a sketchbook to a resolved piece of art.
Getting Ready: Tools and Simple Setup
Essential tools
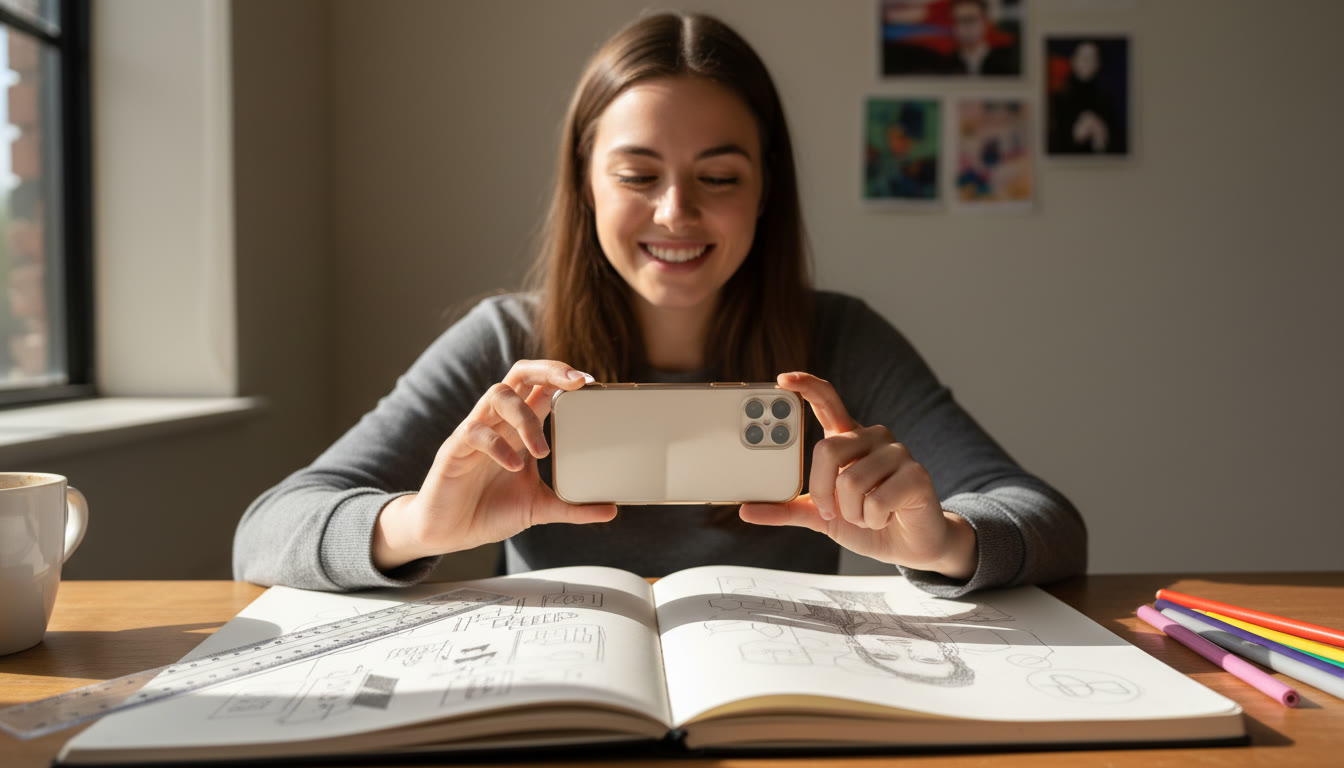
You don’t need professional equipment to create great process documentation. A smartphone with a decent camera, natural light, and a steady surface will do the job.
- Smartphone or digital camera
- Consistent background (neutral wall, poster board, or plain tabletop)
- Natural daylight or a daylight-balanced lamp
- Ruler for scale and a notebook for quick notes
Quick setup checklist
- Find one spot with consistent lighting and background. Consistency helps reviewers focus on the artwork and the process, not on distracting shadows or different color casts.
- Keep the camera parallel to the work surface to avoid perspective distortion (especially important for flat works or page spreads).
- Turn on gridlines on your phone camera to help with alignment.
- Label images immediately after taking them — a quick filename or note prevents confusion later.
What to Photograph: A Practical Sequence
Not every step needs to be documented, but aim for clarity: choose moments that show meaningful decisions or changes. Here’s a reliable sequence you can follow for most projects.
1. Spark — the initial idea
Photograph thumbnail sketches, idea pages, inspirational images, or clippings. These show where the idea started — messy, raw, and directional.
2. Exploration — testing and experiments
Capture material tests, color swatches, small mock-ups, or quick studies. These images demonstrate curiosity and willingness to experiment.
3. Iteration — work in progress
Take regular progress photos that show how the piece evolves: changes in composition, adjustments to value and color, or fixes to structural issues. Try to photograph at least three significant stages for each major work.
4. Problem-solving — revisions and fixes
Document moments when you identified a problem and tried different solutions. This could be erasure marks, reworking a section, or adding new elements to increase cohesion.
5. Resolution — the final piece
End with a clean, well-lit photo of the resolved artwork. If the final piece is photographed differently (e.g., framed, installed, or staged), include one image showing context or presentation.
How Many Photos and How to Select Them
Quantity is less important than narrative. For a single project, 5–12 well-chosen images that tell a clear story are usually sufficient. Too many repetitive shots dilute the narrative; too few can leave gaps.
| Project Stage | Suggested # of Photos | Why It Matters |
|---|---|---|
| Initial Sketches | 1–3 | Shows concept origin and variations |
| Material Tests/Studies | 1–3 | Demonstrates experimentation with media and technique |
| Major Work-in-Progress Stages | 3–6 | Illustrates growth and decision points |
| Final Piece | 1–2 | Shows resolution and presentation |
Organizing Your Photos for a Cohesive Submission
Organization is storytelling. The viewer should be able to move from idea to outcome without guessing what happened in between.
Simple naming convention
Use filenames that encode the project and stage. Example: Landscape_Project1_Sketch1.jpg, Landscape_Project1_TestA.jpg, Landscape_Project1_WIP2.jpg, Landscape_Project1_Final.jpg. The structure saves time and prevents mix-ups when assembling the portfolio.
Metadata and notes
Keep a document or spreadsheet with short captions: date, medium, size, stage description, and a one-line note describing the decision or problem solved. These notes are invaluable when you write the reflection statements or when you and a tutor (such as those at Sparkl) review your portfolio together during a session.
How to Write Short Captions That Add Value
Captions don’t need to be long. Aim for clarity and insight. Each caption should answer at least one of these questions:
- What problem was being solved?
- What changed between this step and the previous one?
- Why did you select a particular material or technique?
Example caption: “WIP 2 — Adjusted composition after noticing left-side imbalance; introduced mid-tone wash to unify background.” Simple, specific, and communicative.
Technical Tips: Lighting, Framing, and File Prep
Lighting
Use diffuse natural light whenever possible — north-facing windows are great. If using artificial lights, choose daylight-balanced bulbs and avoid mixed color temperatures. A soft light source reduces reflections and reveals true color.
Framing and alignment
Keep your camera parallel to the work, crop tightly but not so tight that edges are cut off, and include a small amount of surrounding space to give context. Use a steady support (tripod, stack of books) to keep shots consistent.
File format and resolution
Save master files in the highest quality available. For submission use formats accepted by the AP platform — typically JPEG or PNG. Keep an archival copy of everything at original resolution for safekeeping.
Curating a Strong Process Sequence: What to Emphasize
Curating is an act of editing: choose the moments that show the most meaningful change or the clearest evidence of learning.
Emphasize these moves
- Risk-taking: show experiments that didn’t fully resolve but led to new understanding.
- Problem-resolution: include at least one clear example of a challenge and how you addressed it.
- Growth arc: order images so the viewer sees a progression of skill or concept.
Think of your process photos as scenes in a short film. A sequence that demonstrates curiosity, thoughtful failure, and eventual resolution will always outperform a random collection of pretty images.
Sample Project Walkthrough
To make this concrete, here’s a narrated example of documenting a mixed-media portrait project.
Step 1 — Inspiration and Sketches
Photograph your sketchbook page where you explored poses and expressions. Caption: “Thumbnail sketches exploring tilt and gaze.”
Step 2 — Value and Color Studies
Take pictures of small studies testing skin tones and background relationships. Caption: “Color test: warm underpainting vs. cool glazing.”
Step 3 — Structural Changes
Document a stage where you corrected an anatomical proportion or adjusted composition. Caption: “WIP 3: corrected jawline and shifted figure left to increase negative space.”
Step 4 — Material Experiment
Include an image of mixed-media layering (ink, wash, collage). Caption: “Experimented with torn paper for texture on the jacket.”
Step 5 — Final Photograph
End with a well-lit photograph of the final framed piece and a final contextual shot (installation or detail). Caption: “Final: 18×24 mixed media on board.”
Presentation Formats: Digital Portfolio Tips
When uploading to the AP submission site or preparing a digital PDF, think about pacing. Sequence images in the order that best communicates your process. Use consistent cropping and similar lighting across all images to create a professional, cohesive look.
Order matters
Start each project with a sketch or idea page and end with the final presentation. If you have multiple projects, order them to reinforce your strongest themes — either thematically or by chronological growth.
Common Mistakes and How to Avoid Them
A few pitfalls repeat across portfolios. Here’s how to dodge them.
- Over-documenting: Avoid dozens of near-identical WIP shots. Focus on meaningful changes.
- Poor lighting: Use consistent, neutral light — avoid yellow indoor bulbs and dim shadows.
- Disorganized files: Use consistent filenames and keep a log of captions and dates.
- No narrative: Choose process photos that tell a clear story of problem, exploration, and solution.
How to Use Feedback Effectively
Feedback is a compass. Use it to refine what you document and how you present it. Regular critiques — from teachers, peers, or a personalized tutor — help you catch unclear steps and identify stronger moments to include.
For students who benefit from focused, strategic support, Sparkl’s personalized tutoring can provide targeted critiques, mock reviews, and AI-driven insights to help pick the most persuasive photos and craft concise captions that resonate with AP evaluators.
Checklist: Before You Submit
Use this checklist to ensure your process documentation is submission-ready.
- All images are well-lit, cropped, and aligned.
- Filenames are consistent and descriptive.
- Each photo has a short caption explaining the choice or change.
- There is a clear narrative from idea to finished work for each project.
- A backup archive of original files is stored safely (cloud or external drive).
Examples of Strong Captions (Templates You Can Use)
Short, precise captions help readers understand the significance of each photo. Here are templates students can adapt:
- “Initial sketch exploring composition and scale; considered three alternative focal points.”
- “Material test: gouache underpainting to evaluate opacity before glazing.”
- “WIP 2: corrected proportion and added contrasting texture to the foreground.”
- “Revision photo: simplified palette after discovering visual clutter in earlier stages.”
- “Final: installed piece in context to show scale and viewer interaction.”

Balancing Honesty and Polish
AP readers appreciate authenticity. Don’t retouch out mistakes that are part of the process; those imperfections often reveal problem-solving. At the same time, present your work with care: crop consistently, correct for color cast if absolutely necessary, and ensure your final images are clear and readable.
Parents’ Role: Support Without Micromanaging
Parents can be instrumental by offering logistical support: setting a consistent photo station, helping with file backups, and encouraging reflection on the creative decisions. Resist the urge to edit captions or reorder images without discussing it with the student — the portfolio must reflect the student’s thinking.
When to Get Extra Help
If you feel stuck at any stage — unsure which process photos best represent your work, uncertain about sequencing, or needing stronger critiques — arrange focused feedback. Personalized tutoring (like Sparkl) can provide:
- 1-on-1 guidance tailored to your portfolio goals.
- Expert tutors who understand AP expectations.
- Tailored study plans and practical assignments to strengthen weaker areas.
- AI-driven insights to highlight growth and suggest edits for clarity.
These kinds of interventions can be especially helpful in the final polishing stages, when small changes have disproportionate impact.
Final Thoughts: Make Your Process a Compelling Story
At its heart, the process documentation is a narrative — not just a list of photos. It’s the story of your curiosity, your willingness to experiment, and your ability to reflect and revise. Choose images that show meaningful shifts, write captions that explain the decisions, and present everything with consistency and care.
With the right approach, a well-documented process can elevate your AP portfolio from a collection of beautiful images to a persuasive, compelling representation of your voice as an artist. If you want personalized support, remember targeted tutoring like Sparkl’s 1-on-1 guidance and tailored study plans can help you refine that narrative and put your best work forward.
Quick Summary: Action Steps You Can Take Today
- Set up a consistent photo station for all your process shots.
- Photograph key stages: sketch, test, WIP, revision, final.
- Name files clearly and keep a caption log.
- Choose 5–12 images per project that tell a clear story.
- Get feedback and iterate; consider targeted tutoring if you want focused critique.
Closing Encouragement
Documenting your creative process is an opportunity to reflect on who you are as an artist. It’s not about having everything perfect but about showing growth, curiosity, and thoughtful resolution. Take your time, keep good records, and let the narrative of your work shine. The images you select — framed by honest captions — will tell a story that resonates with AP readers and reveals the most important thing: your commitment to making and learning.


No Comments
Leave a comment Cancel