
IB DP What–How Series: What Makes a Competitive IB Profile? (The Proof Checklist)
If you think a standout IB profile is just about predicted grades and polished photos, take a breath — there is so much more under the surface. Universities, scholarship panels, and scholarship readers are trying to answer one big question when they look at your application: not only what you did, but how you did it, and why it matters. That combination of accomplishment plus process is the secret sauce that transforms a list of activities into a memorable, verifiable, and trustworthy IB profile.
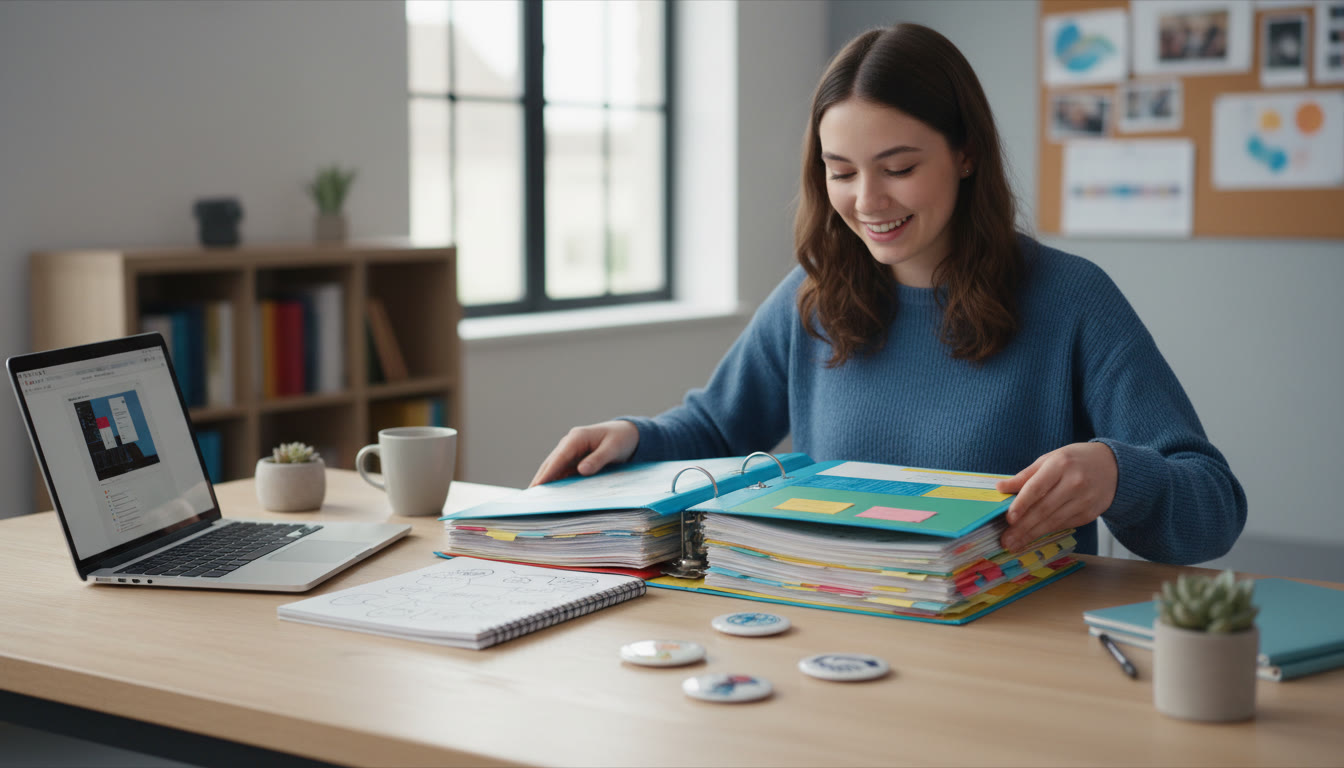
This article is a friendly, detailed, and practical guide for DP students who want to turn experiences into evidence. You will find a clear proof checklist, smart ways to document learning, portfolio structure ideas that admission readers actually appreciate, and practical examples that show the difference between an item on a resume and a piece of compelling, verifiable evidence.
Why ‘Proof’ Matters: From Activities to Academic Narrative
Think of your IB profile as a short documentary rather than a billboard ad. A billboard shouts a headline; a documentary shows scenes, interviews, and a narrative arc. Admissions officers and teachers read lots of headlines. They remember the profiles that show growth, setbacks, and thoughtful reflection. Proof is the documentary footage: dated photos, annotated drafts, supervisor comments, final outcomes, and short reflections that tie a result back to learning.
Two students might both organize the same community tutoring program. One lists it on a CV with hours. The other includes a project plan, screenshots of online sessions, a short writeup of curriculum adaptations, three dated reflections showing evolution, and a note from the supervising teacher describing impact. Which student made it easy for a reader to trust and learn from that experience? The second one did. That is why the proof checklist below exists: to make your profile clear, honest, and persuasive.
What Admissions Panels and IB Examiners Really Notice
There are recurring signals that consistently stand out in strong profiles: authenticity, progression, measurable impact, clear reflection, and triangulated evidence. Triangulation means you don’t rely on one kind of proof — you back a claim with at least two different evidence types (for example, a media file and a supervisor statement, or a draft and a final product). This is not about gaming the system; it’s about making learning visible.
The Proof Checklist: Items, Why They Matter, and How to Capture Them
Below is a pragmatic checklist you can apply to each activity or academic piece you plan to showcase. Treat each item as a simple question to answer in your portfolio. Answering honestly and with artifacts is what gives your profile credibility.
- Clear statement of purpose: What was the goal of the activity? (One or two sentences.)
- Timeline and milestones: Start date, major checkpoints, and end result or current status.
- Concrete artifacts: Photos, meeting minutes, slide decks, final products, code snippets, performance videos, event flyers.
- Third-party verification: Supervisor or teacher comment, community partner email, referee note.
- Reflection that links to learning outcomes: Short reflections that explicitly connect what you did to what you learned, preferably tied to CAS outcomes or subject-specific skills.
- Evidence of progression: Before-and-after artifacts, drafts, or versions that show iteration.
- Impact metrics where relevant: Number of students reached, hours taught, improvements in test scores, attendance growth, or other measurable changes.
- Ethical context and constraints: Notes about permissions, safety, or limitations you navigated.
Short examples that illustrate the checklist
Example A: Science research internship. Proof includes: project proposal, lab notebook excerpts with dates, supervisor email summarizing your contribution, a poster from a student research fair, and a 300-word reflection connecting the experience to IB research skills and TOK questions.
Example B: Community art project. Proof includes: initial community brief, permission letters, photographs of each stage with timestamps, a reflective log showing artistic choices, and a short testimonial from the partner organization describing impact.
Table: The Proof Checklist at a Glance
| Checklist Item | Best Evidence to Show | Why It Matters |
|---|---|---|
| Purpose | Project brief or 2-sentence goal | Clarifies intention; helps readers judge relevance |
| Timeline | Dates on photos, calendar screenshots, timelines | Shows commitment and pacing |
| Artifacts | Photos, drafts, code, posters, videos | Provides tangible proof of work |
| Third-party verification | Emails, short supervisor notes, partner endorsements | Builds trust and credibility |
| Reflection | Short reflective entries tied to learning outcomes | Translates activity into learning narrative |
| Progression | Version history, before/after snapshots | Shows resilience and growth |
| Impact | Numbers, testimonials, follow-up surveys | Helps quantify influence and scale |
How to Collect Proof: Practical Habits That Take 5–10 Minutes
Good documentation is a habit, not a chore. If you spend a handful of minutes after each meaningful session to save one artifact and write a 2–5 sentence reflection, you will have an archive that turns into a convincing portfolio in a few months. Here are simple, repeatable actions:
- Time-stamp your photos and files. Use your phone or a cloud folder with auto-sync and dates.
- Keep a single organized digital folder for each project. Use short, consistent names: ProjectName_Type_YYYY-MM-DD.
- Ask for quick verification soon after the event. A one-line email from a supervisor with date and role is gold.
- Save drafts. When you revise something, keep both versions with a one-line note about what changed.
- Write 2–3 reflections over time, not just once at the end. Early, middle, and final reflections show progression.
File naming and structure suggestions
Use a predictable system so you can find items when you need them: ProjectName_Category_YYYY-MM-DD. For example, for a tutoring program you might use Tutoring_Materials_YYYY-MM-DD.pdf, Tutoring_Photo_YYYY-MM-DD.jpg, Tutoring_SupervisorNote_YYYY-MM-DD.pdf. Place each project in its own folder and keep an index file that lists every artifact with a one-sentence description.
Designing a Portfolio That Reads Like a Story
Your portfolio should lead a reader through your learning journey with a clear beginning, middle, and end for each project. Start with a one-page executive summary that highlights three or four signature experiences and the learning they demonstrate. Then provide detailed project folders for anyone who wants to dig deeper.
Think about balance: academic depth (Extended Essay, IA samples where appropriate, TOK reflections) paired with authentic out-of-class engagement (CAS projects, community work, leadership). Each detailed entry should answer the proof checklist questions concisely. Use headings, short paragraphs, and timestamps so a reader can extract the key points quickly.
Suggested portfolio sections
- One-page Profile Summary (skills, languages, signature projects)
- Academic Work (select EE excerpt, annotated IA pages, subject portfolios)
- CAS and Community Engagement (project folders with evidence)
- Leadership and Initiative (plans, timelines, outcomes)
- Creative Work and Extracurriculars (media files, galleries)
- References and Supervisor Statements
- Reflection Log (chronological reflections linked to projects)

Sample Portfolio File Tree
- Profile_Summary.pdf
- Academic/
- EE_excerpt.pdf
- Math_IA_sample.pdf
- CAS/
- CommunityTutoring/
- ProjectBrief.pdf
- Photos_YYYY-MM-DD.jpg
- SupervisorNote_YYYY-MM-DD.pdf
- Reflection_1.txt
- Reflection_Final.txt
- CommunityTutoring/
- Leadership/
- DebateClub_Flyer.jpg
- ImpactReport.pdf
How to Write Short, Powerful Reflections
Reflections are where your evidence gains meaning. A good reflection ties an action to a learning outcome and shows how you changed or what you will do next. Aim for clarity and honesty over flair. A quick formula works well: Context, Action, Learning, Next Step.
Example reflection sentence: “Context: I taught weekly math sessions to 10 middle-school students who struggled with algebra. Action: I adapted explanations to use visual models and quick assessments. Learning: I learned to diagnose misconceptions and to scaffold explanations more effectively. Next Step: I will design a short diagnostic tool to place students into leveled groups more quickly.” Short, sequenced, and actionable.
Reflection prompts to keep handy
- What problem was I trying to solve?
- What choices did I make and why?
- What did I learn about myself, my thinking, or my skills?
- What evidence shows that learning happened?
- What will I do differently next time?
Using External Support Wisely: Mentors, Tutors, and Platforms
Getting targeted support can speed up progress and help you structure evidence thoughtfully. A tutor or mentor can help you identify the most compelling artifacts, polish reflections, and practice talking about your work. If you choose to use dedicated services for guidance, be careful to preserve your voice and your integrity — tutors should coach and clarify, not write your reflections for you.
For example, tailored one-on-one tutoring that helps with planning, research methods, and reflection framing can be a smart investment when it helps you present authentic work more clearly. Sparkl‘s personalized tutoring approach focuses on individual feedback, tailored study plans, and tools that help you organize evidence, which can fit naturally into a strategy for building a coherent IB profile. If you mention external help in your reflections, be transparent about the role the support played.
How to collaborate without losing your voice
- Keep a running log of what you did versus what a mentor suggested.
- Annotate any externally edited drafts to show your contributions.
- Always credit co-authors or collaborators in project summaries.
Ethics, Authenticity and Academic Integrity
Authenticity is non-negotiable. Your portfolio should be truthful, and your reflections should describe your own thinking. Admission readers and examiners are skilled at spotting inconsistencies. Fabricated evidence, exaggerated outcomes, or lifted reflections create vulnerabilities and risk severe consequences for your application and your academic record.
Showcase support networks rather than pretending you did everything alone. A clear supervisor statement is preferable to an embellished solo claim. When you use data or metrics, be ready to explain how they were collected and what they mean.
Common Pitfalls and How to Avoid Them
- Pitfall: Saving only final products. Fix: Save drafts and annotate changes.
- Pitfall: Reflections that summarize instead of analyse. Fix: Use the Context-Action-Learning-Next Step formula.
- Pitfall: Relying on a single type of proof. Fix: Triangulate — combine photos, supervisor notes, and short reflections.
- Pitfall: Disorganized folders. Fix: Adopt a naming convention and keep an index file.
Quick Action Plan: How to Build Your Proof Portfolio in 10 Steps
- Choose three signature projects you care about deeply.
- Create a project folder for each with the proof checklist template inside.
- Collect at least two different evidence types for each project immediately.
- Request brief supervisor verification emails after major milestones.
- Write an early, mid, and final reflection for each project.
- Keep an annotated draft of any extended writing or research piece.
- Make a one-page Profile Summary linking projects to skills and learner profile attributes.
- Polish with a mentor or coach who provides feedback but does not write your reflections.
- Export a clean PDF portfolio and keep a living digital version you can update.
- Practice a 90-second verbal pitch for each signature project — you will often need to explain things quickly in interviews or reference forms.
Table: Portfolio Timeline and Focus by Program Stage
| Program Stage | Focus | Key Artifacts to Collect |
|---|---|---|
| Early in the program | Explore and experiment; set intentions | Project brief, initial reflection, permission letters |
| Mid-program | Iterate and document progression | Drafts, mid-project reflections, supervisor notes |
| Final months | Polish, verify, and package | Final reflections, impact metrics, curated portfolio PDF |
Micro-Templates You Can Copy
Here are tiny templates that help you produce consistent artifacts quickly. Use them as starting points and adapt to your voice.
- One-line project description: “I led [activity] to achieve [outcome] by doing [primary actions].”
- Supervisor note request: “Could you please write one or two sentences confirming my role and dates for [project]? A short line about the impact would be helpful.”
- Reflection starter (60–120 words): “Context: … Action: … Result: … Learning: …”
Final Checks Before You Submit or Share Your Portfolio
- Do timestamps and dates match across artifacts?
- Is there at least two types of proof for each major claim?
- Are reflections personal, specific, and tied to learning outcomes?
- Have you saved supervisor confirmations in your folder?
- Is your portfolio easy to navigate with an index or table of contents?
One last thought on presentation
Clarity beats cleverness. A clean PDF that is logically organized and easy to read will serve you far better than one overloaded with decorative elements. Your goal is to make it as frictionless as possible for a reader to discover evidence and understand your learning journey.
Conclusion
A competitive IB DP profile is built on three pillars: compelling activities, verifiable proof, and clear reflection. When you gather artifacts consistently, request short supervisor confirmations, and write reflections that show progression and insight, your profile becomes trustworthy and persuasive. Use the proof checklist as a habit-maker: collect evidence early, triangulate your claims, and curate with clarity so your academic narrative speaks for itself.


No Comments
Leave a comment Cancel