
ISC Practical Preparation Checklist: A Calm, Confident Roadmap
Walk into your ISC internal practical with a sense of calm rather than chaos. Practical exams reward clear thinking, steady technique and evidence that you understand what you did and why — not perfection in every tiny movement. This checklist is written for students who want a practical, step-by-step plan: what to prepare, how to practice, how to present results, and how to handle the viva. Read it as a friendly companion, not a rigid rulebook; adapt it to your subject and your teacher’s expectations.

Start with the fundamentals: format, syllabus alignment and marking
Before any intense practice, confirm the format and the exact experiment list your school follows for the internal practicals. ISC-style practicals typically require you to perform experiments, record observations, complete calculations, draw neat diagrams where needed, and answer a viva. Ask your teacher for the current syllabus list and any school-specific templates for record books or journals. Align everything you practise with that list — practicing irrelevant experiments wastes time, while targeted practise builds confidence.
Understand the marking categories your teachers use (for example: experimental procedure, observations/records, calculations, viva, and neatness). Do not assume partial-marking rules; instead, ask for the scheme or marking rubric your school is using in the current cycle and practise accordingly. That clarity helps you prioritize: if viva weight is high, make sure you can explain concepts aloud as clearly as you write them.
Plan a realistic timeline: calendar, milestones and practice slots
Break your preparation into clear blocks: revision of theory behind each experiment, technique drills, timed full-length practice, and viva rehearsal. A practical plan that many students find useful is the “3-step” rhythm: learn → drill → simulate. For each experiment you should:
- Learn the principle and expected observations (read and summarize).
- Drill individual techniques (pipetting, titration endpoints, measuring lengths, timing reactions).
- Simulate a full practical under timed conditions.
Reserve daily short sessions for technique drills and weekly longer sessions for full practicals. If you can, block out uninterrupted lab time once a week for a full simulation — that’s where stamina and time-management skills get built.
Essential materials and lab setup checklist
Have a checklist of materials well before the exam day. A tidy, familiar workspace reduces stress. Typical items to prepare and check a few days ahead:
- Lab notebook or record book with all headers pre-written (experiment title, objective, date, apparatus, reagents, observations, calculations, conclusion).
- Graph paper, ruler, sharp pencils, erasers, black/blue pens, and a fine-point pen for final notes.
- Calculator (with battery check), stopwatch, and any permitted measuring device.
- Personal safety items: apron, goggles, hair tie, closed shoes.
- Spare pages or a clear sleeve for teacher comments or corrected sheets.
Label reagents and apparatus clearly when you set up in the lab. A clean, labelled workspace prevents small mistakes (mixing bottles, wrong pipette) that steal time and marks.
Technique and time management in the lab
When the clock starts, your first 5–10 minutes should be used to carefully read the instructions and plan. It sounds obvious, but many students rush and later realise they missed a crucial step. Jot a quick plan in the margin: steps, measurements to take, and which observations are essential.
Practical tips for efficient technique:
- Do time-consuming or temperature-sensitive steps first when possible.
- Use a small checklist in your notebook: “measure, note, repeat if needed, clean” for each step.
- Record observations immediately — don’t rely on memory.
- Keep a running column for units and significant figures; write units next to each measured value.
- If you make a recording error, cross out with a single line and write the correction nearby; never scribble or hide mistakes.
These habits help examiners trace your thinking and award marks for correct method and honest recording.
Recording observations and writing clear reports
Neat, structured records make a big impression. Use headings, tables and labelled diagrams where appropriate. Observations should be concise and in a logical order. For measurements, present raw data in a table first, followed by processed results and calculations.
A simple observations flow works well:
- Table of raw measurements (clearly labelled with units).
- Brief note on the method and any anomalies.
- Step-by-step calculations with values substituted (show working).
- Final result with correct units and rounding.
- One-line conclusion that answers the objective.
Diagrams, derivations and notes: tools for clarity
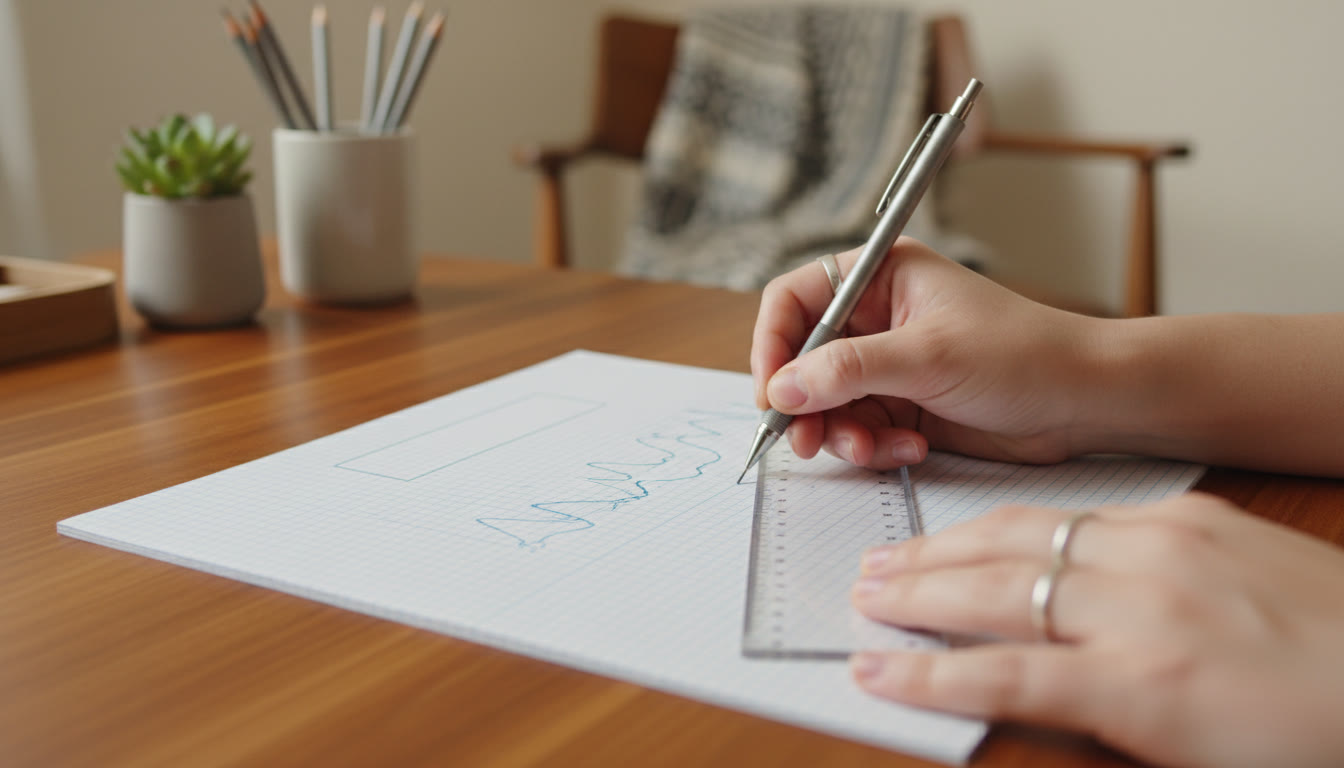
Think of diagrams and derivations as communication tools, not optional art. A clear, labelled diagram clarifies what you built or observed; a neat derivation shows how you arrived at your answer. Don’t overdo decorative detail — aim for accuracy and labeling. If your practical involves a graph, draw axes with unit labels, plot points carefully and indicate the line of best fit where needed. Remember: a simple, correct diagram beats a detailed but inaccurate one.
Mock practicals and full-length practice
Full-length mock practicals are the closest thing to rehearsal. Treat each mock as a real exam: time it, follow the exact sequence expected, and include the viva. The value of mocks is not just in practicing technique but in building mental stamina and smoothing transitions between steps.
How to structure mock practice effectively:
- Do at least a few timed full-length mocks for each experiment you expect to face.
- After each mock, write a short reflection: what took too long, where you lost marks, and one concrete fix for the next run.
- Record or rehearse the viva with a partner or teacher; answering aloud helps you phrase concise, confident responses.
Consistency beats last-minute cramming. Regular, reflective mocks let you improve in measurable steps.
Suggested time allocation for a single practical session
| Stage | Suggested Time (for a 2-hour session) | What to focus on |
|---|---|---|
| Pre-lab reading & planning | 10–15 minutes | Understand goal, list steps, write headings |
| Setup & calibration | 10–20 minutes | Assemble apparatus, label reagents, check instruments |
| Main experiment | 50–70 minutes | Collect data, maintain technique, note anomalies |
| Observations & calculations | 20–30 minutes | Tabulate data, compute results, show working |
| Cleaning & short viva | 10–15 minutes | Leave workspace tidy, answer viva clearly |
Adapt these slots to your school’s allotted practical time. The goal is to arrive at a rhythm where you don’t run out of time for calculations or the viva.
Viva preparation: how to speak so examiners listen
Viva is an opportunity to demonstrate understanding beyond the recorded steps. Practice short, clear answers to typical questions: the principle behind the experiment, why you chose certain volumes or apparatus, sources of error, and what you would change to improve accuracy. Use simple language and connect answers to what you actually did in the experiment.
Example live-answer structure:
- Restate the question briefly to show you understood it.
- Give a short direct answer (one sentence).
- Provide a succinct reason or example (one sentence).
For instance: “The endpoint changed slowly because the reaction rate was low — to increase precision I would use a smaller burette or repeat the titration and take a mean.” That style shows clarity and exam-literacy.
Common mistakes and how to avoid them
Practical errors are usually human errors that can be managed with small, repeatable habits:
- Rushing through the first read of instructions — plan first, act second.
- Skipping units or significant figures — write units immediately beside values.
- Poor labelling of bottles or samples — always label at once and double-check abbreviations.
- Messy calculations — keep raw data separate from processed results and show working clearly.
- Ignoring safety steps — safety lapses can cost time and marks; practise safe, tidy techniques.
How personalized support can speed your progress
Some students benefit from focused guidance that targets weak spots — for example, technique drills or viva rehearsals. If you are seeking 1-on-1 guidance for pacing and method, Sparkl offers tailored study plans, expert tutors and tools to help you structure practice efficiently. With Sparkl‘s AI-driven insights and personalized feedback, you can turn mock results into clear next steps and spend more time on the techniques that matter most.
Quick, printable pre-exam checklist
Copy or photograph this short list the night before a practical:
- Lab book with experiments and headings pre-written
- Calculator with fresh battery and permitted instruments
- Pens, pencils, ruler, graph paper
- Personal safety gear (apron, goggles)
- Clear mental plan for the experiment and a timing strategy
Sample short practice schedule (weekly)
| Day | Focus | Duration |
|---|---|---|
| Monday | Theory and principle revision for two experiments | 45–60 minutes |
| Wednesday | Technique drills (measuring, titration, timing) | 30–45 minutes |
| Saturday | Full-length mock practical and viva | 2 hours |
| Sunday evening | Review mistakes and write a focused improvement plan | 30 minutes |
When things go wrong: recovery strategies
Everyone encounters a hiccup in the lab. If a measurement goes wrong, don’t panic: note the anomaly, repeat the step if time allows, and explain the issue during the viva. If equipment fails, record what you did and why you made a particular choice. Examiners value clear reasoning and honesty — a recorded, well-explained correction often demonstrates competence rather than weakness.
Final rehearsal: what to do the day before
Do a brief, calm rehearsal the day before: run through one experiment on paper, rehearse answers to potential viva questions out loud, and check your checklist items. Avoid last-minute cramming. Trust the practice you have put in and focus on rest and a steady routine. A confident, clear mind will help your hands stay steady in the lab.
Final checklist table — the last five-minute run
| Item | Check |
|---|---|
| Pen, pencil, ruler, graph paper | Packed |
| Lab notebook headings written | Done |
| Calculator & batteries | Working |
| Personal safety gear | On |
| Plan for timing (start, mid, finish checkpoints) | Ready |
Parting notes on mindset and steady improvement
Practical exams reward habits more than miracles. Practice deliberately, keep records tidy, rehearse the viva, and reflect on every mock. Small consistent improvements — sharper technique, clearer recordings, faster calculations — add up. Use each mock as feedback, not judgment.
Where targeted help feels useful, guided one-on-one support can clarify priorities and fast-track technique improvements; the right tutor helps you spot the one habit that costs you time and marks. Balanced practice, careful presentation and honest explanation during viva will guide most students to a confident practical performance.
This checklist is meant to be practical and adaptable to your subject and your school’s expectations. Use it to shape a calm, strategic routine that keeps your hands steady and your explanations clear.
Conclusion
Preparing for ISC internal practicals is about structured practice, alignment with the syllabus and marking expectations, careful presentation, and clear explanations during viva; apply the checklist steps, rehearse with timed mocks, keep records neat, and focus on steady skill-building to perform confidently in the practical assessment.
















No Comments
Leave a comment Cancel