
Why the practical file matters — and why you can do it well
Think of your practical file as the clear, honest record of your lab work: it shows what you tried, what you observed, how you reasoned, and how well you can communicate results. For many students the practical file feels like a chore, but with a calm plan it becomes one of the easiest, most controllable parts of your ISC journey. This article walks you through a practical, day-by-day strategy, clear templates for entries, mock-practice suggestions, and a realistic approach to viva preparation.

Look at the big picture first
Before you dive into writing, pause and map the syllabus items that require practical work. Different subjects ask for different things—experiments, projects, dissections, or code-based tasks—so list every required activity and pair it with the documentation each one needs: raw data, calculations, diagrams, photographs, teacher signatures, and viva notes. This mapping reduces last-minute surprises and helps you prioritise which entries to complete first.
Plan first: a simple roadmap you can follow
Successful practical files share a few features: consistency, clarity, and evidence. Start by preparing an index and a title page with your details and a clean table of contents. Then work in manageable batches rather than trying to finish everything at once. Below is a suggested workflow you can adapt to your schedule.
- Week 1: Syllabus mapping, index creation, collect guidelines from your teacher.
- Week 2–4: Complete half your experiments — aim for neat, fully annotated entries.
- Week 5–6: Finish remaining experiments, add photographs and signatures.
- Week 7: Run full-length mock practicals and complete viva notes.
- Week 8: Final polish, scan and backup, and submit according to school instructions.
Suggested file structure (keep it teacher-friendly)
Organisation matters almost as much as content. A neat file helps your teacher assess you quickly and often earns you smoother feedback. Use numbered pages, a uniform margin, and a simple handwriting style or neat printing. Keep all experiment sheets in the same format.
| Section | Purpose | Suggested pages | Notes |
|---|---|---|---|
| Title page & Index | Student info, course, school, teacher, list of experiments | 2 | Include page numbers and experiment codes |
| Experiment write-ups | Main body: aim, apparatus, procedure, observations, calculations, conclusions | Most pages | Consistent template for each experiment |
| Photographs/Sketches | Visual evidence of setup, results | 2–6 | Neatly labelled, affixed or printed |
| Viva notes & Teacher signatures | Common viva Qs, teacher remarks, signatures | 2–4 | Leave space for teacher to sign each experiment |
| Supplementary work | Projects, extended observations, extra exercises | Variable | Clearly labelled as additional |
How to write each experiment: a repeatable template
Adopt a single template for every experiment. Following the same structure saves time and shows examiners that you understand the scientific method. Below is a robust template that fits most practical items across physics, chemistry, biology and computing.
- Title and aim: One-line title; a precise aim like “To determine the pH of three solutions using indicators.”
- Apparatus and reagents / Tools and environment: List everything, with quantities and ranges where relevant.
- Theory / Brief background: One short paragraph linking the experiment to the syllabus concept.
- Procedure: Numbered steps. If a step is long, break it into sub-steps.
- Observations / Data table: Clear headings, units, and well-drawn tables.
- Calculations: Show sample working with units, significant figures and final answer boxed.
- Result / Conclusion: State the final observation or measured value and its scientific meaning.
- Precautions and sources of error: Short list—this shows you understand limits of measurement.
- Teacher signature and date: Leave space for teacher sign-off at the end of each write-up.
One practical tip about notes and diagrams
Treat diagrams and sketches as communication tools. A simple, well-labelled diagram that shows the main components is always better than a detailed, cluttered illustration that confuses the reader. Use pencil for initial lines and ink for final labels, keeping scale consistent. Remember—legibility is worth extra marks.
Data handling and honesty: your best policy
Accurate data recording is the backbone of practical work. Always write raw observations in the lab notebook before transferring them to cleaned tables in your file. If an experiment didn’t work, document exactly what happened and why: failed experiments, done carefully, often demonstrate deeper understanding than perfect but unexplained results. Error analysis—brief, honest comments on uncertainties and limitations—shows maturity in lab practice.
Photographs and evidence
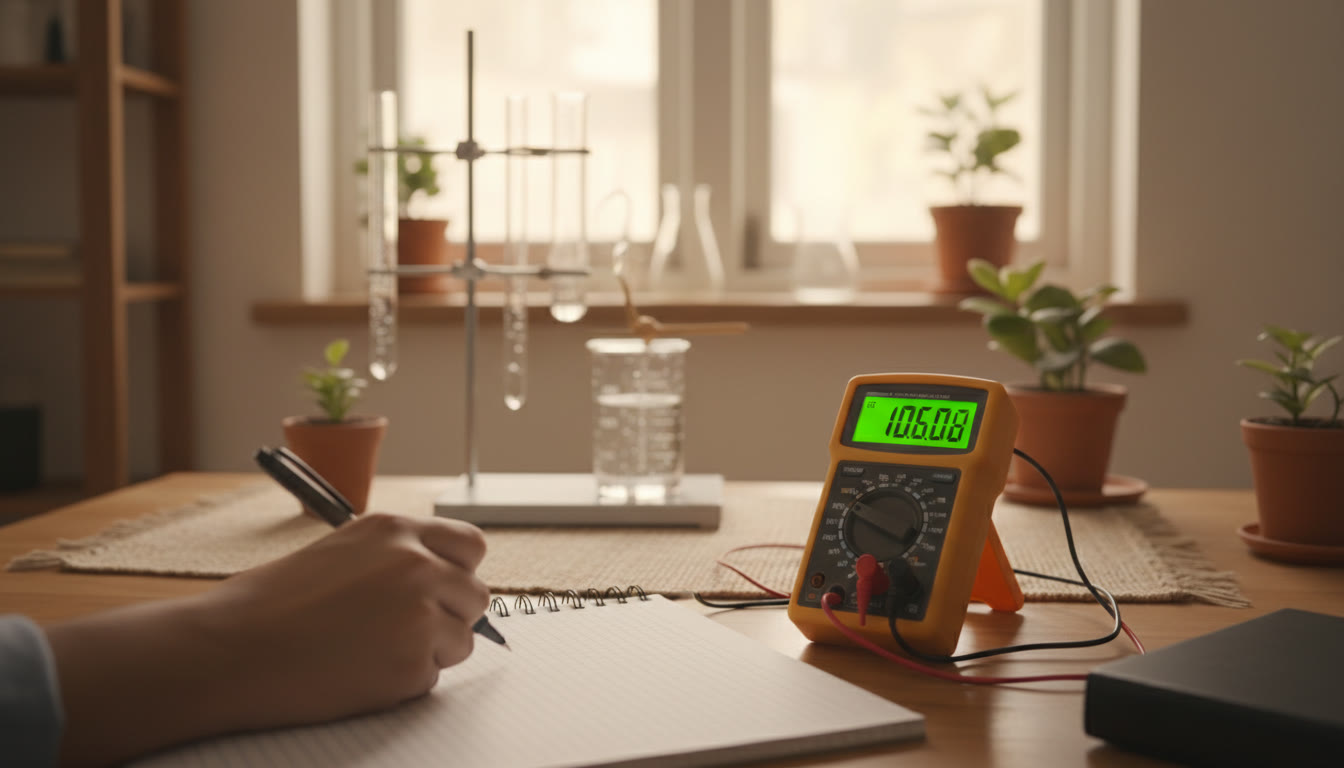
Photographs add credibility. Take a couple of clear photos of the setup and a final result. Print or paste them into your file with concise labels. Avoid decorative photos—each image should add information (for example, the final colour change, the instrument reading, or the oven set-up).
Mocks and full-length practice: turn theory into habit
Practice under exam-like conditions. A full-length mock practical means performing a complete experiment within a time limit, recording data as you go, performing calculations, and then answering viva-style questions. Time yourself and, if possible, get a teacher or peer to ask viva questions afterwards. Treat these mocks as signals: they show you where your write-up template needs tightening, which calculations take too long, and which viva topics require revision.
Mock practice checklist
- Start the experiment without looking at your final write-up—this tests true preparedness.
- Record raw data first, then transcribe to the file template.
- Time each section: setup, observing, note-writing, calculations and conclusion.
- After the mock, compare your work with the template and correct formatting issues immediately.
Viva preparation: what to expect and how to answer
Viva questions focus on understanding, not memory. Examiners want to see that you can explain why a step was taken, interpret a result, and identify common errors. Practice answering in simple, structured sentences: state what you did, why you did it, what you observed, and what it means. If you don’t know an exact answer, explain your reasoning or describe how you would find the answer experimentally—this shows scientific thinking.
Common viva themes to practice
- Purpose of specific reagents or apparatus parts.
- Sources of systematic and random error in measurements.
- How changes in procedure would affect the result.
- Real-world applications of the principle demonstrated by the experiment.
How marking aligns with what you submit
Marking is often straightforward when your file is clear and complete: examiners look for a correct method, accurate data handling, clear calculations, and reasoned conclusions. To practise smartly, use an example rubric for self-assessment. Treat it as a study tool rather than an official mandate—rubrics vary by subject and by school, but practising against one helps you prioritise where to focus effort.
| Component | What to show | Practice focus |
|---|---|---|
| Procedure and setup | Clear numbered steps, labelled diagram | Clarity and reproducibility |
| Observations & Data | Neat tables, units, recorded raw values | Accuracy and completeness |
| Calculations | Sample working, unit checks, final boxed answer | Method and final accuracy |
| Conclusion & Error analysis | Clear statement, brief limitations | Understanding and reflection |
| Viva clarity | Concise, reasoned answers | Confidence and comprehension |
Avoid assumptions about partial marks
Do not rely on assumptions about partial-credit rules. The safest strategy is to complete each part of your template so that an examiner can award marks without guessing what you meant. Show your steps, label units, and write clear conclusions that tie back to your aim.
Common pitfalls — and simple fixes
Students often make the same small mistakes. Fix them early and you’ll save time and stress later.
- Messy presentation: Use ruled paper, draw tables with a ruler, and maintain consistent headings.
- Missing signatures: Leave space after each experiment for teacher sign-off.
- Unlabelled photos: Every photo must have a short, factual label (e.g., “Final colour after titration”).
- Incorrect units: Make a quick unit checklist for each experiment and stick to it.
- No error analysis: One or two honest lines about limitations are enough—and they often impress.
Digital backup and neat submission
Scan your final file as a PDF and keep dated backups in at least two places. Name each file clearly (for example: “Name_Subject_PracticalFile”) so it’s easy to retrieve. If a digital submission is required, check the file size and readability before sending. Keep the original physical file intact until absolutely certain the school has accepted your submission.
How targeted support helps (a word on personalised tutoring)
Some students find that 1-on-1 guidance accelerates progress when time is tight. Personalised tutoring can help by providing tailored study plans, focused feedback on mock practicals, and tips to improve viva answers. For example, Sparkl‘s approach of one-to-one sessions, adaptive practice tasks, and targeted feedback helps many students tighten weak spots in their practical files without adding stress.
When choosing support, pick tutors who can give clear, subject-specific feedback and who help you practise full-length mock practicals and viva sessions. A mix of focused corrections and encouragement often produces the best results in a short time.
Two-week intensive finish: a sample sprint plan
If you are approaching a submission deadline, a focused two-week sprint helps. Use the table below to structure each day so you finish calmly and with confidence.
| Day | Goal | Key tasks |
|---|---|---|
| 1–2 | Complete remaining write-ups | Finish 3–4 experiments, ensure teacher signatures |
| 3–4 | Photographs & Diagrams | Take and paste photos, redraw and label diagrams |
| 5–7 | Calculations & Error analysis | Check significant figures, box results, add short limitations |
| 8–10 | Full-length mocks | Do 2 full practicals; simulate viva with a peer or tutor |
| 11–12 | Final polish | Page numbers, index, teacher signatures, final read-through |
| 13–14 | Scan and backup | Scan to PDF, create backups, prepare for submission |
Checklist before you hand it in
- Index and page numbers are accurate.
- Each experiment has a clear aim, procedure, data, calculation, and conclusion.
- All photographs and diagrams are labelled and secure.
- Teacher signature and date present where required.
- Digital scans are readable and backed up.
Wrapping up with confidence
A good practical file is the product of steady habits: consistent templates, honest data recording, timed practice, and thoughtful viva preparation. Use mock practicals to reveal weak spots, tidy your presentation so examiners can follow your work in seconds, and keep organised backups so submission is stress-free. If you need personalised direction to sharpen weak areas, targeted one-to-one support that focuses on mock practice, feedback and a tailored study plan can accelerate improvement. Build your file with care, practise the viva confidently, and submit a record that truly reflects your understanding.
This concludes the practical, academic guidance on preparing an ISC practical file.





















No Comments
Leave a comment Cancel