
Turning Passion into Proof: How to Package Your IB DP Passion Project into a Standout Activities Entry
You started your passion project because it mattered to you — because a problem caught your eye, a curiosity nudged you awake, or a small idea grew into something that helped others. That spark is the most important ingredient in any Activities entry. But passion alone doesn’t translate automatically into a strong record. The trick is to package what you did so a reader — an assessor, a university reader, or even your future self — can clearly see the purpose, the process, and the learning.
This guide is written for IB DP students who want to turn a genuine idea into an Activities entry that sings: clear, honest, evidence-rich, and reflective. You’ll get practical steps, concrete examples, a ready-to-use checklist, and small writing templates that preserve your voice while making your growth visible. Along the way I’ll point out useful tools — for example, if you need one-to-one help with reflective writing or evidence selection, Sparkl‘s personalized tutoring can offer tailored study plans, expert tutors, and AI-driven insights — but the focus here is how you shape the story so it actually reflects your learning.

Begin with clarity: define the purpose of this entry
Before you type a single sentence for the Activities entry, answer three simple questions in a notebook: Why did I start this? What did I aim to change or learn? What evidence will show that change? These fast prompts anchor your narrative. Simple answers make later reflection specific (not vague), and specificity is the difference between an entry that reads like a list of tasks and one that reads like a learning journey.
Think of the Activities entry as three layers:
- Context and intention — the problem, your role, and the goal.
- Process and evidence — what you did, milestones, challenges, and artifacts.
- Reflection and impact — what you learned, how you changed, and what stayed after the project ended.
Structure your entry as a story — not a diary
Human readers follow stories better than scattered facts. A simple, consistent structure helps you include everything assessors value without over-writing. Use this three-part template for each Activities entry:
- Opening snapshot (2–3 lines): One clear sentence of intent. Example: “I developed a neighborhood recycling workshop to reduce single-use plastic and increase youth engagement.”
- Process highlights (4–6 short bullets or a short paragraph): Key actions and turning points. Keep dates and numbers where they matter (e.g., number of workshops, participants reached).
- Reflection (4–6 lines): What skill you developed, a short example of a challenge and how you responded, and the lasting impact.
That model keeps your entry compact, shows development, and gives assessors the evidence they need in readable chunks.
Evidence: collect it like a scientist
Good evidence is specific, varied, and authentic. Don’t rely on one kind of proof — mix photos, short testimonials, artifacts (lesson plans, posters), brief data points, and a short reflective note that ties each piece back to learning. If you can, timestamp artifacts (dates in filenames, screenshot timestamps). Always ask permission before posting photos of other people.
| Type of Evidence | What it shows | Short example |
|---|---|---|
| Photographs | Activity in action, teamwork, context | Three workshop photos showing setup, delivery, and group discussion |
| Artifacts | Design and planning skills | Workshop plan, agenda, and feedback sheet |
| Quantitative data | Impact and scale | Number of participants, amount of waste diverted |
| Testimonials | Perception and community response | Short quotes from participants or supervisor |
| Reflective note | Evidence of critical thinking and learning | A short paragraph linking action to insight |
Wherever possible, pair each artifact with a one-sentence caption that explains why you kept the piece and what it proves. That small move eliminates guesswork for a reader.
Write reflections that show change — not just description
Reflection is the most powerful part of an Activities entry because learning lives there. Too often students describe what happened without explaining what they learned. Use prompts that force comparison: “Before, I thought X; now I realize Y.” Or: “A key setback was X; I responded by doing Y, which taught me Z.”
Here are short reflection prompts you can use and adapt in your own voice:
- What was my original aim and how did it shift?
- What specific skill did I build? Where did I see evidence of that skill?
- What was the hardest moment and what did I do next?
- How did the people I worked with change or influence the project?
- What will I keep doing because of this experience?
Quality beats quantity: a focused, honest paragraph about a turning point will outperform a long list of vague reflections. If you want extra practice turning draft reflections into crisp, readable ones, Sparkl‘s tutors can give 1-on-1 feedback and help you tighten language to highlight growth without losing your voice.
Show impact in two dimensions: numbers and stories
Numbers give scale, stories give soul. If your project reached 60 people, name that number. If a single conversation changed how you worked, describe it in one short paragraph. Together, these two kinds of evidence paint the picture of both reach and depth.
- Use concise metrics where relevant: participants, hours, items distributed, funds raised.
- Pair a metric with a micro-story: one volunteer’s comment, one unexpected result, one failure that mattered.
For example: “We held five workshops with 12–20 students each (approx. 80 total). One participant later started a recycling club at their school after our meeting, showing a ripple effect.” That short combo is persuasive and memorable.
Map your entry to skills and outcomes
Assessors look for evidence of learning — leadership, collaboration, planning, communication, cultural sensitivity, or problem solving. Don’t guess; identify two or three skills the project helped you develop and demonstrate them with evidence. Name the skill, give the evidence, and write one sentence explaining the connection.
- Skill: Team leadership — Evidence: delegated roles, meeting notes, increased participation — Explanation: “Delegating small managerial tasks freed me to focus on planning, which doubled our workshop attendance.”
- Skill: Communication — Evidence: feedback forms showing improved understanding — Explanation: “I redesigned our handout after early feedback and saw clearer participant responses on later forms.”
This short mapping turns soft language into concrete proof.
Polish the presentation: order, captions, and brevity
The best entries are tidy. Use clear filenames, short captions, and consistent formatting. If your Activities entry platform allows, create a short timeline (three bullet points) showing initiation, a milestone, and the outcome. Think of the reader skimming: will they immediately see the aim, the most telling evidence, and the learning?
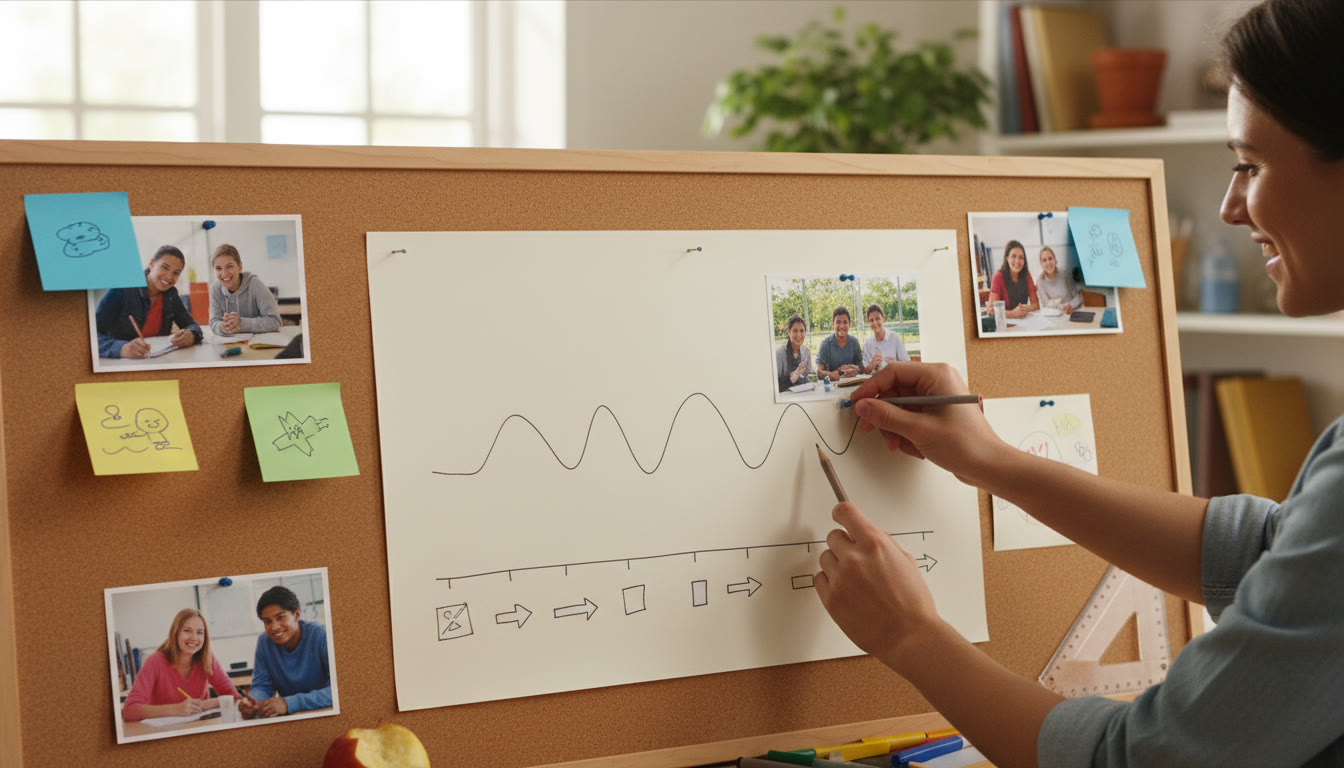
Use images sparingly and intentionally. A single strong photo is better than ten similar ones. Choose artifacts that fill different roles: one photo of the activity in action, one document that shows your planning, and one piece of participant feedback.
If you’re nervous about how to present material visually, a short session with a tutor can help you choose a coherent visual narrative. For example, Sparkl‘s tutors can advise on what evidence to prioritize and how to annotate it to make the learning obvious.
Common mistakes and quick fixes
- Too much description, too little reflection — Fix: replace a “what I did” sentence with “what I learned” and link it to a piece of evidence.
- Scattered evidence — Fix: pick 3–5 complementary artifacts and explain each one in one sentence.
- Vague outcomes — Fix: add one measurable indicator or a short testimonial to show impact.
- No challenge or setback — Fix: include one obstacle and a specific step you took to address it.
- Long, dense paragraphs — Fix: break text into short paragraphs and numbered bullets for clarity.
Four short vignettes: practical examples
Examples help you see these ideas in action. Below are short vignettes that show how different projects can be packaged. Each vignette includes the opening snapshot, two evidence items, and one reflection sentence.
- Neighborhood literacy club — Snapshot: Started a weekly reading club at a local shelter to build young readers’ confidence. Evidence: attendance log showing steady growth; a volunteer’s short testimonial. Reflection: “Scheduling short, scaffolded reading activities improved confidence and attention spans more than longer sessions.”
- Student coding workshops — Snapshot: Ran beginner coding sessions at two partner schools. Evidence: workshop slides and 20 student projects posted with short descriptions. Reflection: “Lesson pacing was the biggest barrier; adapting exercises to shorter attention spans increased project completion rates.”
- Art for mental health — Snapshot: Organized art nights for peers to explore creative coping strategies. Evidence: photos of installations, anonymous feedback forms. Reflection: “Creating a low-pressure space increased peer sharing and normalized conversations about stress.”
- Local biodiversity audit — Snapshot: Led a citizen-science survey to map local species and inform a conservation plan. Evidence: spreadsheet of sightings and a short report submitted to a community group. Reflection: “Combining community outreach with clear data collection created a practical resource for local decision-making.”
Final checklist before you submit
Use this short checklist to make sure you haven’t missed the essentials. Everything should be easy to skim and clearly linked to learning.
- Clear opening sentence that states intent.
- 3–5 pieces of varied evidence with short captions.
- One specific challenge and the action you took.
- Two named skills you developed with linked evidence.
- One measurable indicator or a short testimonial demonstrating impact.
- Concise, honest reflection that connects action to learning.
Packaging your project is an exercise in editing: choose what proves learning and remove what distracts. When in doubt, ask: does this item show growth? If not, it can stay in your archive but it doesn’t need to be in the entry.
Closing thought
A strong Activities entry does three things at once: it honors the original spark, it tells a clear process story, and it makes learning visible through well-chosen evidence and honest reflection. Focus on clarity, pick evidence that complements your words, and show how the experience changed you as a thinker and doer. That is the academic core of an Activities entry: turning passion into demonstrable learning and clear documentation of growth.




















No Comments
Leave a comment Cancel